Hi Guys (and Girls),
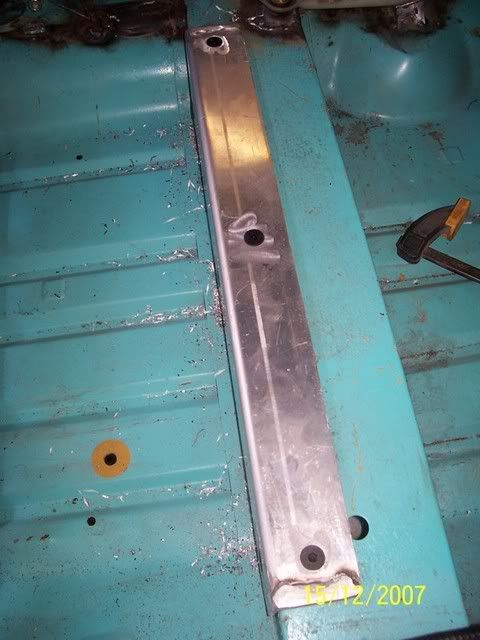
Time for a bit of an update. I have spent quite a few hours on Barbie this week, in an effort to have the car ready for rego just after Xmas. Things have progressed quite well, with only a few small hassles raising their ugly heads (like Tony has mislaid the other seat rail for the 2nd seat, so that cant go in till its found!). Anyway, talking about seats, the seats have been finished, albeit without bolting in the 2nd (drivers) seat. The following pics show the brackets and how they are mounted.
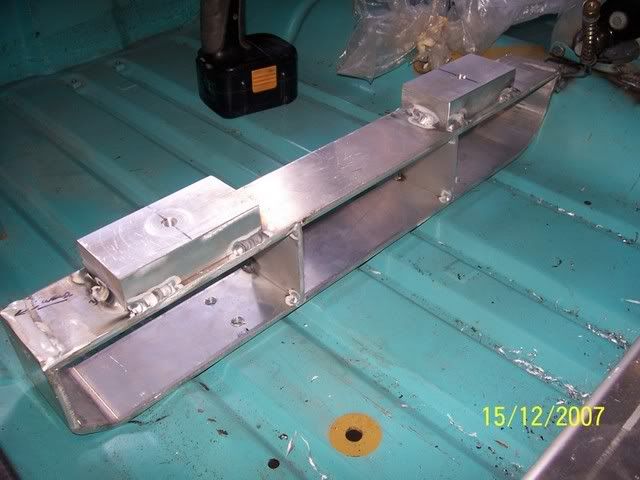
Tony's seats have a funny setup to slide. The bar sits underneath the seat, and you have tp push it down to unlock the slide. The means that the seat cannot sit flat on the floor, or in our case, flat on the cabin crossmember. So, a 10mm spacer sits at the front and a block of 25x50mm sold aluminium was welded to the original bracket at the back to make the seat sit up far enough so the slide would work. It also means simply tapping an M8 thread into the block for the seat rails to bolt to.
This is the front moutn, minus the bolts that bolt to the seat rail. Held down by 6 x M8 countersunk allen bolts into M8 nutserts:
The rear mount with the levelling blocks - looks funny but at least it will be underneath the seat and out of site:
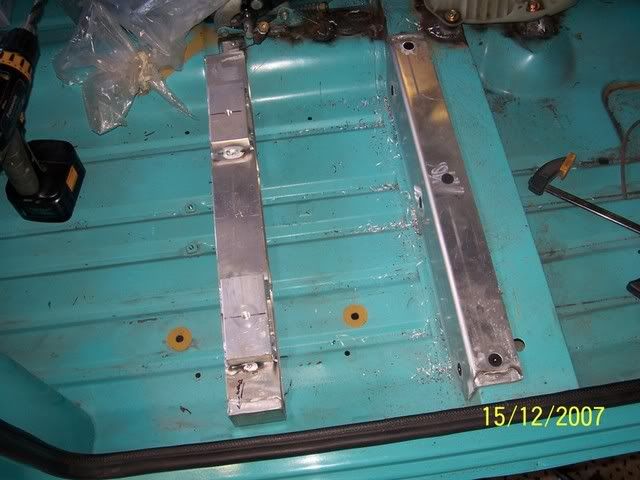
And both mounts together. They really are very sturdy:
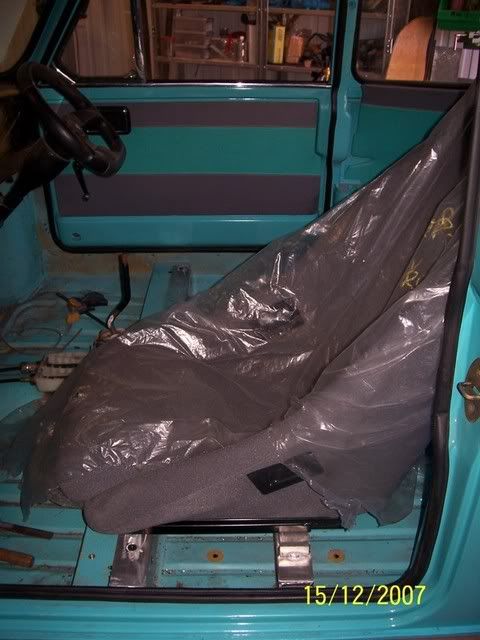
And a pic of the seat installed (and yes, that's seat, not seats!!)
Next job on the agenda was to mount the brake booster. The brake line guy comes out next Saturday to do the brake lines. Tony has chosen the funky red braided stuff, which I must say looks the duckz nutz. I was not aware that this stuff was approved for use everywhere in the car, as I thought you had to use solid lines only unless movement and flexibility was needed. Seems I was wrong, its all ADR aprroved!
Anyway, back to the booster. Started by cutting out of 5mm steel flat bar the necessary components - there is only three. Then the bracket parts are all drilled, deburred and lightened prior to welding together. Not that you save much weight overall, but it does add a certain bit of bling. Here they are prior to welding together:

And once they were welded together, we had a little trial fit in situ. The fit was aye OK, so the attacment holes for the mounting bolts. 8mm nutserts were used, and the bracket was bolted to the firewall with M8 domed head allen bolts. And here it is, it will of course be painted or powdercoated in the future:
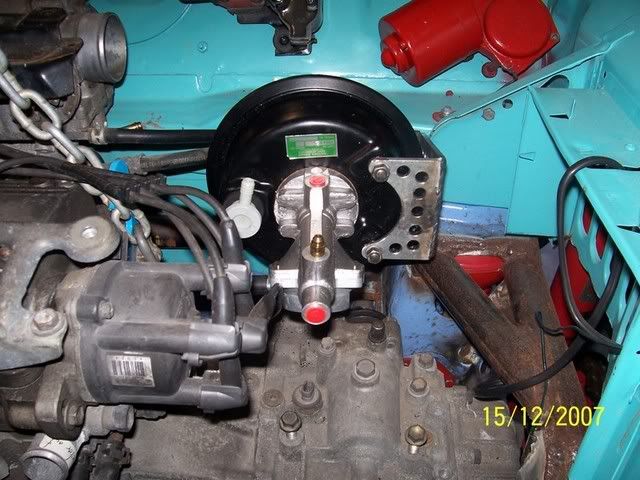
Close up:
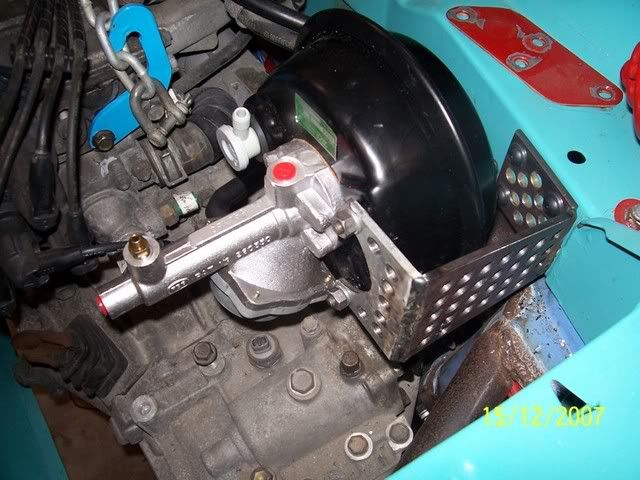
With that done, desided to move onto doing the fueling for the car. Tony and I decided that the fuel pump, filter balance pipe etc will be mounted on a piece of 2.3m aluminium chequer plate, bent up to conform to the shape of the rear firewall. Before we could take dimensions of the size of the plate, we test fit all the big ticket stuff that has to go in the boot, like the spare 13x7 Superheavy (courtesy of El Gato):
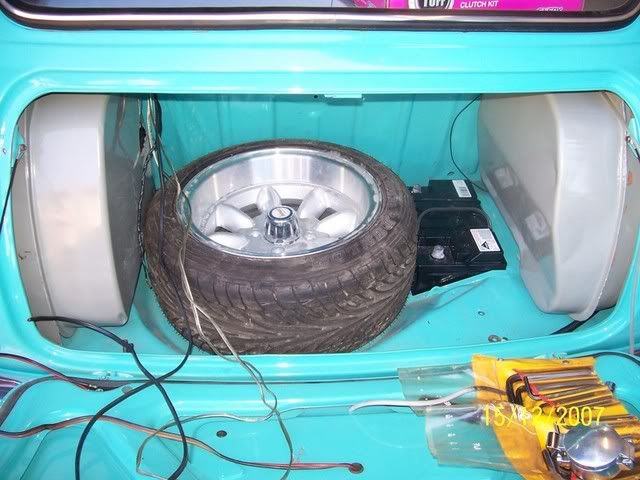
So, the space where the plate could go, was above the spare, over the rotisserie hole (whick I will blank off with another piece of 2.3mm aluminium chequer plate:
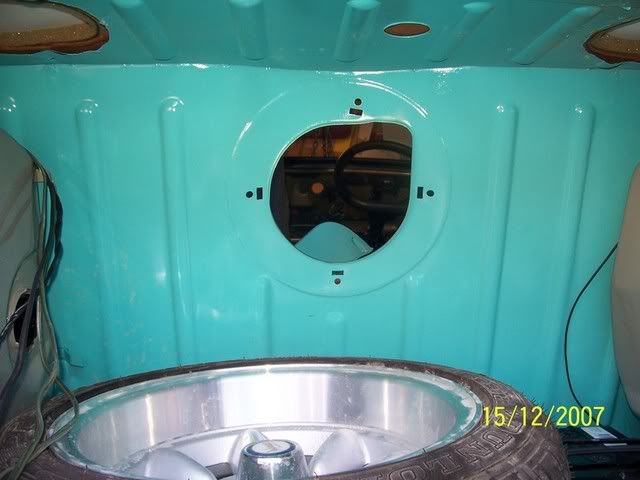
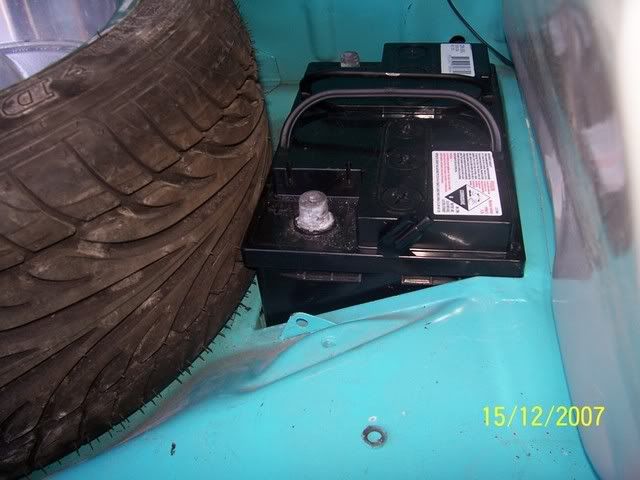
Tight fit with the big battery and even bigger tyre:
Tomorrow will be doing the exhaust, the alternator bracket, blanking off the rear firewall hole, return line to the RHS tank and a few other bits and pieces.
Regards,
Ticky


