Hi People,
Well as I stated earlier, Barbie will be coming back to QBR so I can finish her off and get her on the road to be registered (figurative translation please!).
There was quite a list of things to do, as those of you who have read this thread can testify, so last weekend we had her dropped off to QBR to get the stuff done.
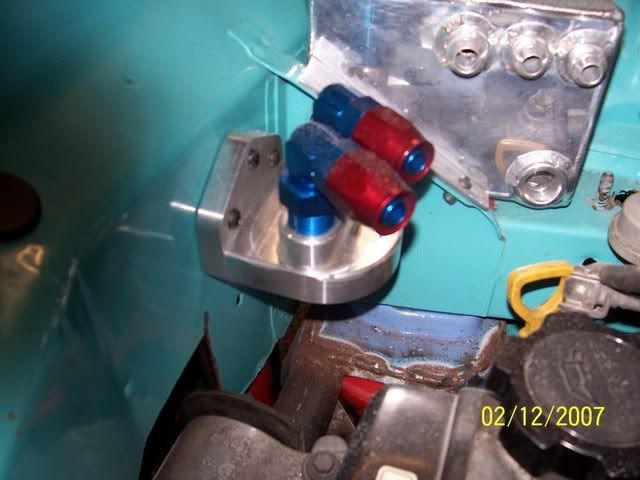
Firstly, I poked around the engine bay a bit, and removed the Toyota oil filter extension housing from the block, which added a whole heap of room down there. Then, I mounted the remote oil filter housing to the drivers side inner guard. Everything in this car is mounted using 6mm or 8mm allen bolts, either domed or countersunk, into nutserts - no self tappers here!
Oil filter:
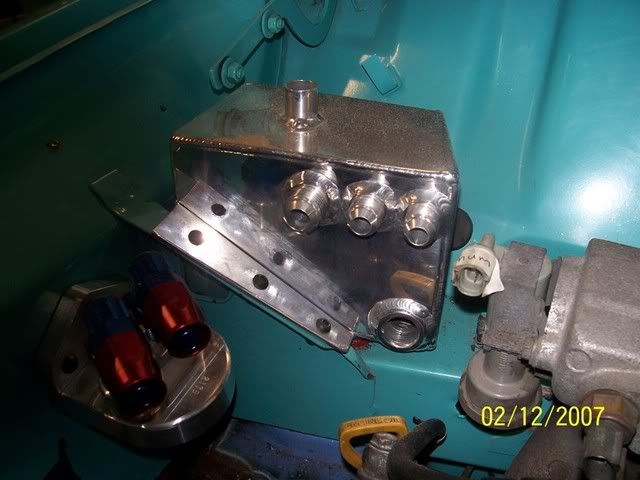
And then I decided to mount the oil catch can which has been specially made to QBR specs. It will take the two lines from the valve cover and one line from the manifold.
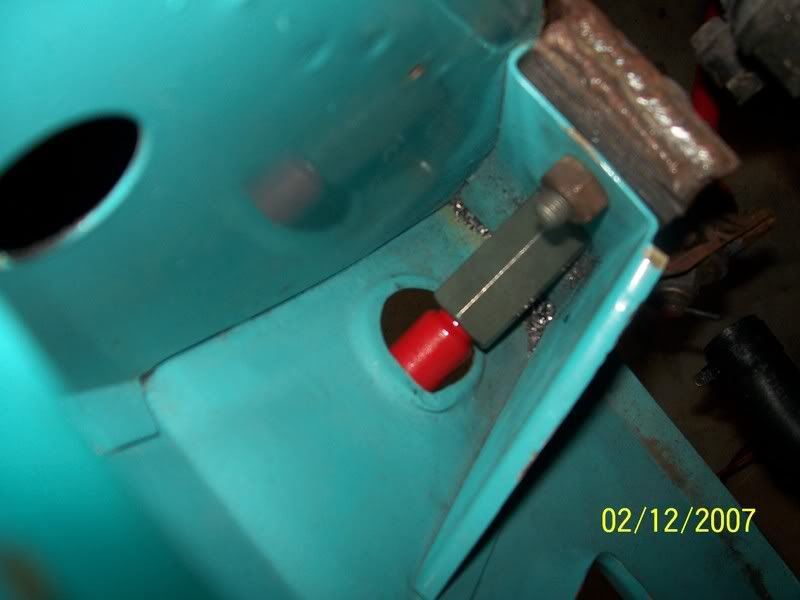
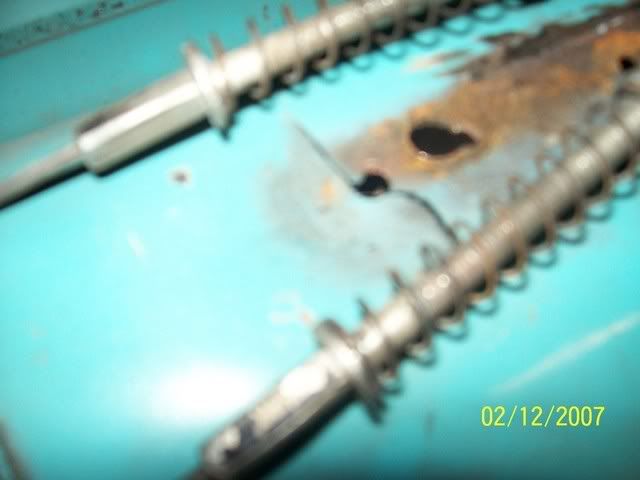
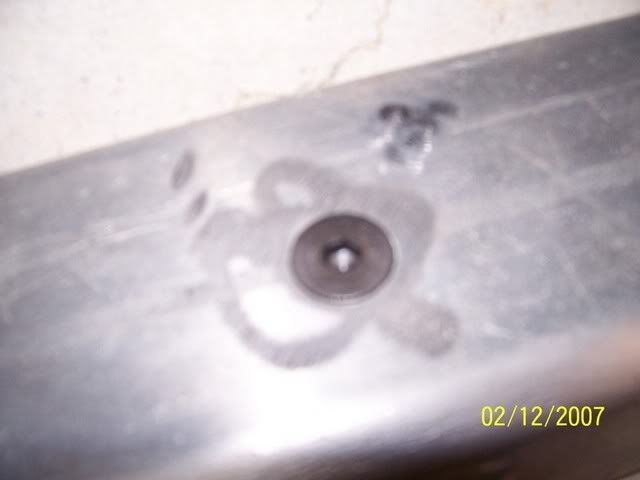
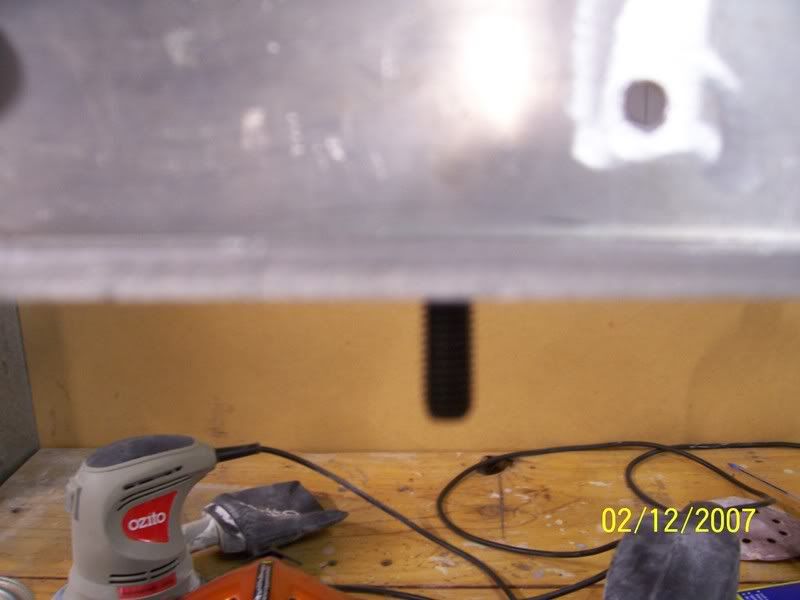
The next thing I looked at was one of Tony's wish list items, and that is a toeing and tie-down hook on the front and rear of Barbie. We came across the need for these a second time when the tow-truck driver complained of nowhere to tie the car down, except for around the lower control arms. I decided to have a look at what could be done - it seemed simple enough. Replace the standard mini 1/2" subrame mounting bolt with a 16mm hi-tensile item, then screw onto that an extended nut used for cyclone rod. Then, simply screw in the fabricated eye tow hook. When its screwed out, you cant notice a thing. Simple.
There is one each side. Here is a shot of the nut:
And with the tow-hook screwed into place - lovely!

Then I decided to do a bit of work inside the car. The shifter mechanism needs to be mounted on the floor of the car. I had Tony come over and dummy fit the drivers seat into the car so we could guage exactly where the shifter mechanism had to be located. This meant that the car and the driving position will be taylor-made to Tony, not Tony to the car. So when the position was located exactly, we found ( as is the norm if you are doing it right), that the handbrake lever had to be relocated.
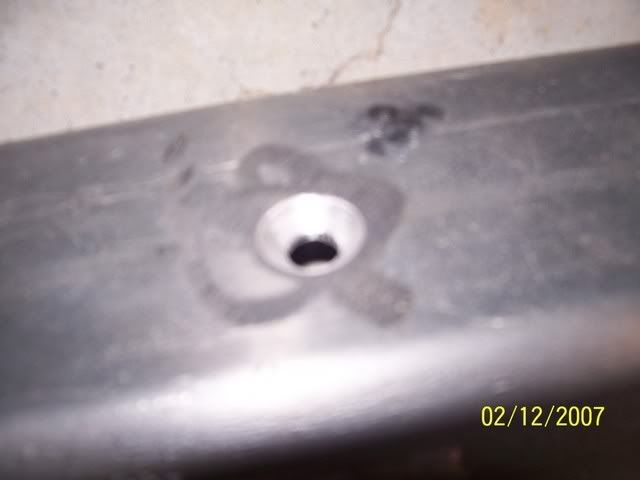
So, this meant cutting through all the welds and chiselling the handbrake off. Interesting thing to note with Barbie, was that the handbrake lever had been off before, and the previous mechanic had bolted it and welded it to the floor. Once I got it off I noticed a tear in the floor where it had previously come adrift - this had not been repaired, and another hole was just bodged up with silastic!
Handbrake off:
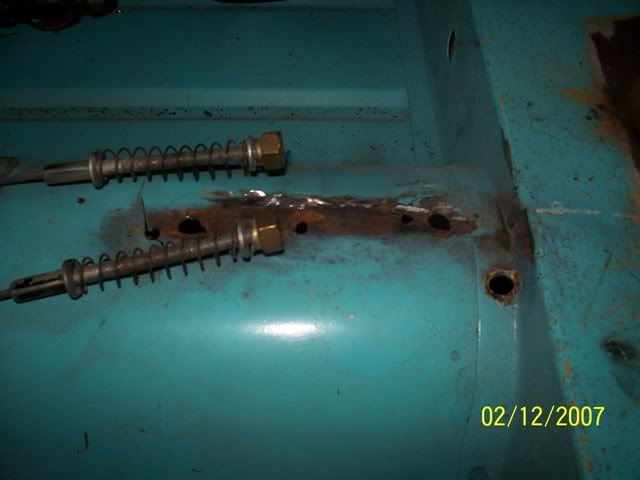
Tear in floor where it had come adrift previously:
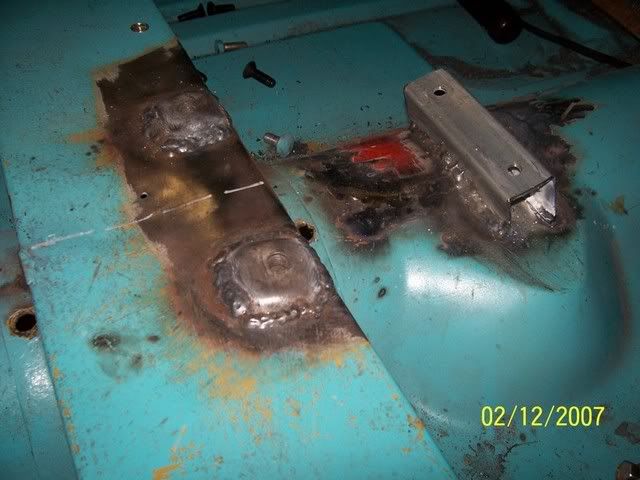
So, now that that was out of the way, one can mount the shifter mechanism. My usual method of mounting the mechanism is to cut the mounting bosses out of the starlet front cut and then weld those to the mini floor. With Tony's, because the front cut was now disposed of, this front mounts were unavailable. So, I just profiled a short piece of 30x30 RHS to the floor with the right angle and welded that in instead. Luckily, I had cut the rear mounting bosses out of a previous front-cut before it was turfed.
Notice the in-fill piece (in red, it was part of El Gato's bonnet!) I welded into the floor to cover the hole where the Mini remote shifter poked through. This whole area will of course, have to be re-painted and bitumened underneath.
The mounts welded in:
And the shifter bolted in place:
Next I moved onto doing the seat mounts. Tony had purchased a nice, brand new set of SAAS seats from Repco a while back, that needed a set of custom mounts made up in order for them to mount into the car. The front mount was a piece of 5mm aluminium I had bent into an angle, and then I profiled it to fit the floor. The mounting bolts used are 8mm HT countersunk allen bolts, which look the goods and also lay flush with the surface when coutersunk, ideal when you are trying to lay the seat mount hard on the cross tunnel.
This is the angle, all drilled for the mount-to-tunnel mounting bolts:

Drilled and coutersunk holes:
And the flush mouting countersunk allen bolts (yummy):
You cant get much flusher (is that even a word?) than this:
And this is the front bracket mounted to the seat. You have to mount the front and rear brackets to the seats, and then mount the brackets to the floor. This makes the whole process lengthy, as you have the mount the brackets, put the whole lot in the car, mark the holes, drill etc. Then remount everything.
Anyway, the mounts mounted to the seat ready to go into the car:
And that's as far as I got, more next week!!
Cheers,
Tricky


