ausmini https://ausmini.com/forums/ |
|
998 Stripdown & Diagnosis https://ausmini.com/forums/viewtopic.php?f=5&t=102399 |
Page 1 of 1 |
Author: | timmy201 [ Sat Sep 21, 2024 9:34 am ] |
Post subject: | 998 Stripdown & Diagnosis |
I had some free time a few weeks back and decided to have a closer look at my old 998 engine. It was running when I removed it in 2019 (although had a few issues) and I thought it'd be good to check it all out, replace some gaskets and have it complete in case I ever need a spare engine (or lend to someone else). I also just felt like digging into an engine and poking around A bit of history - my grandpa had installed this engine sometime in the late 80's to early 90's. I'd originally been told it was an 1100 engine but the stamped number is a 9YTaH from a 998 deluxe (I actually haven't measured the stroke yet). It has a 22G68 3 synchro gearbox, remote shifter and apart from the alternator and distributor it was all 1960's gear. I don't know exactly what was kept from the original 850 and what came with the donor 998 - was it just a 998 engine block, or was it also the gearbox? The HS2 carb was on the original cast manifold, and it had the 850 tag on the float bowl and EB needle. Unfortunately my grandpa isn't around anymore and I should have asked him more questions at the time ![]() From 2013 to 2019 I did lots of miles, went to Bathurst in 2016 and did three Rylstone Classic trips. I replaced the rubber universal joints with the QL5000 type joints. The QL5000 joints failed about a year later and then I swapped it to Hardy Spicer couplings. I also added a Minispares "Stage 1 Kit" with a larger HS4 carb, and then a few years later swapped to a Dellorto DHLA40 ![]() ![]() ![]() ![]() ![]() ![]() ![]() ![]() In 2019 I'd finished building my 1100 engine, so the day after I got back from Rylstone 2019 out came the engine. ![]() 
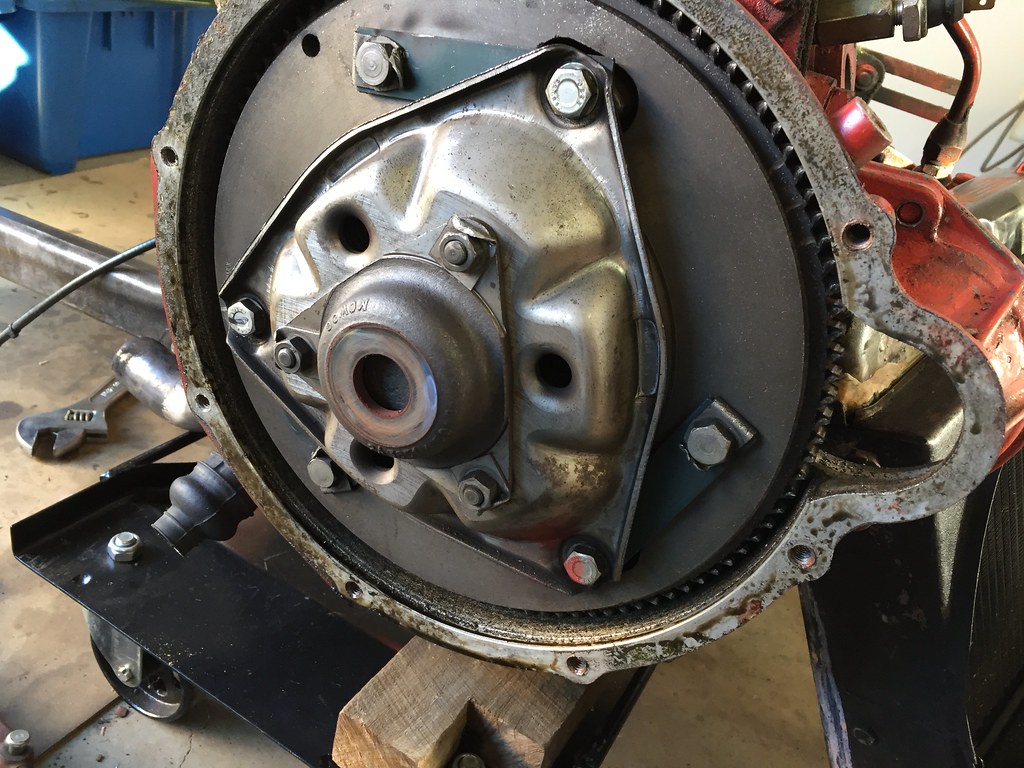
At that time I found mystery number 1 - the clutch was the old spring diaphragm and not the later type. I haven't checked if these were installed to the 998 Deluxe or if this was carried over from the 850 ![]() So now it's been sitting in a box untouched since 2019 when it was removed from the car. I took a few parts off it for the 1100 engine like the water pump, oil feed pipe etc. I'd also removed the Hardy Spicer diff and sold it on. ![]() I started the strip down and the first thing I noticed was the rocker posts are the old alloy type, not the cast iron ![]() With the head off there was one of the nice ACL monotorque head gaskets ![]() Another surprise - it has 040 oversize pistons already ![]() The head had a bit of crusty deposits on it ![]() The cam followers were the type with drain holes and had no pitting or wear I could feel. ![]() I did a clean up and found my workbench. ![]() The head chambers partway through cleaning - they weren't too bad. The intake seats were pretty clean but the exhausts will need a bit of lapping. Getting the valve lapping tool to stick to the tiny exhaust valves has been a challenge! ![]() Working on this exact head was the first car related thing I ever helped with. My dad didn't do much mechanical work (he liked working with timber), and at some point in the 90's my grandpa had this 998 head refurbed and converted for unleaded. I helped him to reinstall the valve springs and retainers - we'd gone to one of his friend's houses and borrowed a spring compressor that was way too big, so a socket was held between the valve and compressor to get the height right. The good points: It was reliable Smooth Unleaded head The bad points: 2nd gear synchro was gone It would occasionally pop out of 1st and 4th gears under load Low oil pressure at idle - the light would come on if the idle was under 1000rpm Valve springs topped out at 5500rpm The plan: Replace all the gaskets Lap the valves and replace the stem seals Reassemble the head back exactly how it was. The valve springs did limit the RPM, but this probably means it's kinder on the valve train Replace the 2nd gear synchro ring. I have no idea what kind of gears are in the gearbox yet Put in a pot joint diff to suit the mini now Investigate the low oil pressure Overall just pull it all apart, replace some wear items and put it back together as it was. It worked well enough to be kept for a spare I have got a spare magic wand diff housing, so if it fits OK I might consider swapping this to magic wand so it's an easy bolt in to my mini (I swapped from remote to magic wand with the 1100). However I do miss the remote shift so that's a decision to make later. |
Author: | 68+86auto [ Sat Sep 21, 2024 11:03 pm ] |
Post subject: | Re: 998 Stripdown & Diagnosis |
Getting the new valve lapping tools to stick to valves has been an issue I've had on all engines I've tried, not just minis. That includes larger valves. I use a pneumatic lapping tool but use the suction cups from the hand tools. What I've had to do on sidevalve engines is glue the cups to the valves. On OHV engines, I use a short section of fuel hose and use the tool from the other side of the head. |
Author: | timmy201 [ Tue Sep 24, 2024 7:22 pm ] |
Post subject: | Re: 998 Stripdown & Diagnosis |
Mine seems to suction OK on the intake valves as they are flat, but the exhaust valves are dished in the middle and just won't stick. Glue or a rubber hose were the two things I'd thought of, but I'm yet to get back into it |
Author: | timmy201 [ Tue Feb 25, 2025 5:44 pm ] |
Post subject: | Re: 998 Stripdown & Diagnosis |
It was time to finish assembling the head as it's been taking up all my bench space since September, and it takes up about 3 times as much space as an assembled head ![]() I used a rubber hose on top of the valves to lap them in, and used the drill to speed the process up a bit. They all cleaned up with minimal effort, with the exception of the exhaust valve on #4 cylinder which needed a few extra cycles. All the seats in the head looked good ![]() I gave it a coat of the same red paint it had before ![]() All the old valve stem seals were removed and I found a set of 8 in my box of gaskets. They aren't the best quality ones but they will do ![]() Next up the valves, springs retainers went on. They went on so much easier than the dual springs on my 1100 head, the springs seemed so soft I barely needed the compressor... ![]() I cleaned up the rocker assembly (without disassembling it). It could probably do with a new rocker shaft, or at least a better condition used one as a few of them have a bit of play. Again it was good to see the alloy rocker posts, and I also noticed the oil fed tappet adjusters ![]() Rattle can rebuild is complete ![]() ![]() ![]() I checked the rockers were moving OK and noticed one spring in particular was really soft. I could almost get it halfway open with just my fingers, so I'll need to track down some better springs ![]() ![]() It's nice to get back into doing some engine work again, what surprised me today was that: It had ran so smooth and nice previously despite the numerous deficiencies How much better it could have been if everything was in spec Next up I'll see if I can get the flywheel off and then check out the oil pump. ![]() My aim from here is: Flywheel off Remove the gearbox Check the condition of the crank bearings & oil pump I'm not sure if I will give it a hone, I'll check this when I get the pistons out I got a spare 3 synchro gearbox a few weeks back, so I'll try and make one working unit and fix the 2nd gear synchro |
Author: | Steam [ Wed Feb 26, 2025 4:33 pm ] |
Post subject: | Re: 998 Stripdown & Diagnosis |
Good writeup and it is always good to mees with an engine witout the pressure. You probably already know this but the best tool for flywheel removal is time. I always wind up the puller give it a few whacks then go and have a cuppa or a beer etc. Have some carpet or whatever under the flywheel to prevent damage. Usually they come off at some point when I am not working on them. The worst took 2 days but came off overnight. |
Author: | timmy201 [ Wed Feb 26, 2025 7:43 pm ] |
Post subject: | Re: 998 Stripdown & Diagnosis |
Thanks Dave. I'll need to find someone local to borrow a flywheel puller and find where I left the big socket that fits the flywheel bolt |
Author: | Steam [ Wed Feb 26, 2025 8:03 pm ] |
Post subject: | Re: 998 Stripdown & Diagnosis |
Making a puller is fairly easy or a generic one from supercrap et al will do it well. You may need to source different bolts though. |
Author: | Oscar [ Thu Feb 27, 2025 8:34 am ] |
Post subject: | Re: 998 Stripdown & Diagnosis |
Steam wrote: I always wind up the puller give it a few whacks then go and have a cuppa or a beer etc. Have some carpet or whatever under the flywheel to prevent damage. Usually they come off at some point when I am not working on them. The worst took 2 days but came off overnight. I think the time method only ever worked once for me. The last time I used that method (a long time ago) I left the puller loaded up for a week. ![]() Each morning I'd get home from work and put on a bit more pressure but the bugger didn't budge, so when my days off arrived I resorted to Plan B... With the puller loaded up I stuck a bit of timber through the starter hole and gave the flywheel a whack with a decent hammer. It popped straight off!!! ![]() I've used this method ever since. It's instant and it never fails. ![]() |
Page 1 of 1 | All times are UTC + 10 hours |
Powered by phpBB® Forum Software © phpBB Group http://www.phpbb.com/ |