This is a how to on steering rack removal. If you choose to do this you do so at your own risk. This job is not for the faint hearted and has now become my least fun job to do on a mini. If you aren't as tight as I am, I wouldn't hold it against you if you took your mini to a shop to have all of this done.
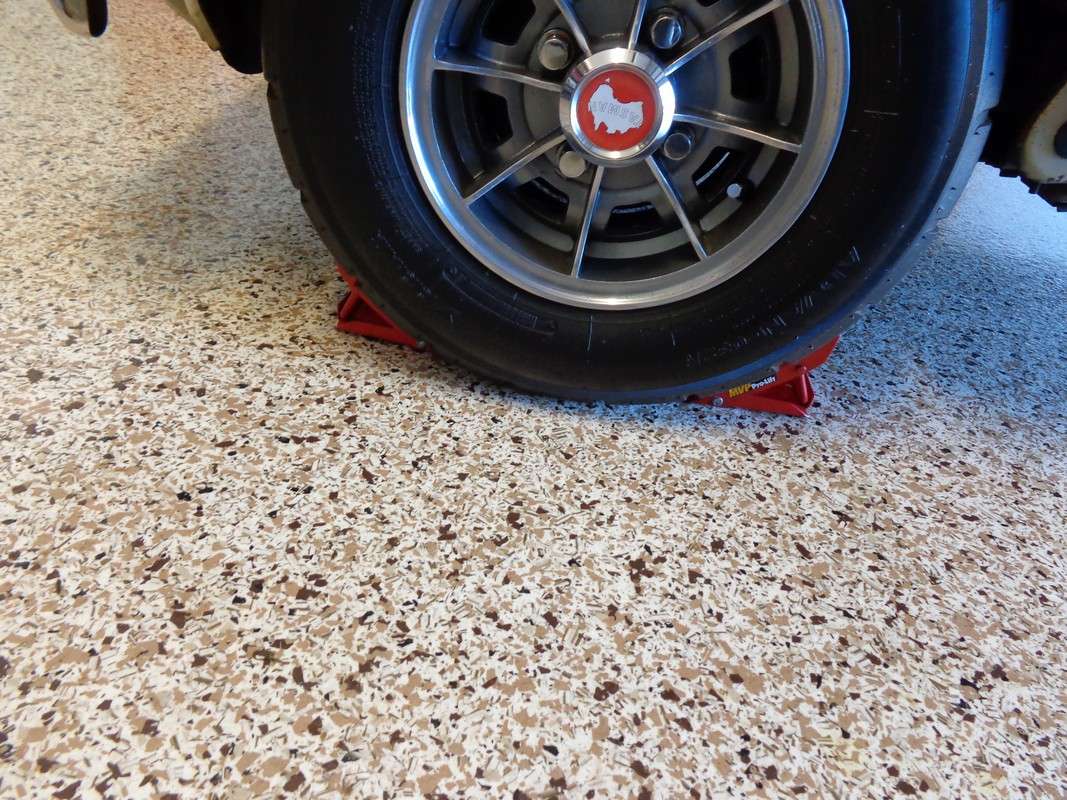
^Put some wheel chocks under the rear wheels as we need to jack up the front of the car
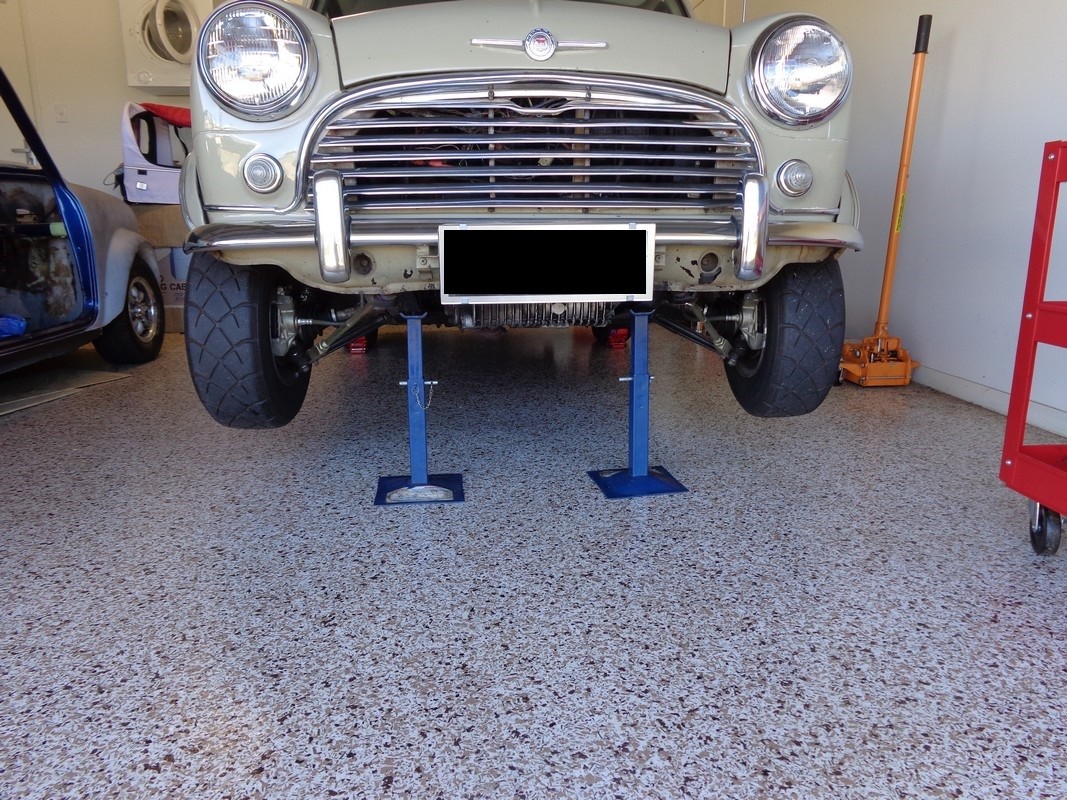
^Jack up the front of the car and use jack stands to support under the subframe
The next few bits tend to jump around a lot in no particular order. I just kept undoing stuff until I could drop the subframe.
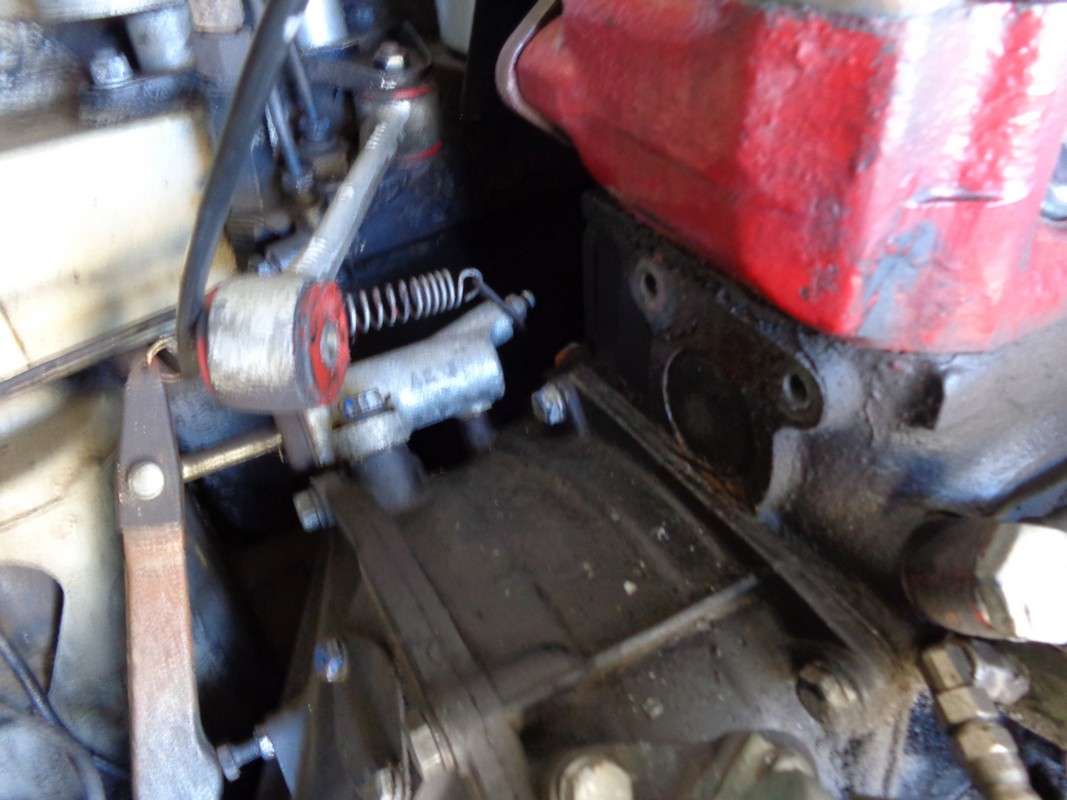
^Undo the engine steady (or steadies if you have a rod change and/or gearbox steadies)
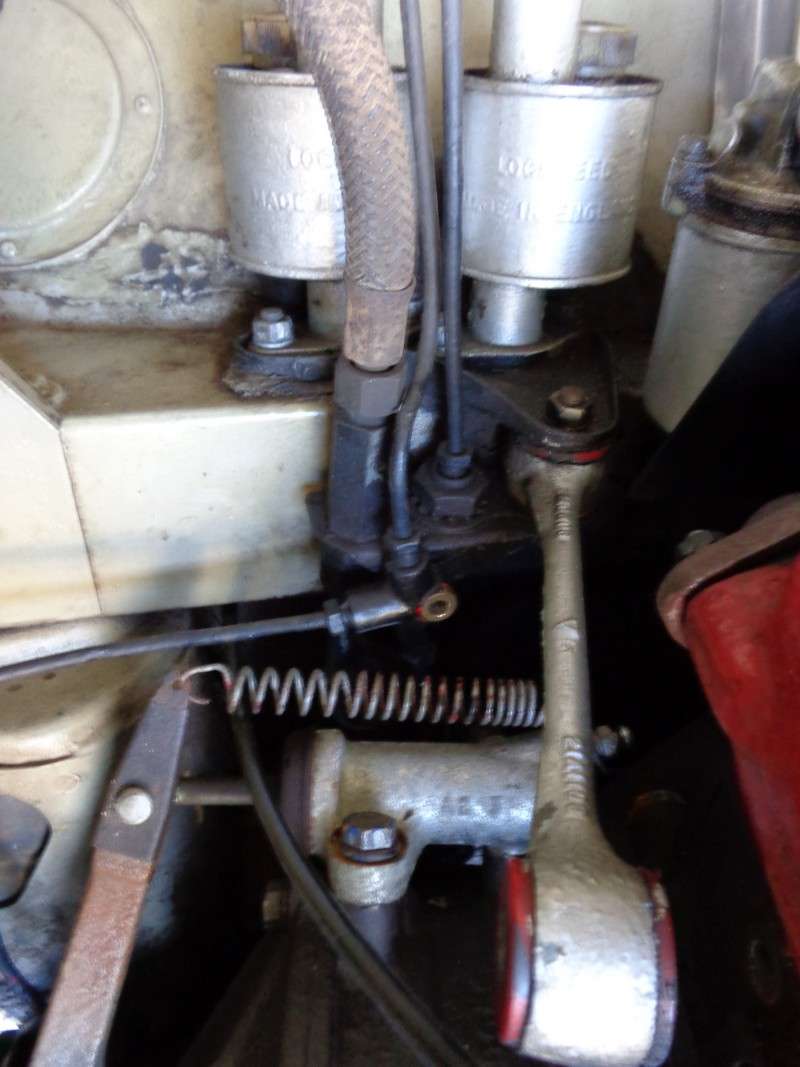
^I chose to undo the bolt that holds the 'T' piece in for the brake hardlines to have a bit of extra hard line for more flex (optional). Some others like to totally disconnect the T piece so there is no strain on the hard lines (especially if you drop the subframe more than I did).
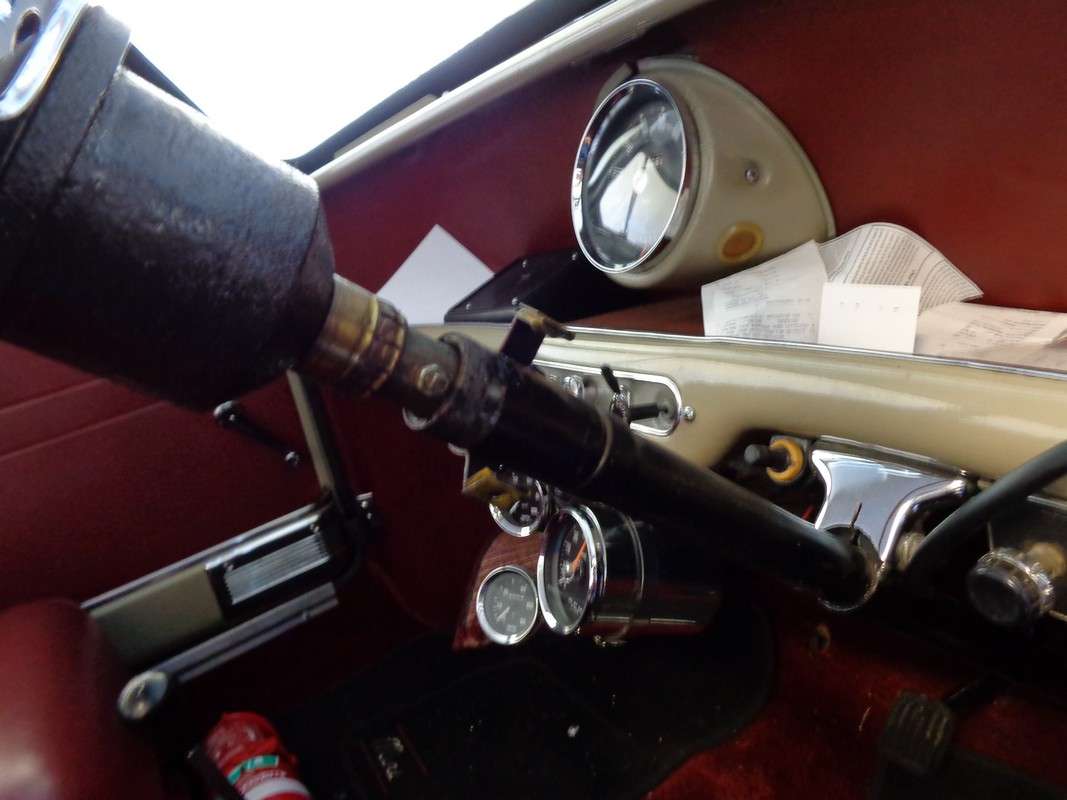
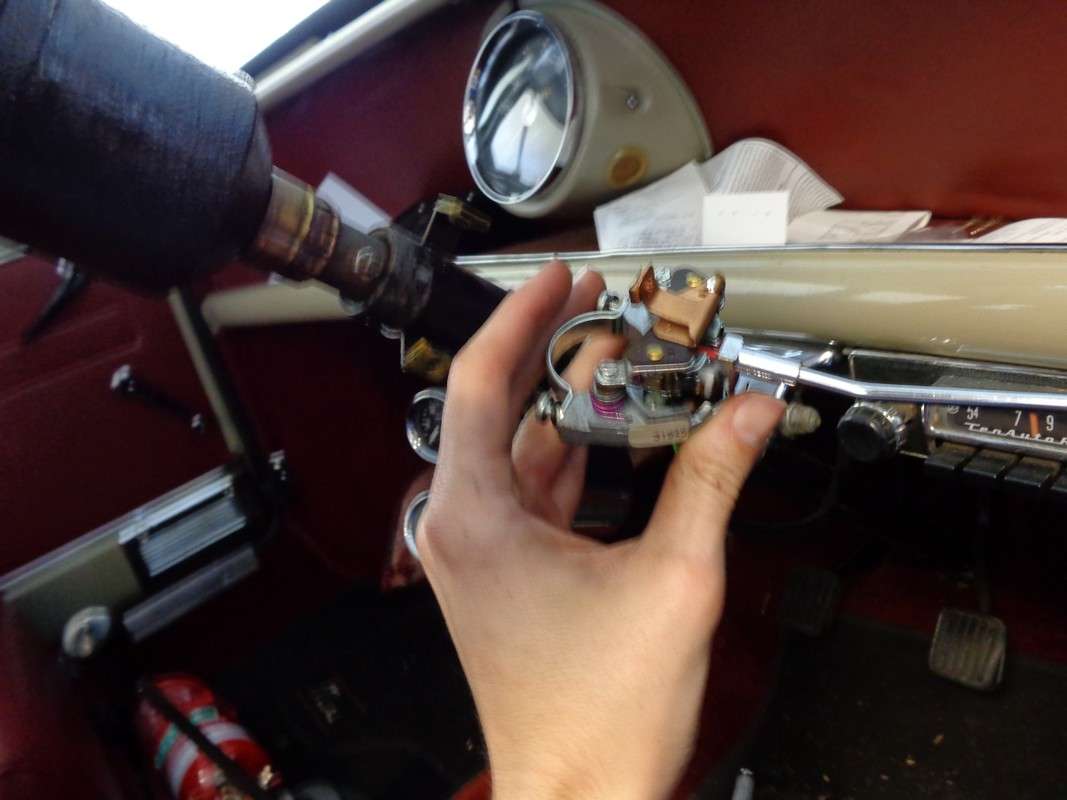
^Next I removed the steering column shroud and removed the 'trafficator'
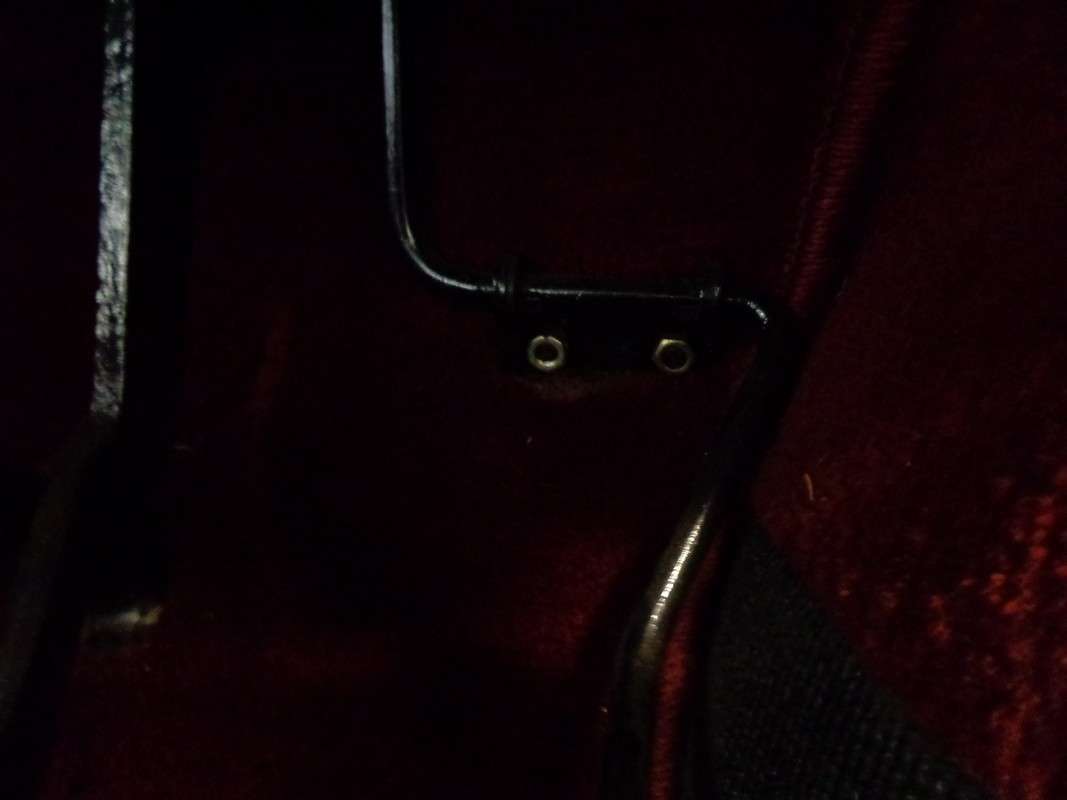
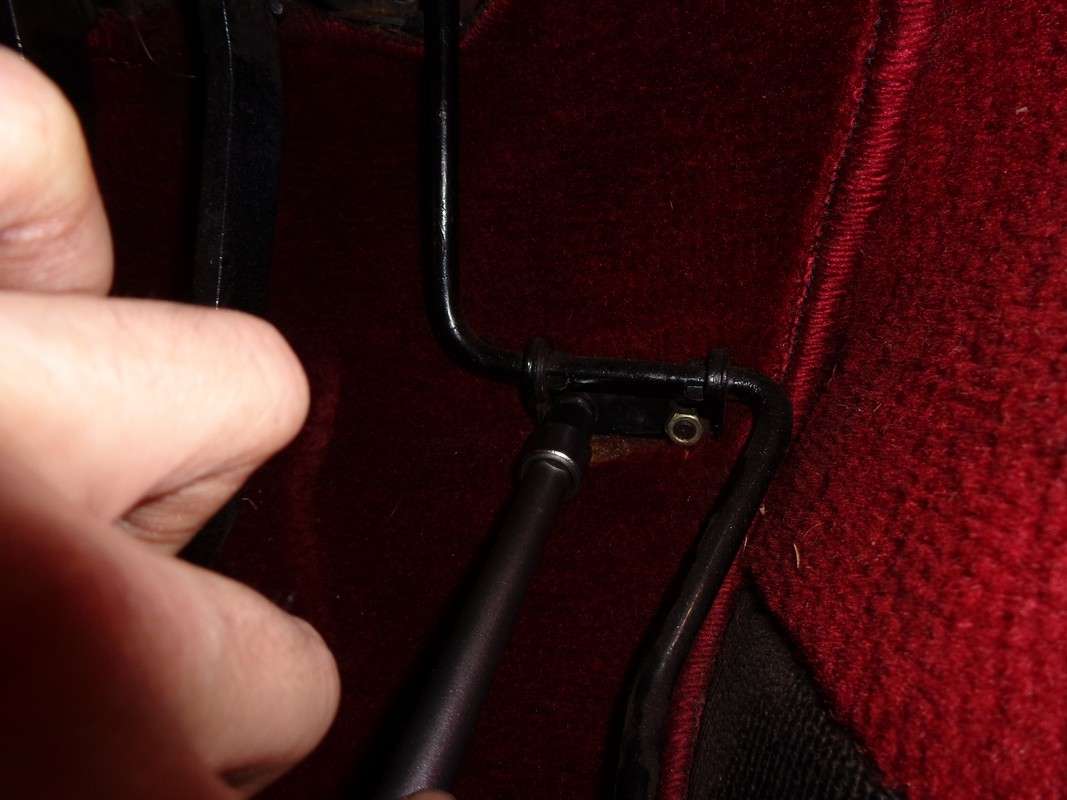
^accelerator needs to come out in my car as my carpet has a hole cut in it for the accel. pedal. I cannot pull the carpet back and out of the way with the pedal in place. YMMV with this bit.
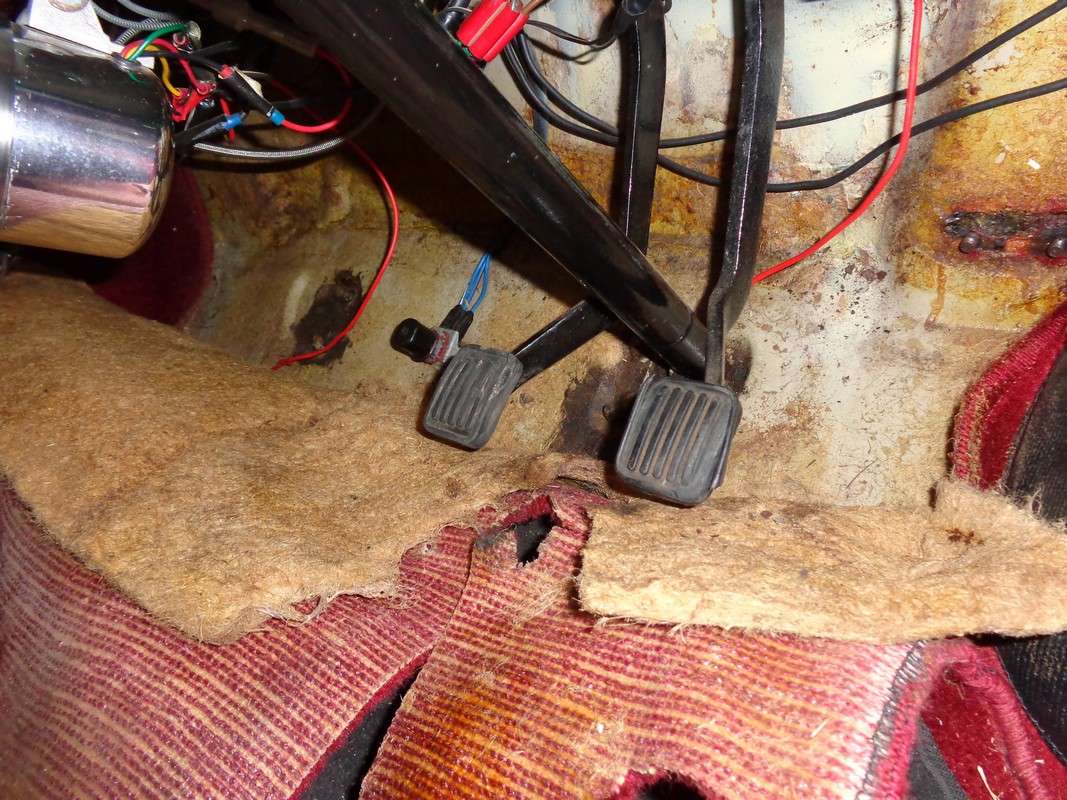
^I pulled the carpet up to get to the U bolts that hold the rack in (I should've done more interior work at this stage, I didn't think of it at the time but I had to remove the seats and pull the carpet up around the gearstick in order to undo the remote mount later on).
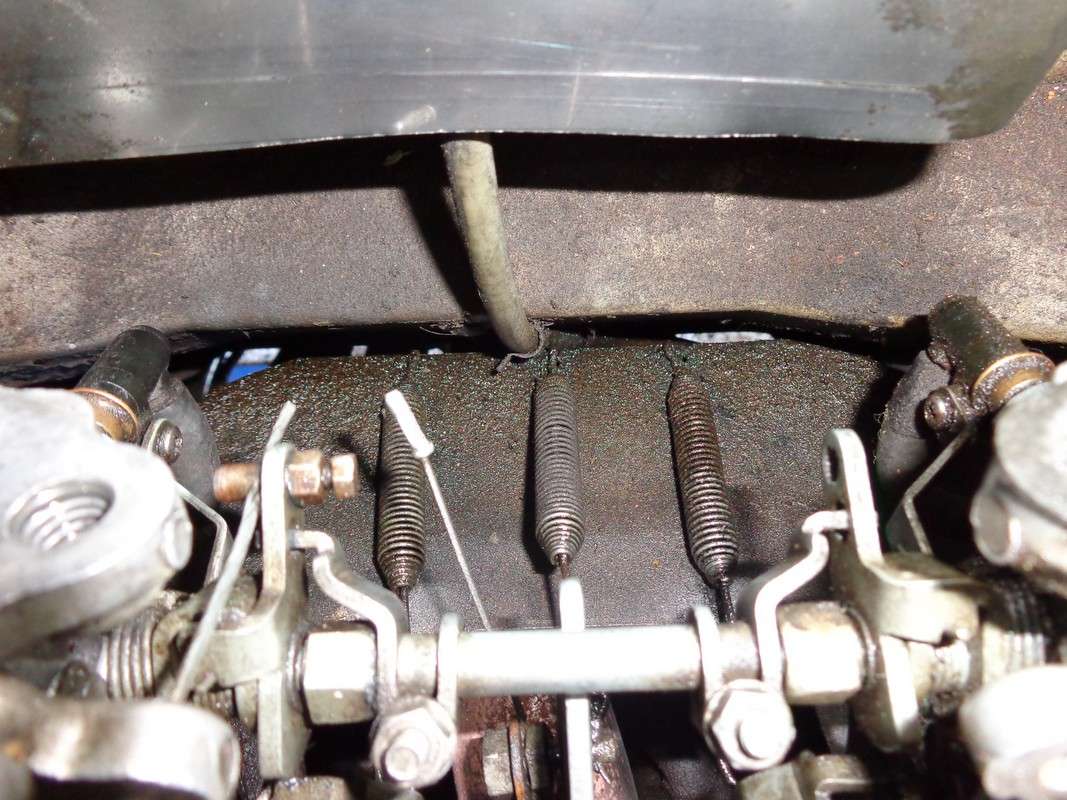
^Assess how much room you've got for tilting the motor backwards.
Start to regret twin carbs and heat shield from a spridget.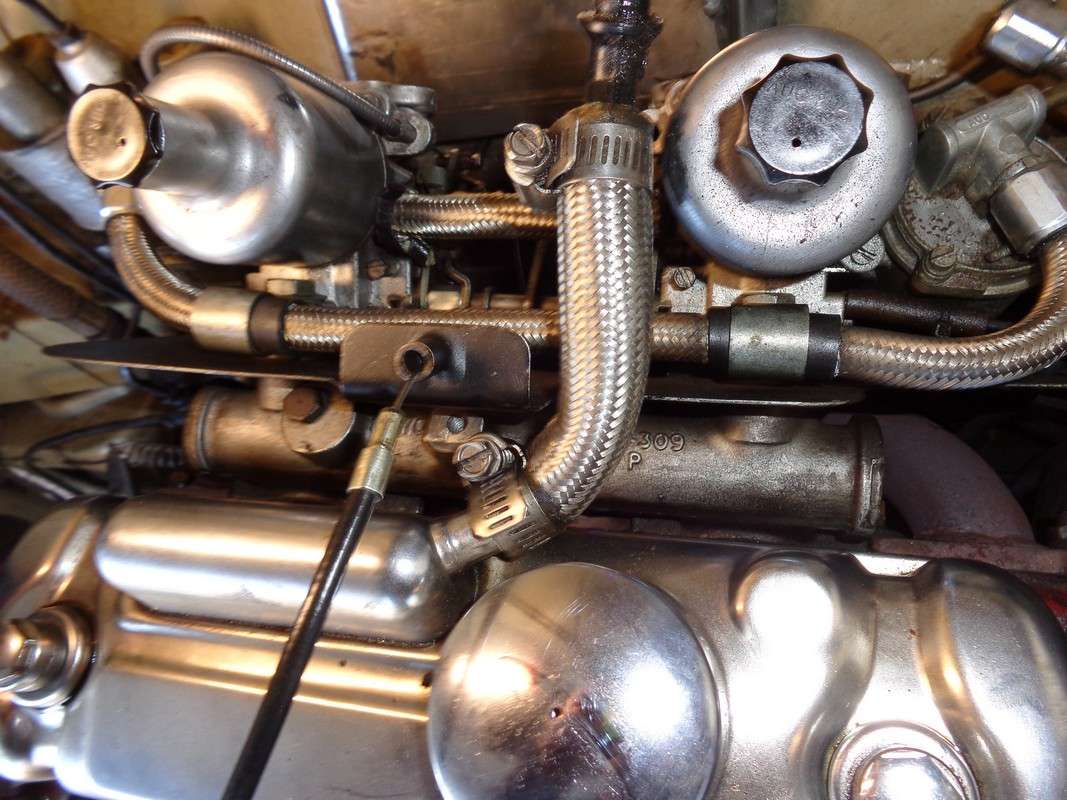
^Remove air cleaners, choke and accelerator cable, fuel hose from the float bowl and start struggling with manifold nuts between twin carbs and LCBs. Struggle......a lot and eventually succeed in removing carbs from head.
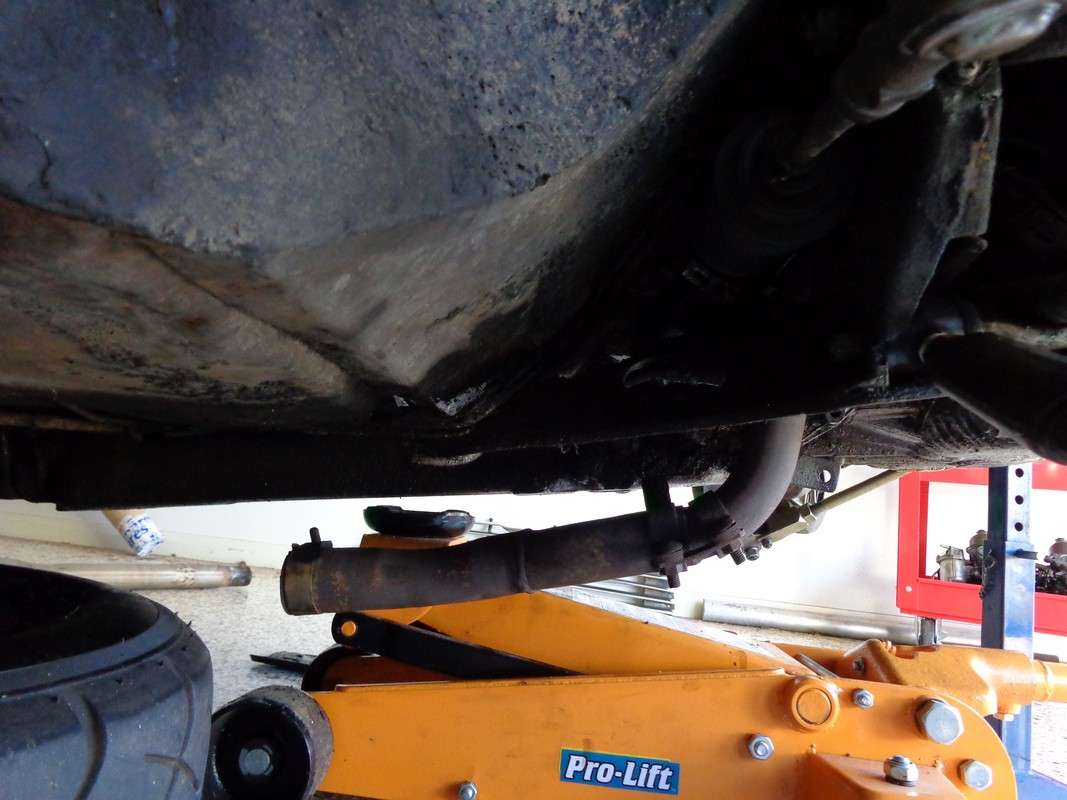
^You'll need to drop the rear of the exhaust off of the LCBs (insert your choice of exhaust manifold here) in order to drop the car down sufficiently and I also needed to so that I could pull the LCBs off of the head and replace the manifold gasket later on.
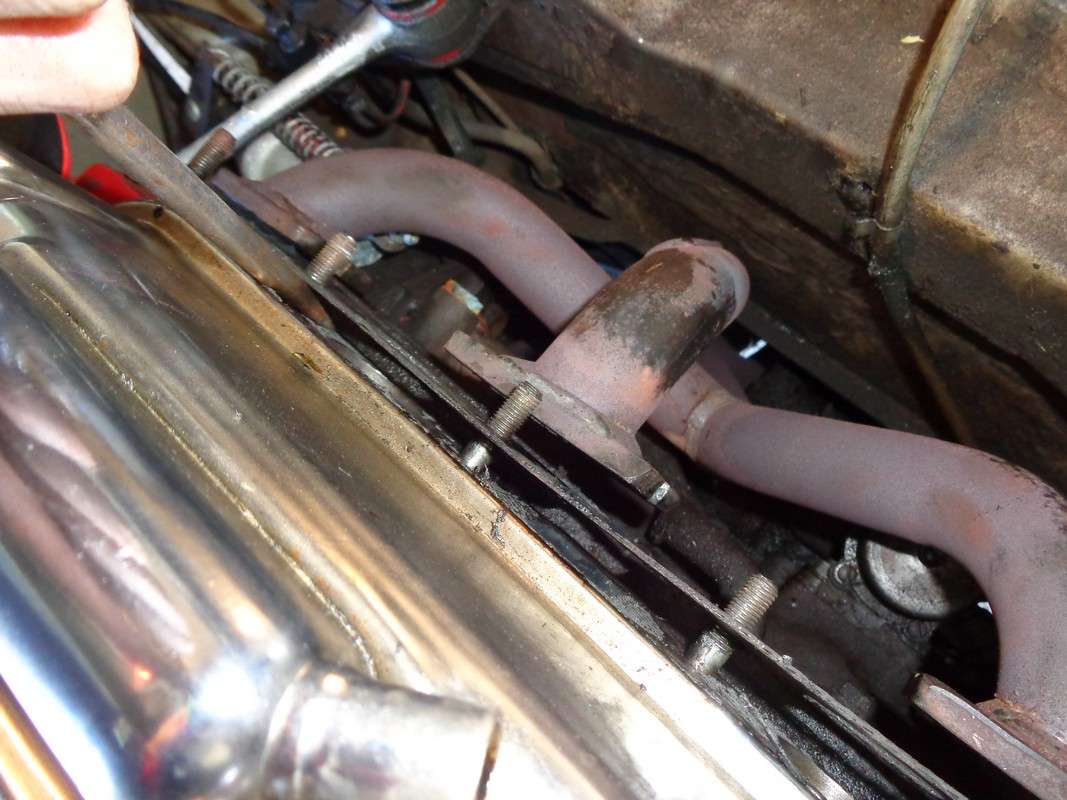
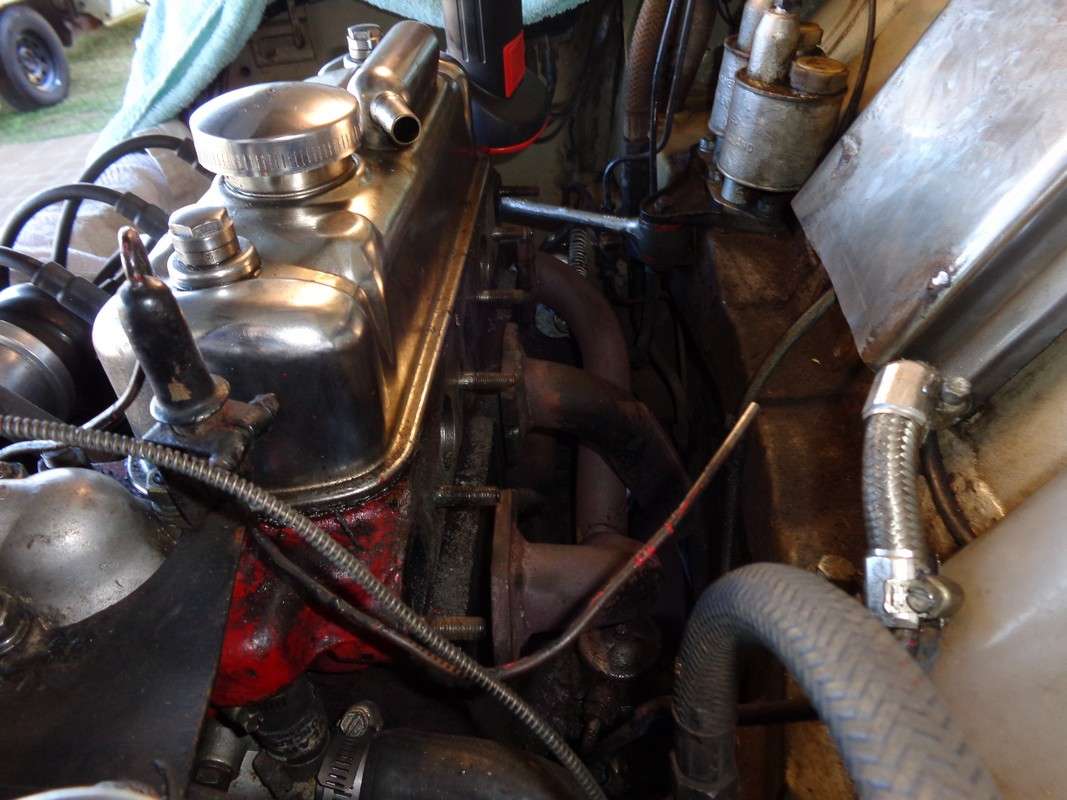
^Succeed and remove exhaust manifold from head and remove old gasket (don't reuse the gasket, spend the dosh on a new one so you don't end up with vac/exhaust leaks).
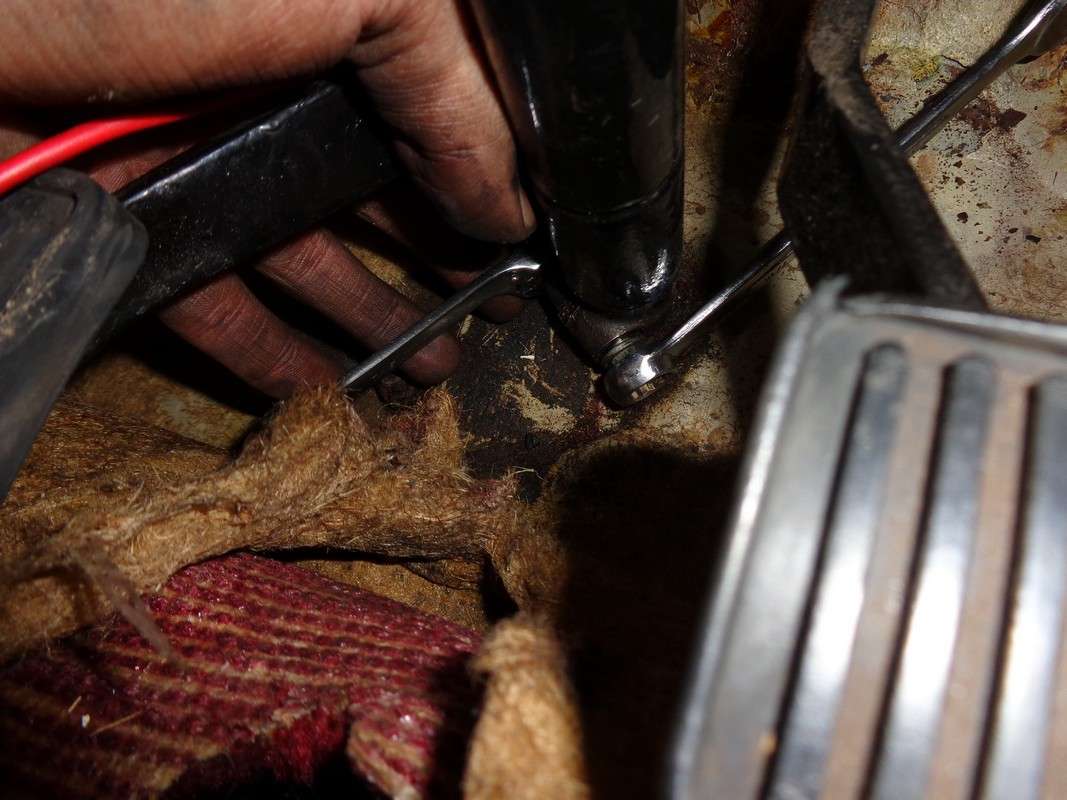
^Undo pinch bolt next and remove. Pinch bolt needs to come all the way out in order to separate the splines.
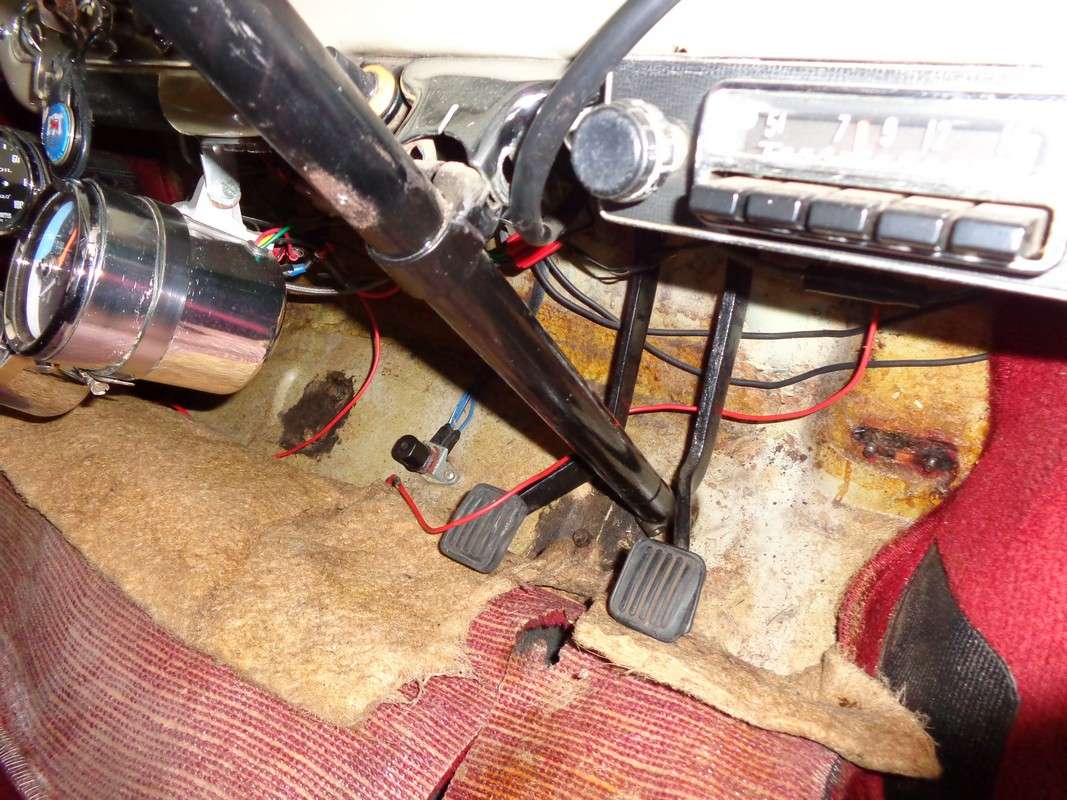
^Remove the bolt that holds the column to the parcel shelf (mine didn't have the proper shear bolt fitted

) so you may need to undo it from the parcel shelf itself.
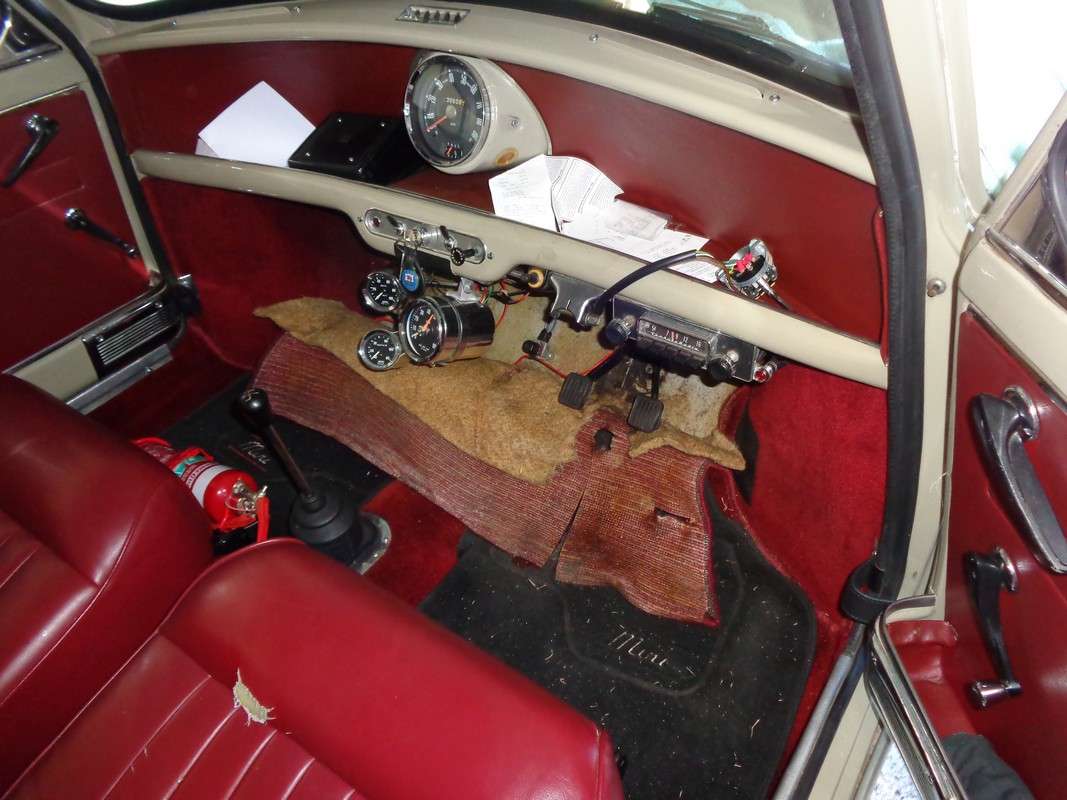
^Remove column from car and place safely somewhere else.
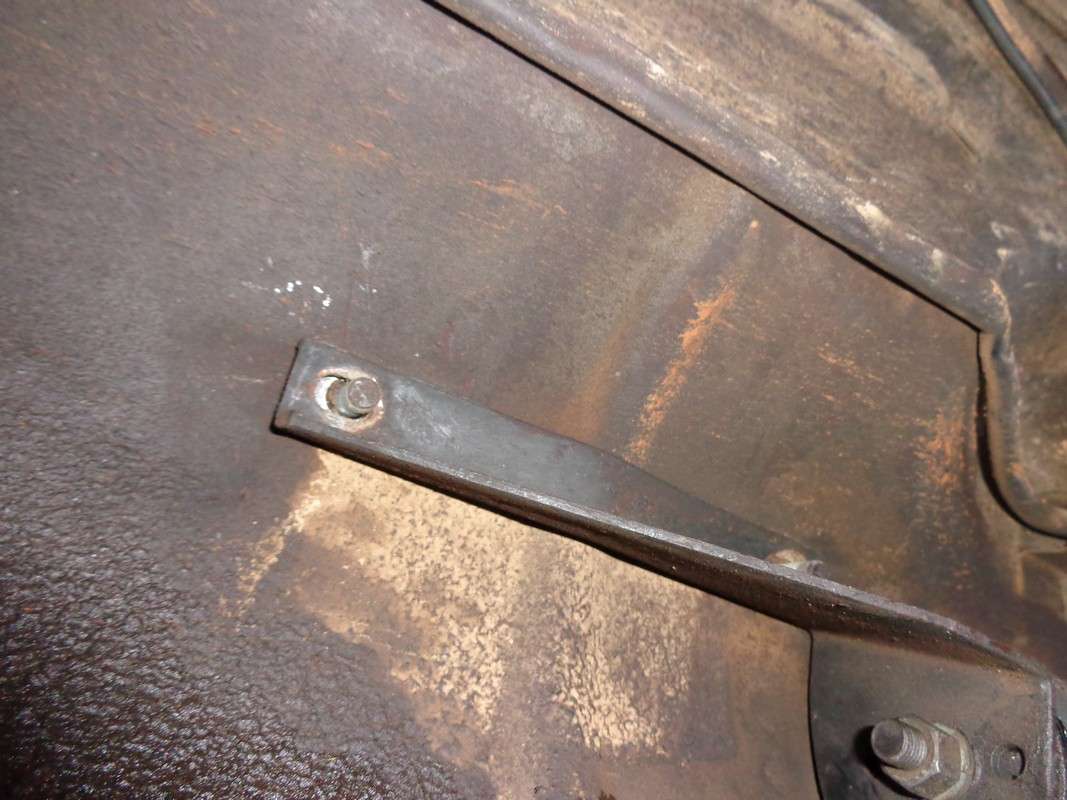
^Next I removed the rear bracket that holds the rear of a remote shift housing (because my car is remote shift)
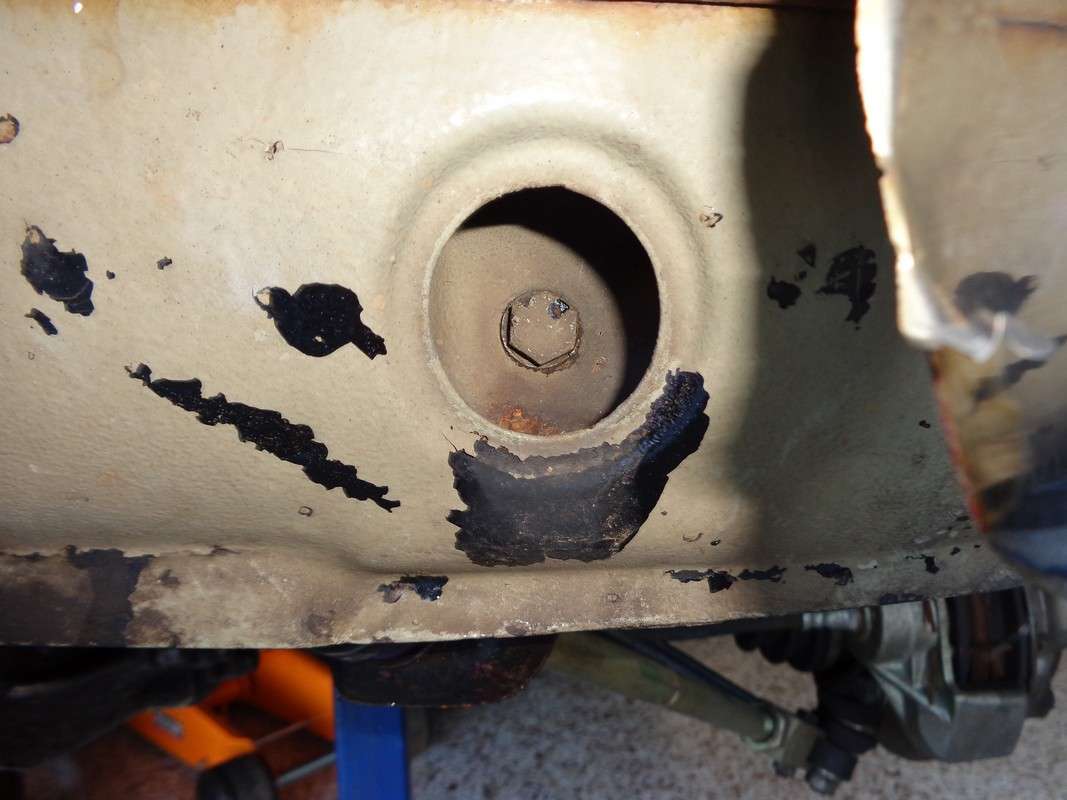
^Undo the front subframe mounts a little (just loosen them off so they have slack in them, don't remove fully)
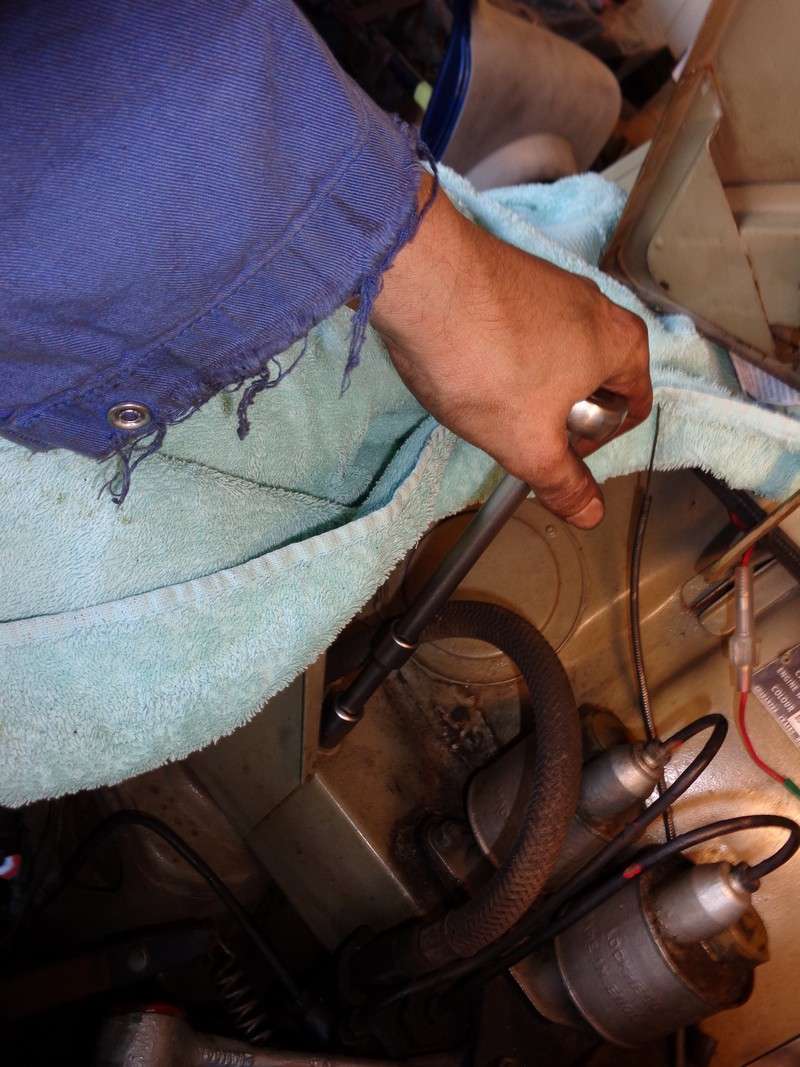
^I started to try my tower bolts. They felt pretty tight and corroded so I tried to spray as much inox around as I could to try and loosen up the bolts to remove later.
I didn't take a photo of me doing it but I also popped the tie rod ends out of the steering arms now before I started dropping everything. After this I removed all of the bolts from the back of the subframe where it bolts to the floor underneath the drivers and passengers feet (kind of where the subframe comes down to a point on each side).
Now that you are this far, walk around the car a couple of times and objectively look and see if there is anything that could snap / hold the subframe up etc when you go to drop it. Check you have enough slack in your engine earth cable, clutch slave cylinder hose etc etc etc. Every car will be a little different and the above is what I chose to remove. You are better off removing something than breaking it later because you thought it would be ok.
Now, I put a jack under the rear of the subframe to keep it up against the floor at the back while I removed the tower bolts. Once the tower bolts were removed, I slowly let the jack down to reveal separation. I also needed to give the engine a bit of a wiggle at one point to drop it a little further.
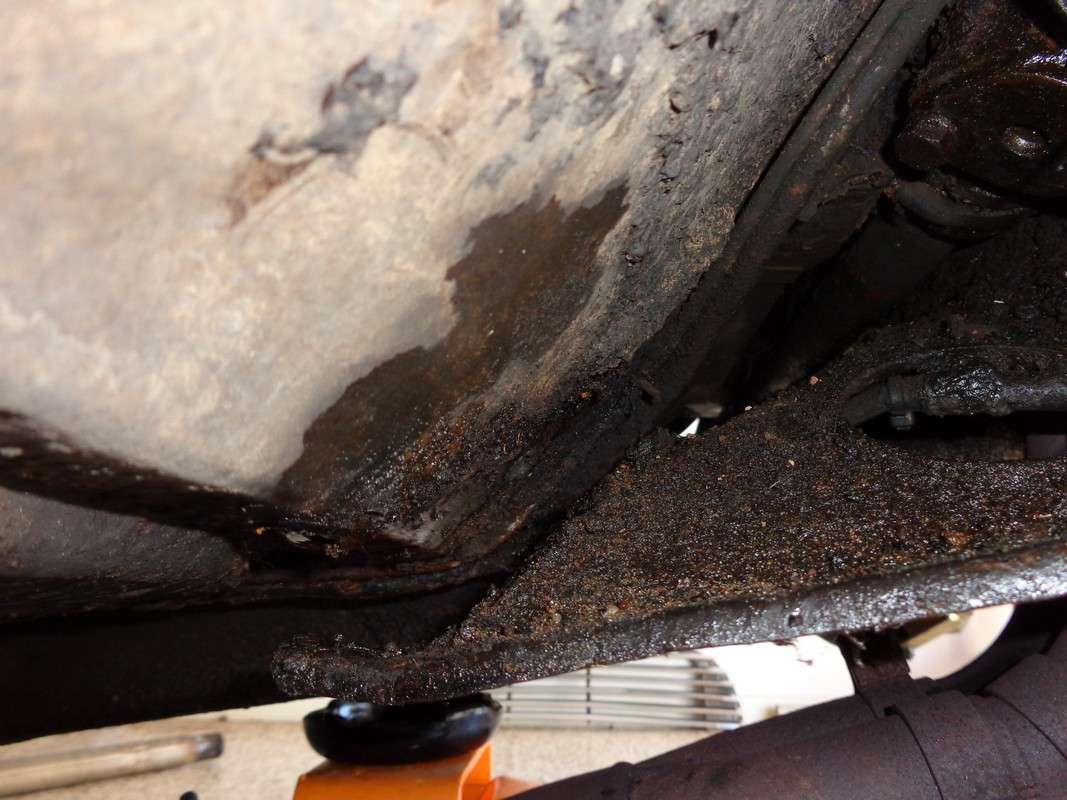
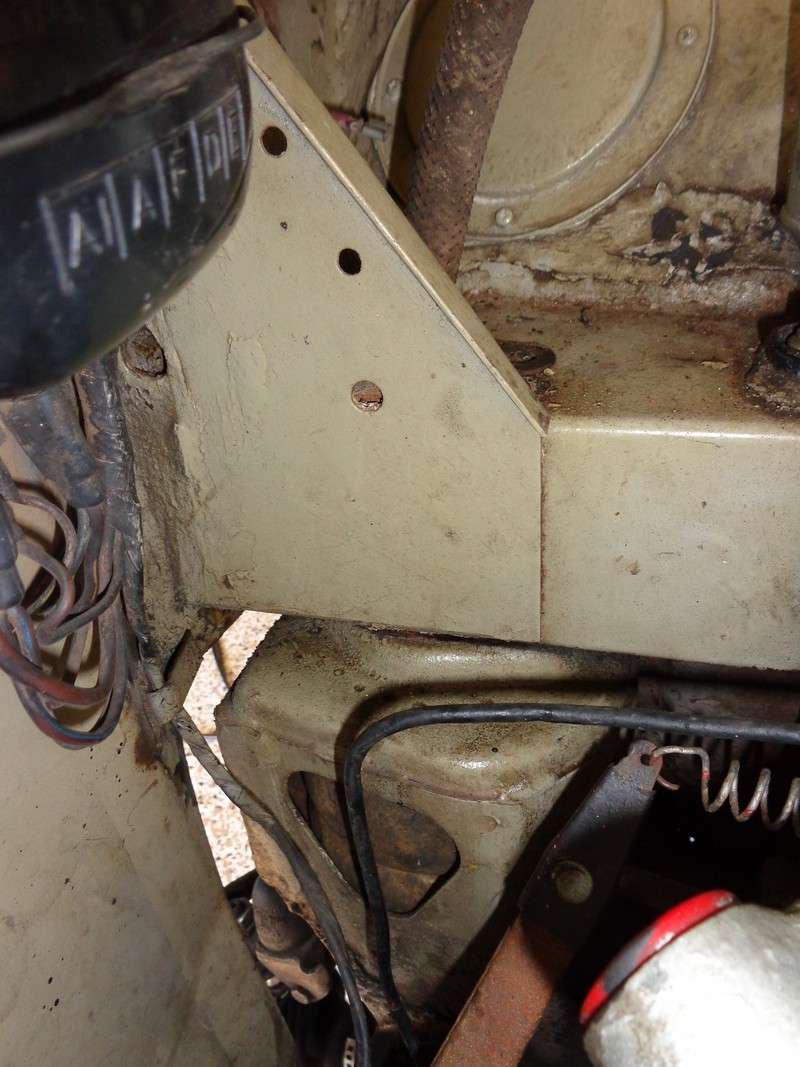
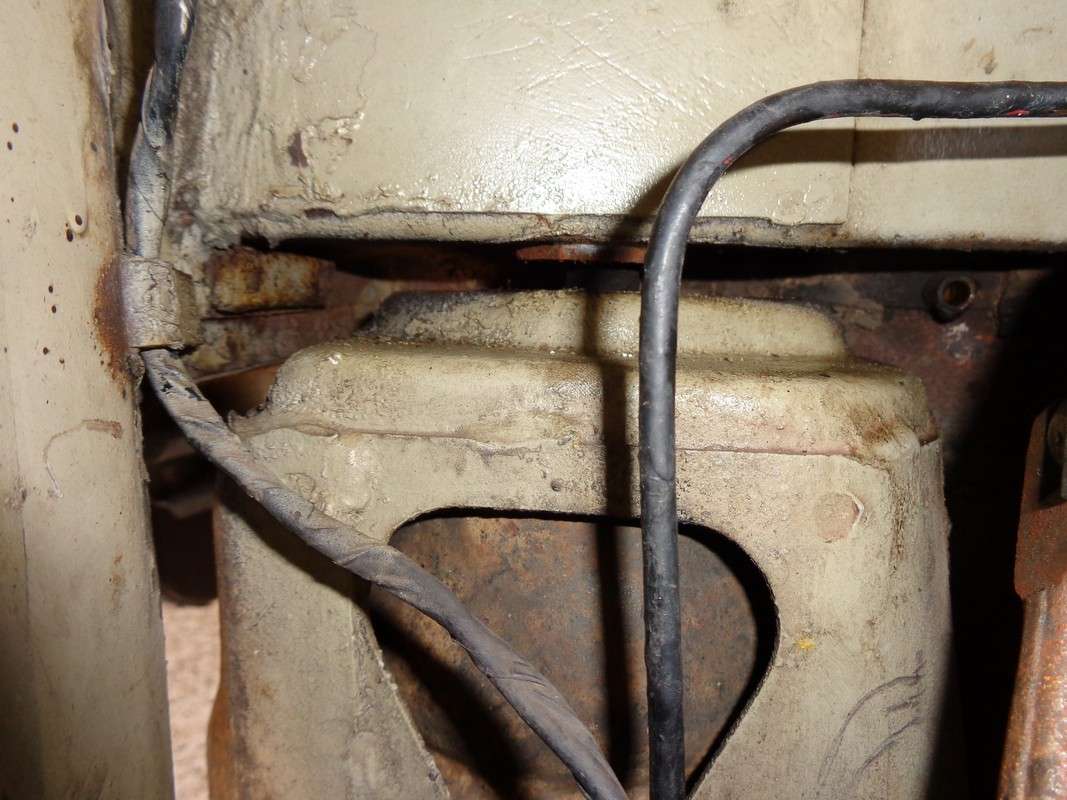
^Check for separation!
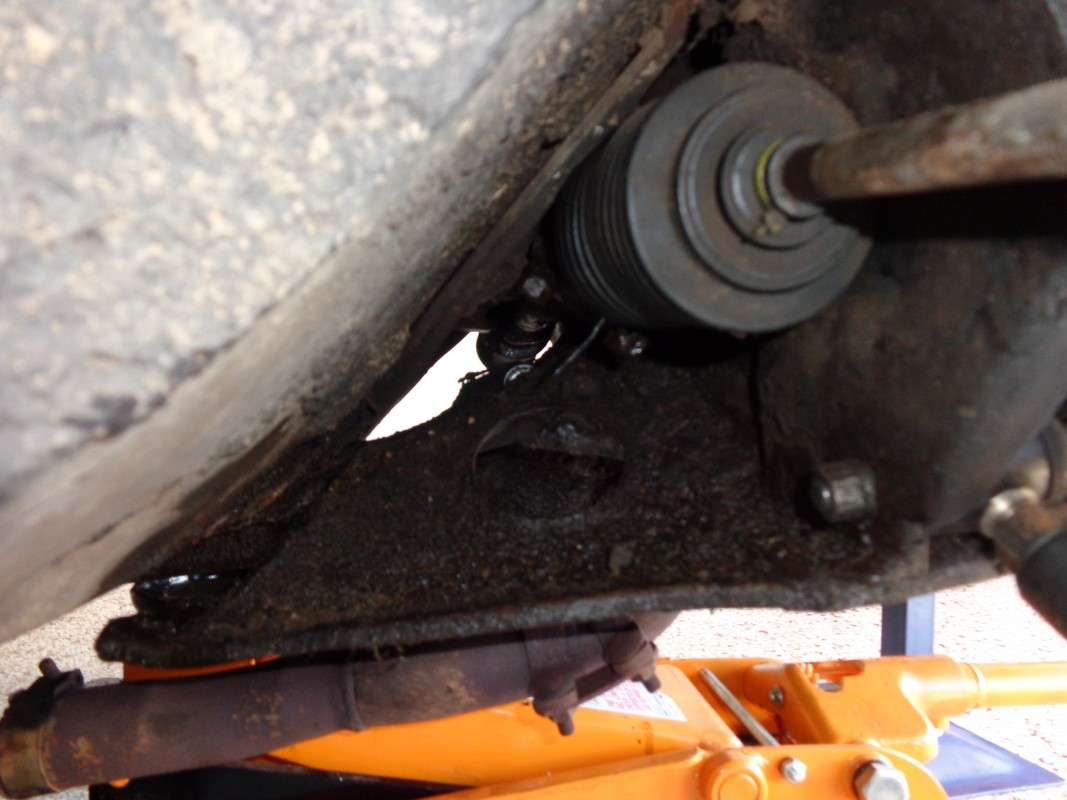
^Steering rack comes out through here!
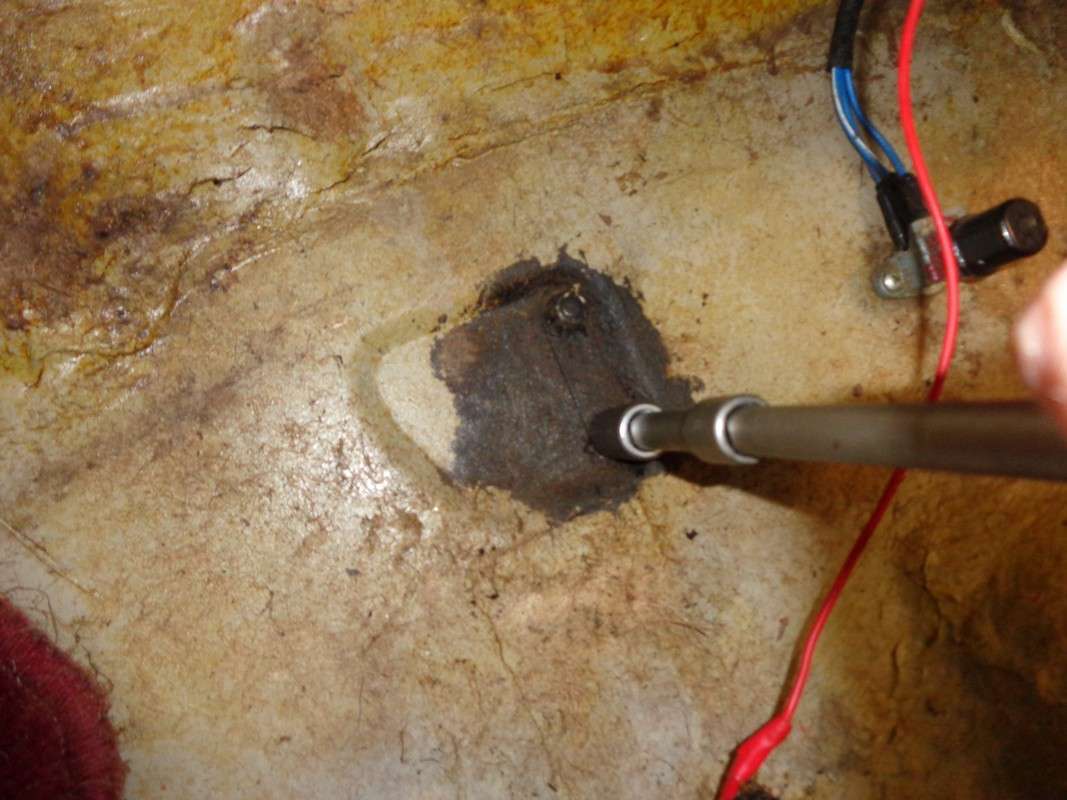
^Remove the bolts from the steering rack U bolts and withdraw the U bolt itself from the steering rack side of the floor (one U bolt each side of the car).
Withdraw the steering rack through the drivers side of the car. Note you will have to slightly turn the rack clockwise so the column spline (pinion) can be rotated out from the floor of the car as you pull it out past the drivers side wheel.
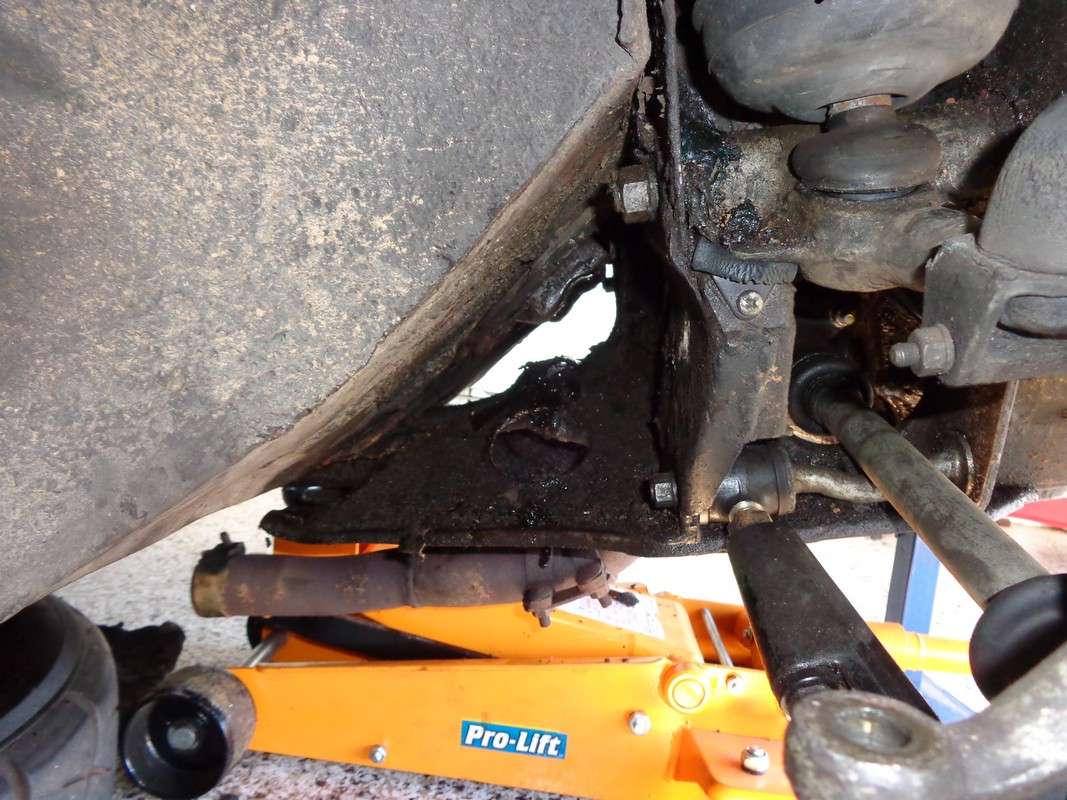
^Where'd it go?
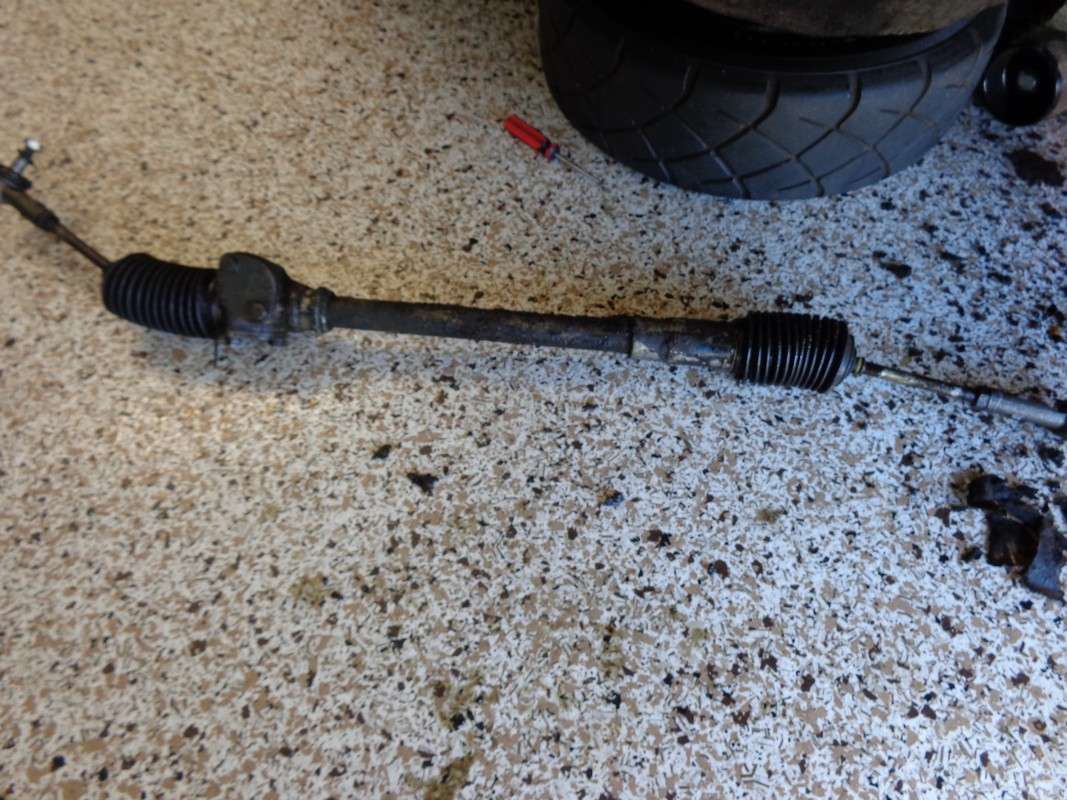
^Here it is removed from its home for the first time in 48 years
http://imageshack.com/a/img537/5564/uESgGQ.jpg^Take it somewhere and give it a clean up. I'm choosing to clean it up really well on the outside as I will be rebuilding this unit as it is the original rack from my car. If you've bought a replacement rack you don't have to worry about it as much.
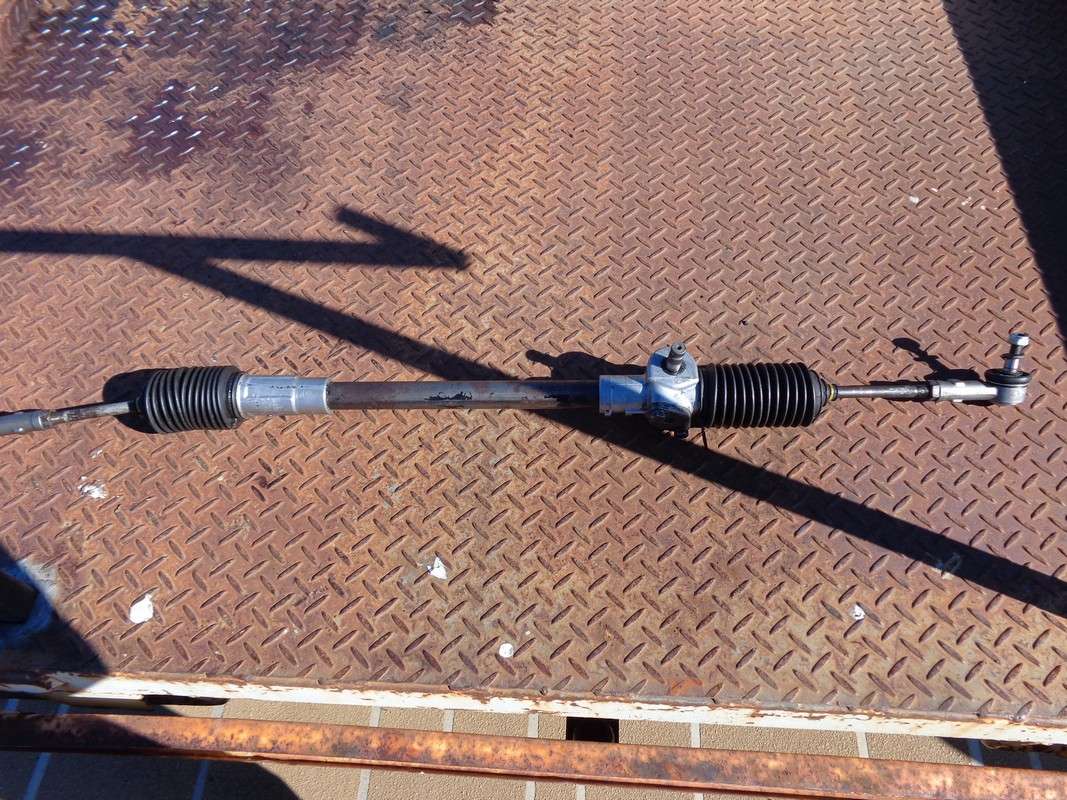
^Much nicer to handle clean parts
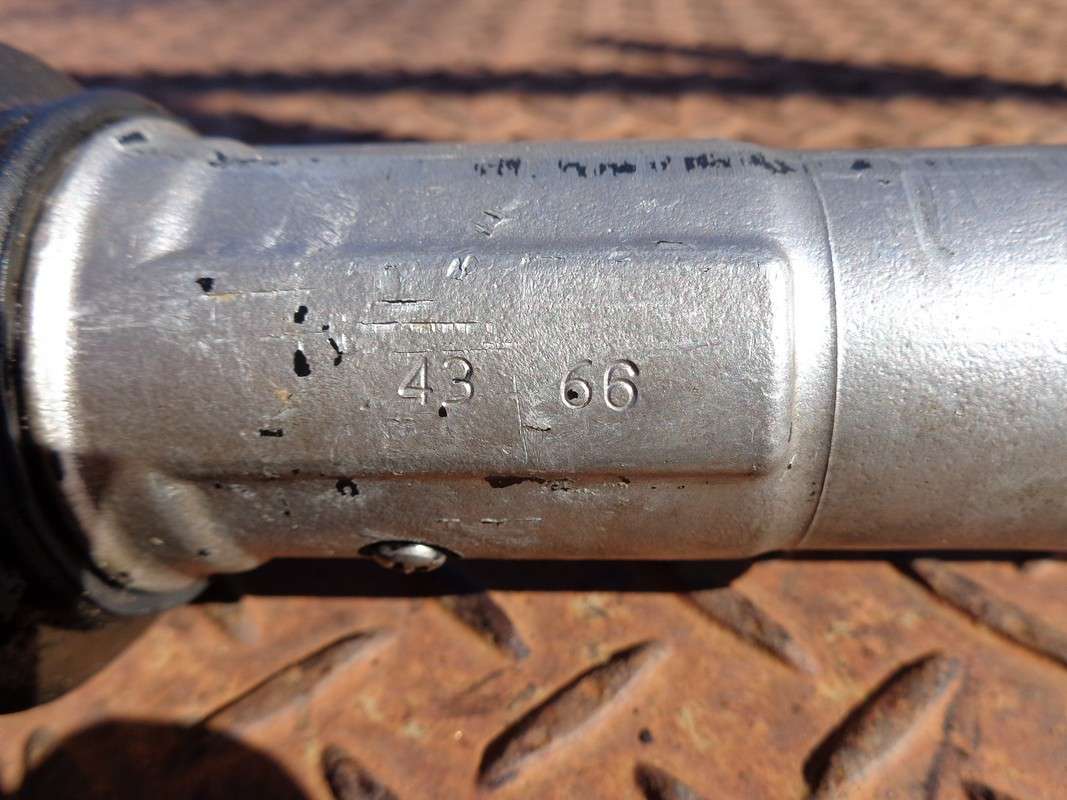
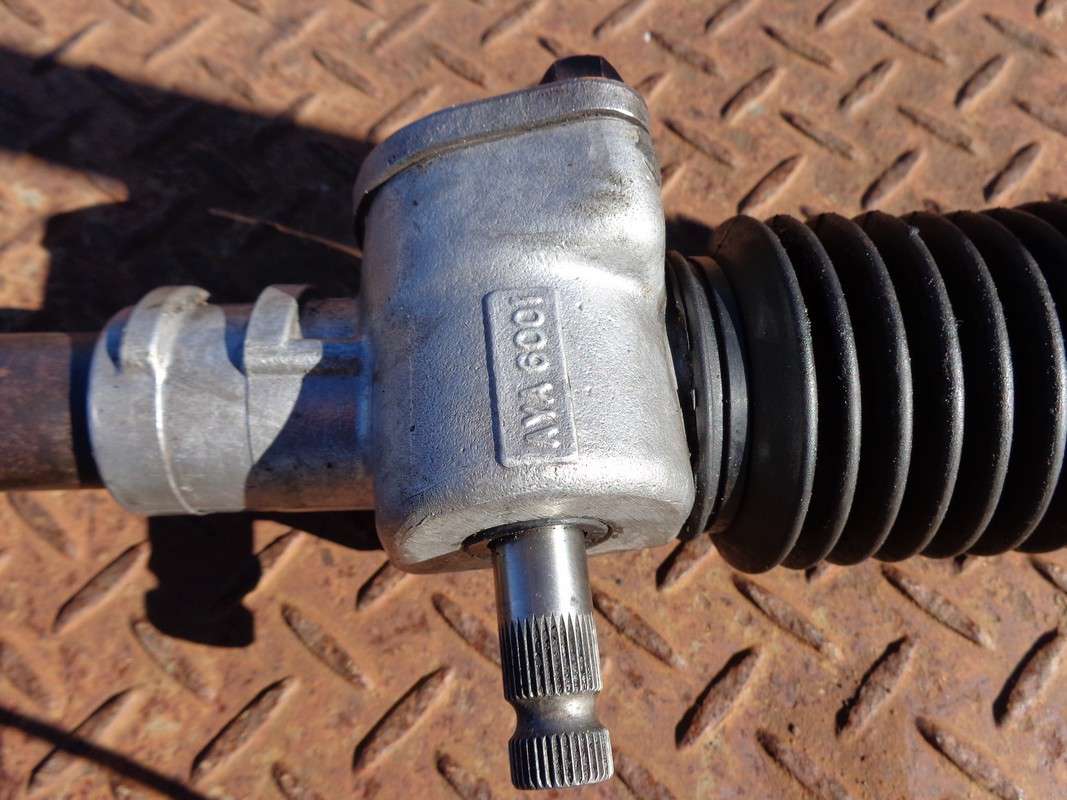
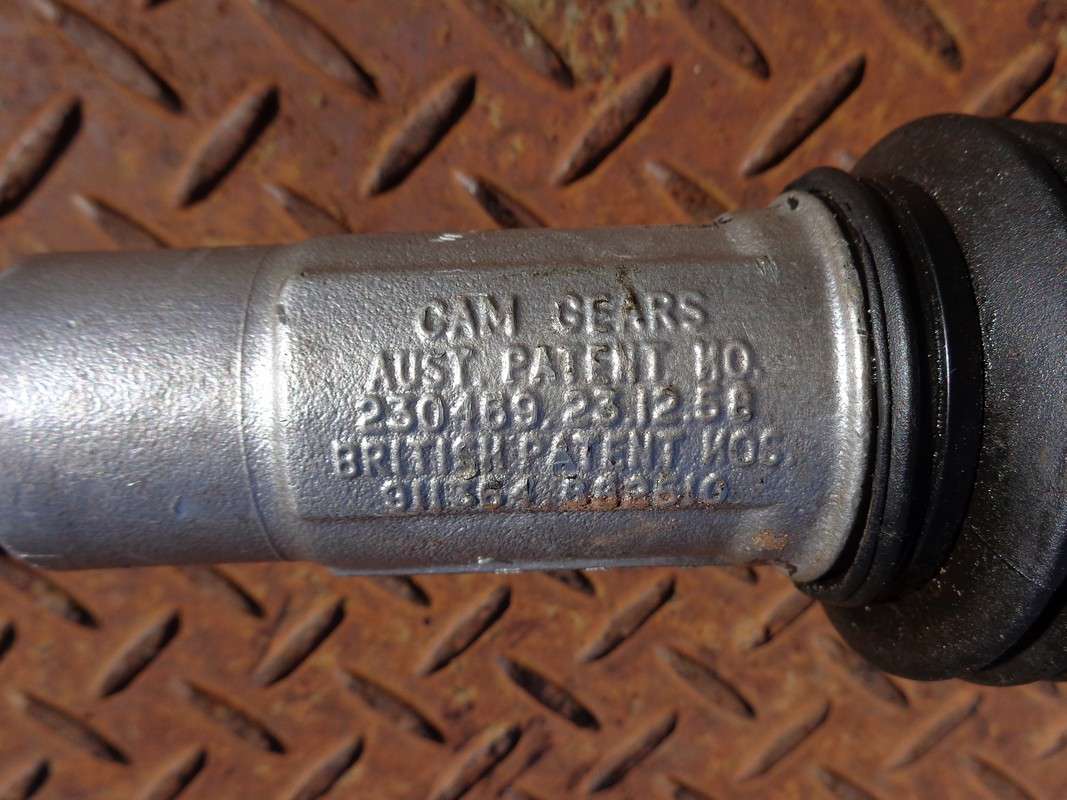
^Next take note of all the important bits such as part numbers etc if you do want to rebuild it / want to know what was in your car.
I also took the time now to clean up all of the road grime from the rear of the subframe where the rack sits and I also took the opportunity to pump lots of fresh grease into the grease nipple present on the rear of the diff housing for the remote shift linkage. I have tried to do it before on the car but after doing it now with everything removed I realised I was probably pumping more grease around the nipple than into the housing. The shifter felt much tighter and I could hear the grease getting worked in this time.
As a follow up on the grease nipple, I went and had more of a think about this and bought some remote grease nipple fittings from a hydraulic shop. Unfortunately they didn't have the thread I was after and the adapter needed a little machining so I modified it and cut a new thread and now I have a remote grease nipple mounted up on the firewall where I can grease the remote housing very easily.
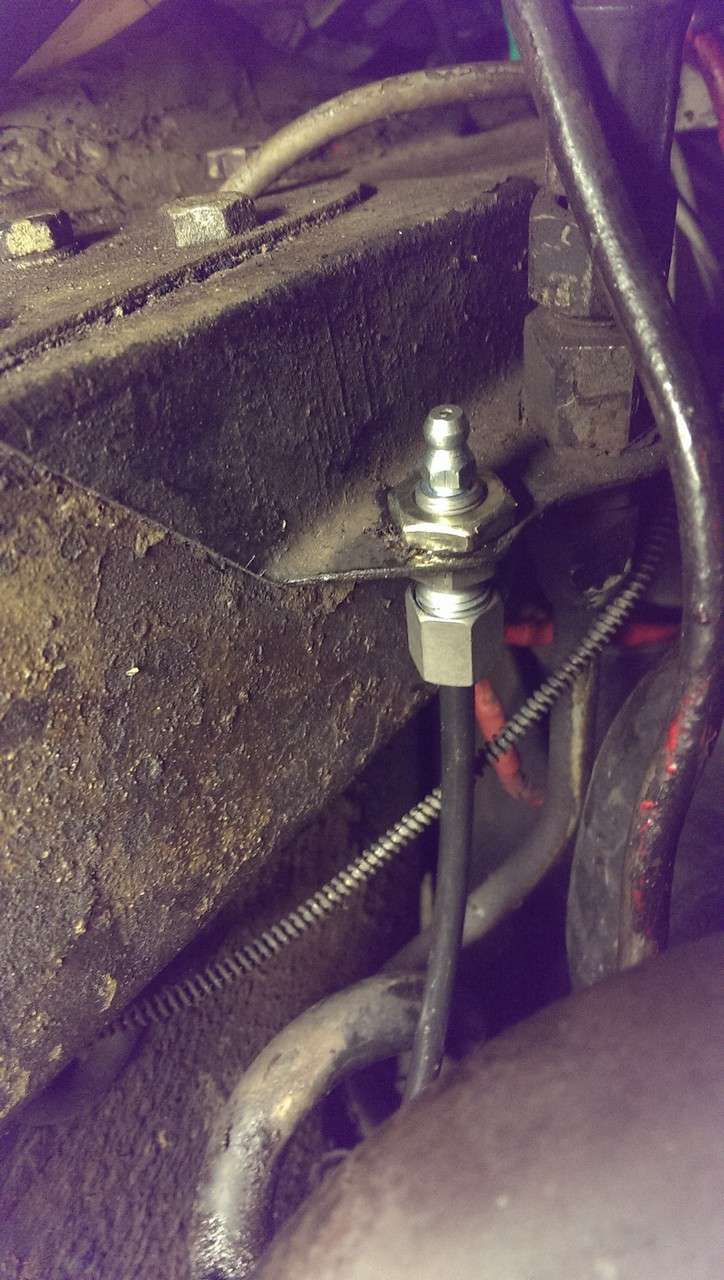
^This is what I ended up with - a grease nipple on the passenger side in the bracket that holds the hydro line from the bag to the hard line that runs to the rear bag. Much easier access.
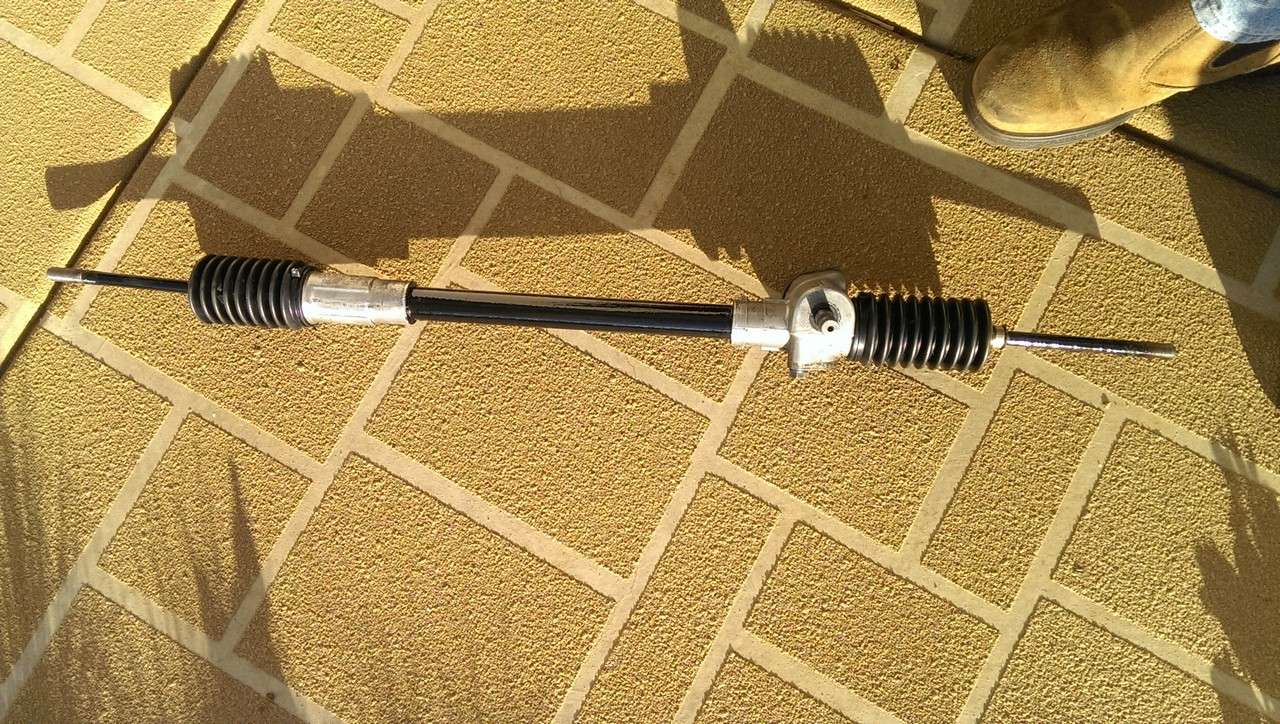
^ I ended up giving the rack a paint job before it went back in the car.
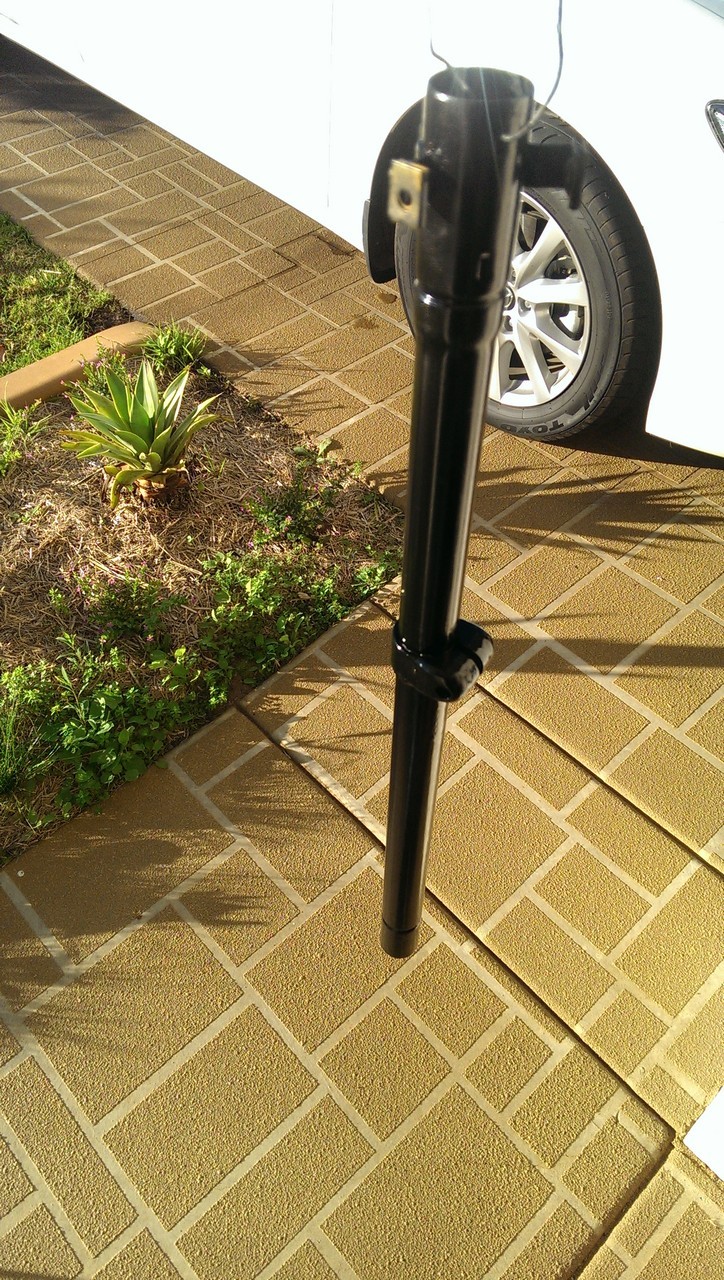
^ Same with the column itself. I also took the opportunity to replace the bushes in the column too as they were shagged.
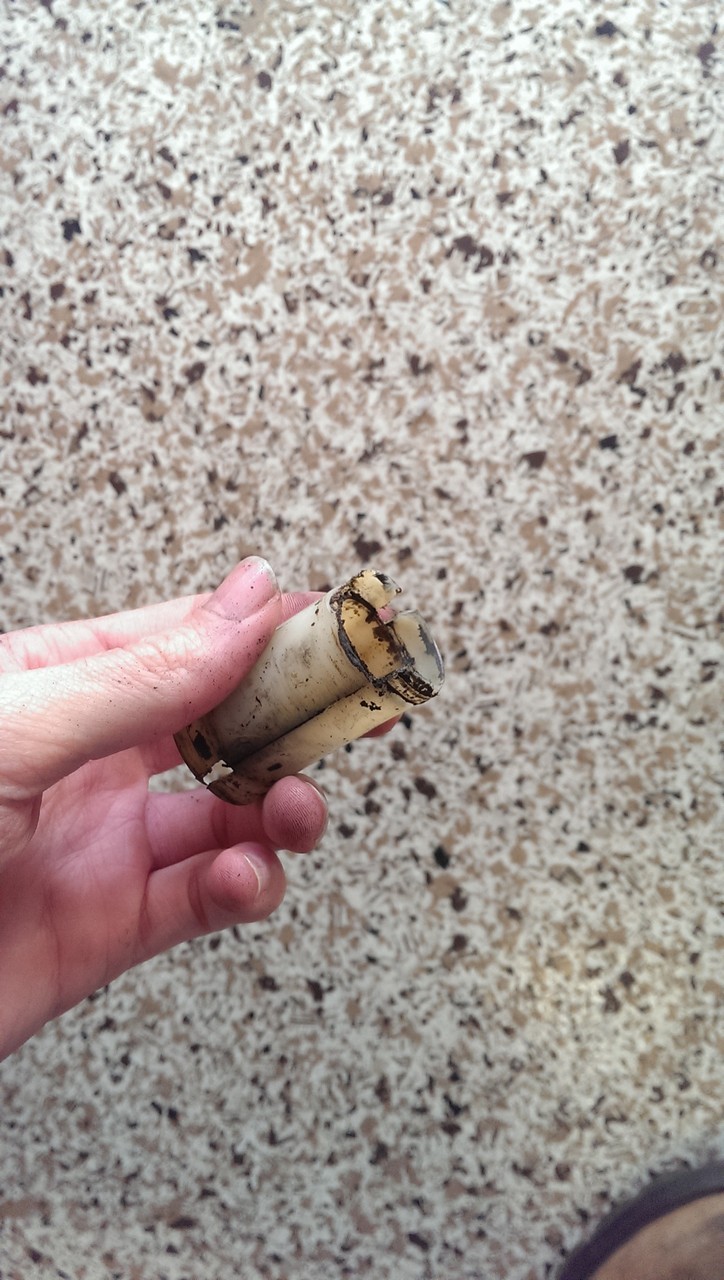
^This is one of the column bushes that I removed - no wonder there was some play in the column!
Anyway, back on topic and now we are up to reassembly:
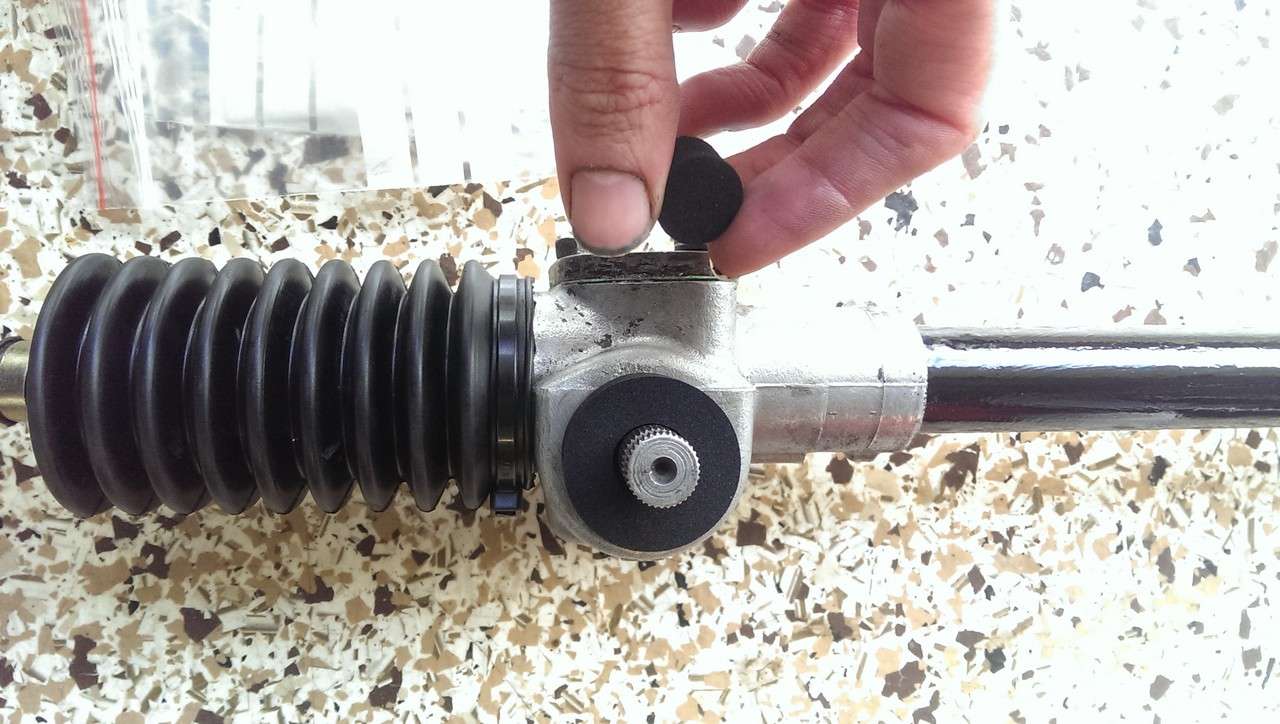
^ Start by putting your new rack to body rubber / foam thingy on the pinion gear so it keeps the water out of the interior.
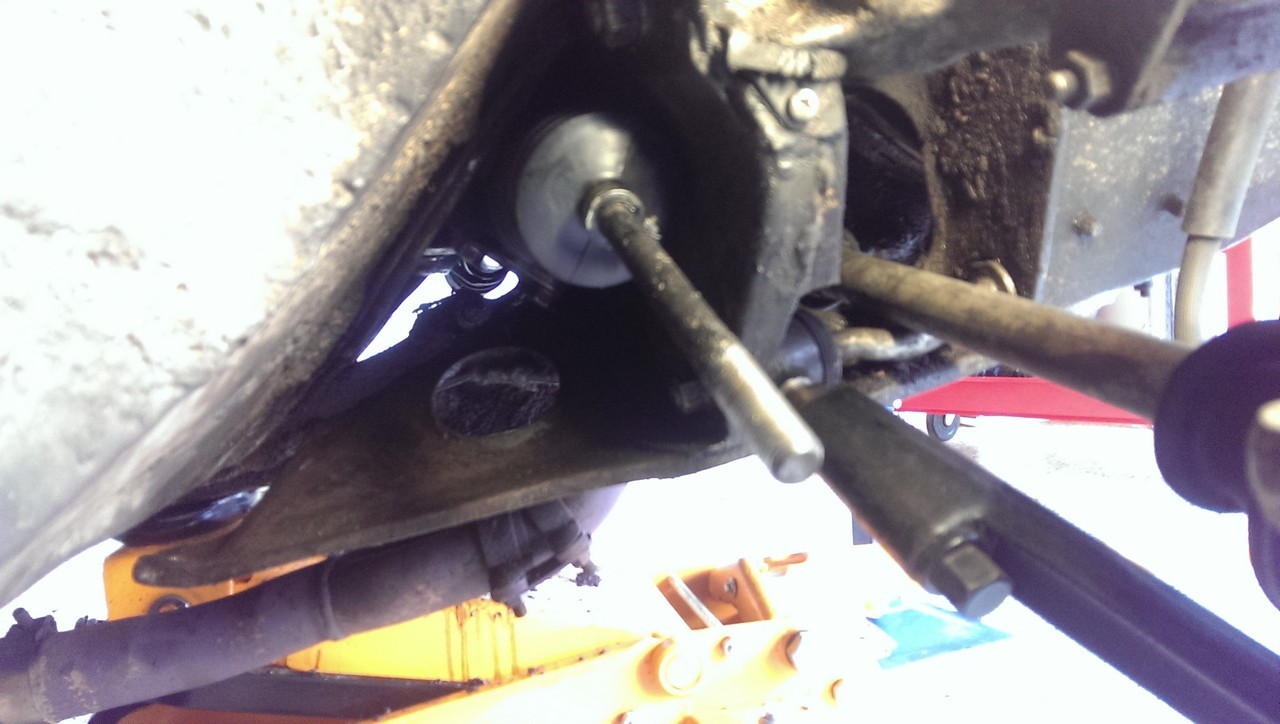

^ Feed the rack back through the gap between the subframe and the body until it is in place. Pretty much the reverse action that you did when you removed it.
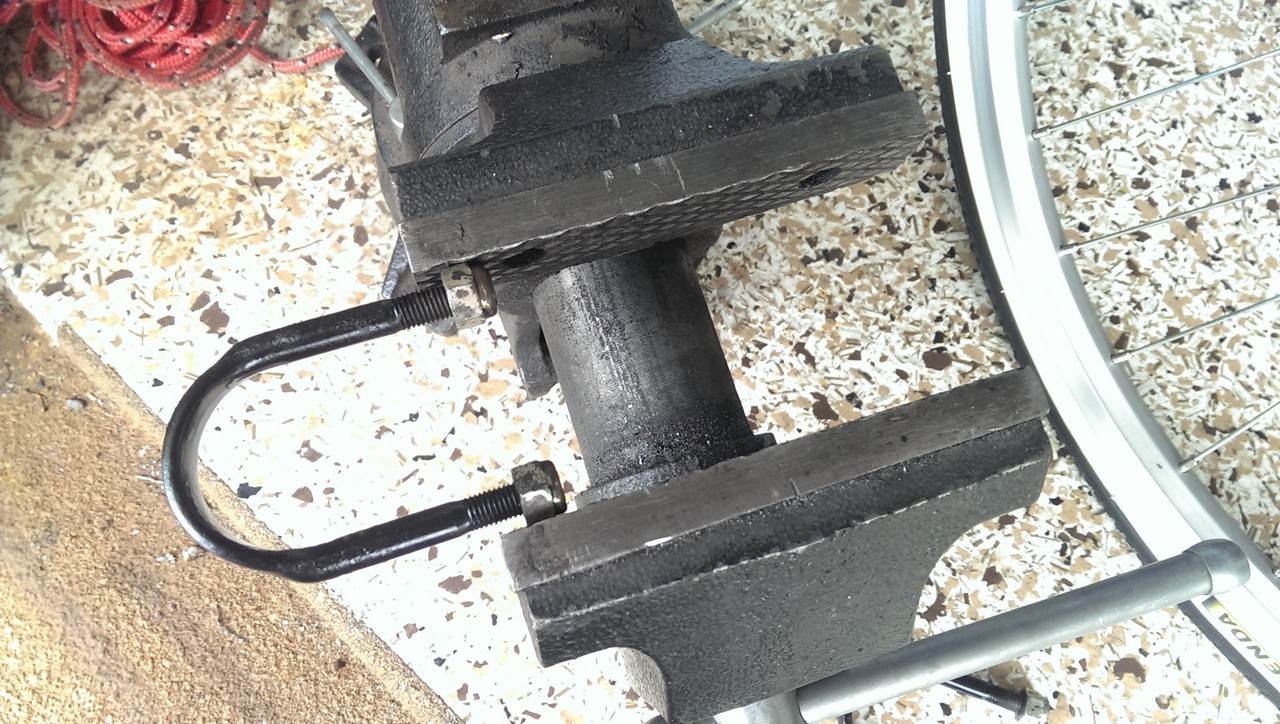
^ Grab the U bolts and check that they fit the holes in the floor as they seem to grow and widen out when removed. Just try it from the interior side of the car to make sure they go in easily, if not, give them a bit of a squeeze in the vice until they do. Note I have the nuts on here to protect the threads of the bolt from damage. Once they are back in, do the nuts up a few turns so that you can still easily push the rack pinion gear back and forth when installing the column so they mesh together on the same angle. Make sure the self cancelling of the indicators is working properly too at this point. Tighten the bolts up when the column is back in and tighted up etc so that all the moving and adjustment is over.
The rest is basically the reverse of removal with the exception being when you install the steering column, make sure to turn the rack stop to stop to work out where the centre is and then remove and reinstall the column so that the steering wheel points straight ahead. I had also removed the steering wheel when I built the rack so I just made sure it was pointing straight ahead.
After it was all back together I found that even though I counted the tie rod end turns on the old rack, I must've aligned this one differently when I rebuilt it and ended up doing a string line toe adjustment to get the wheels pointing in a straight ahead direction.
If I had to describe what I now had, it definitely feels firm in the steering and the 'self centre-ing' of the wheel is gone, it now feels much better and like it is connected the whole time. It should definitely bed in quite well as I had a bit of firmness in the column now it has new bushes in it which wouldn't help the tight feel.
I hope this helps a few of you out and puts into perspective how much effort is needed to get this job done.


