ausmini
https://ausmini.com/forums/

Another 4EFTE conversion [selling]
https://ausmini.com/forums/viewtopic.php?f=23&t=78753
Page 3 of 6

Author:  1018cc [ Thu Oct 17, 2013 4:42 pm ]
Post subject:  Re: Another 4EFTE conversion [UPDATED 15/10 - Flare work]

hallsey wrote:
She"s looking good there nick

A fine craftsman our young Tricky :D

Cheers Hallsey


Sure is. Tricky is doing a great job. Talked to him on the phone yesterday and he tells me he is going to start really getting into it soon, apparently he's been dilly dallying!

mattsmadmini wrote:
mmmmm loving all these progress pics! makes me jealous! :(

Looking forward to the final product nick, colour scheme staying like that? (ie. white flares etc?)


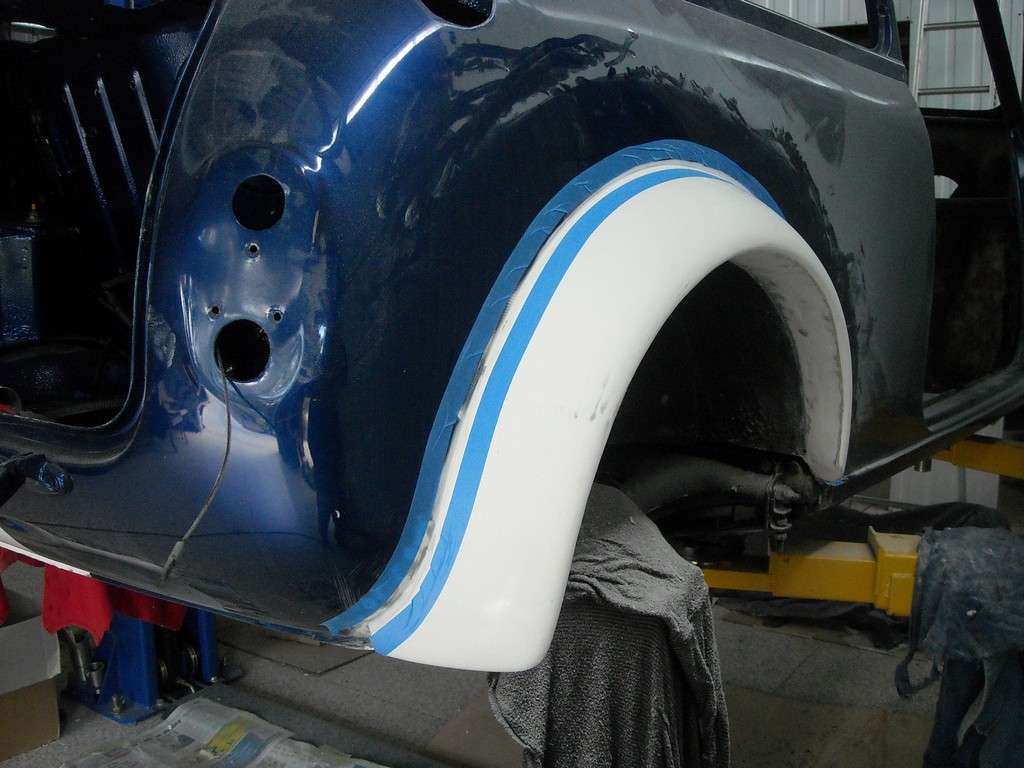
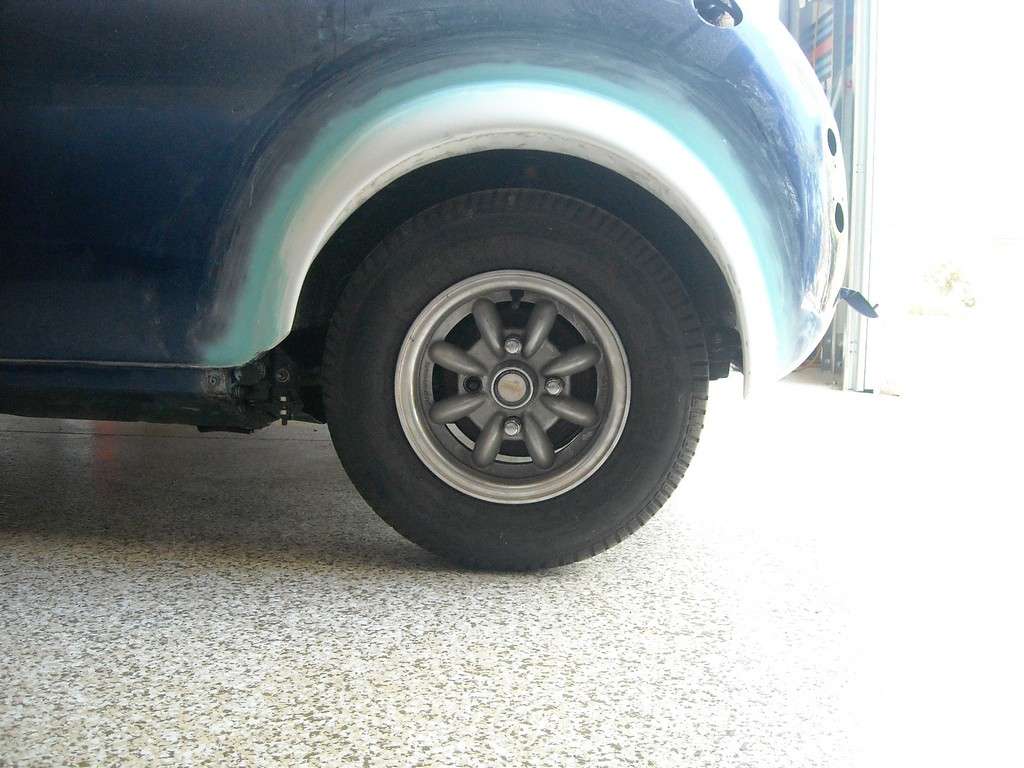
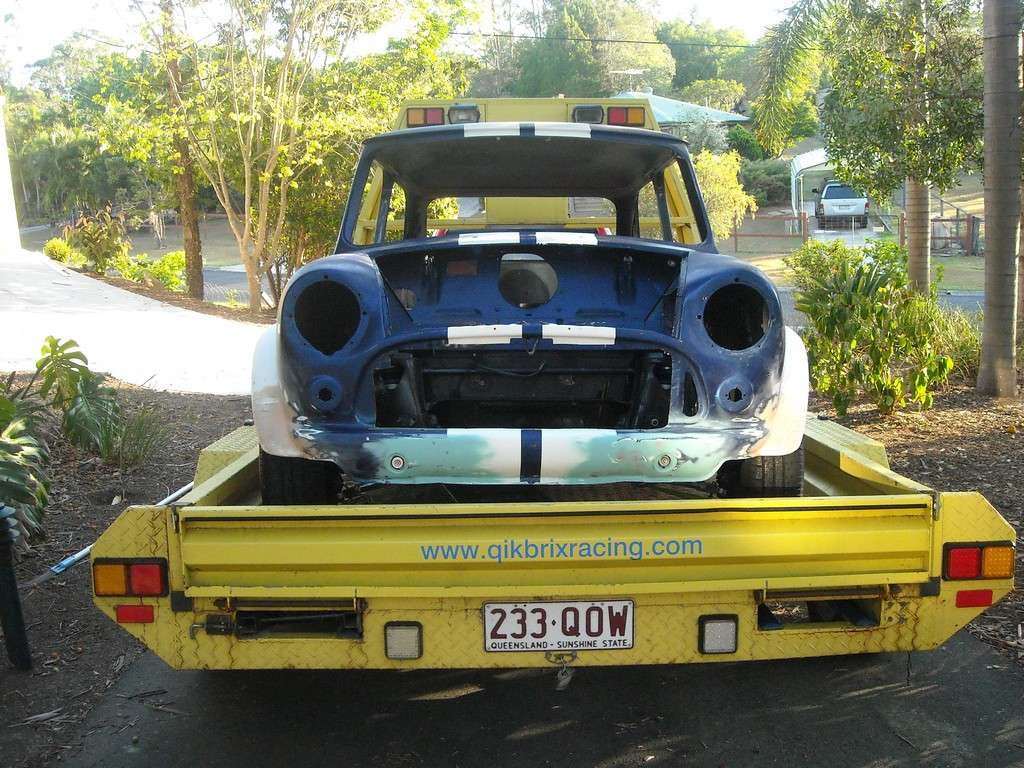
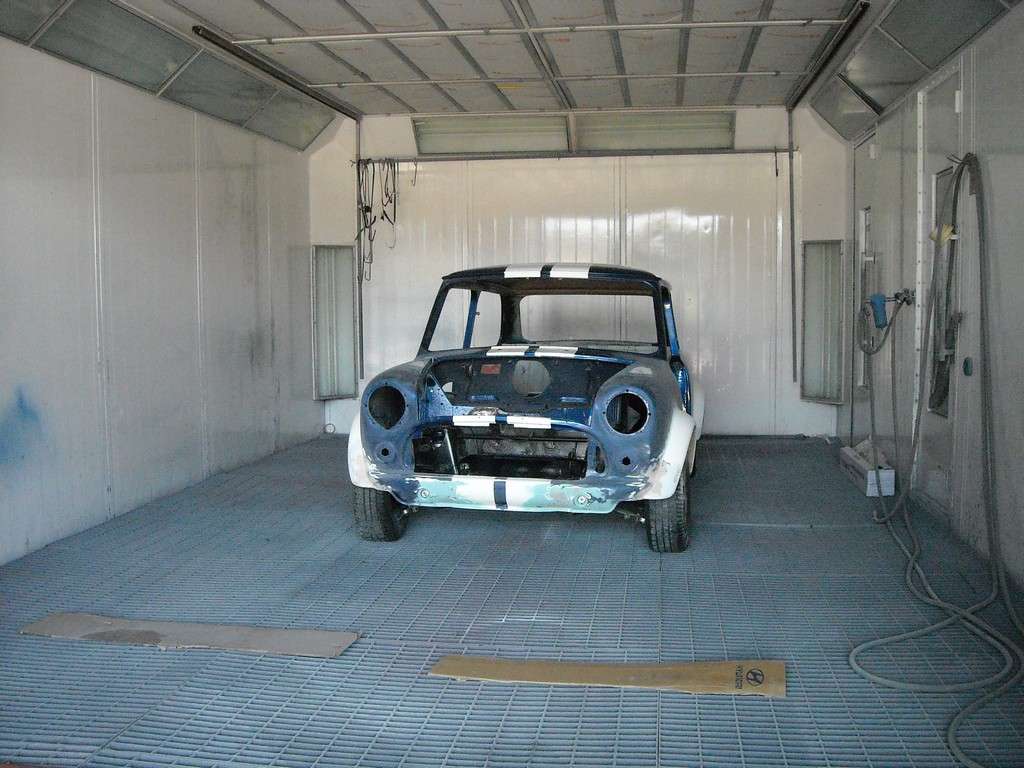
The colour scheme is changing slightly. The flares will be painted body colour (blue) but the stripes will stay. I've half looked at the flares in white and I think they look pretty good but I tend to think it will look better in the blue of the body (plus the flares are being bonded to the body (so there is no join like you find on most other cars)

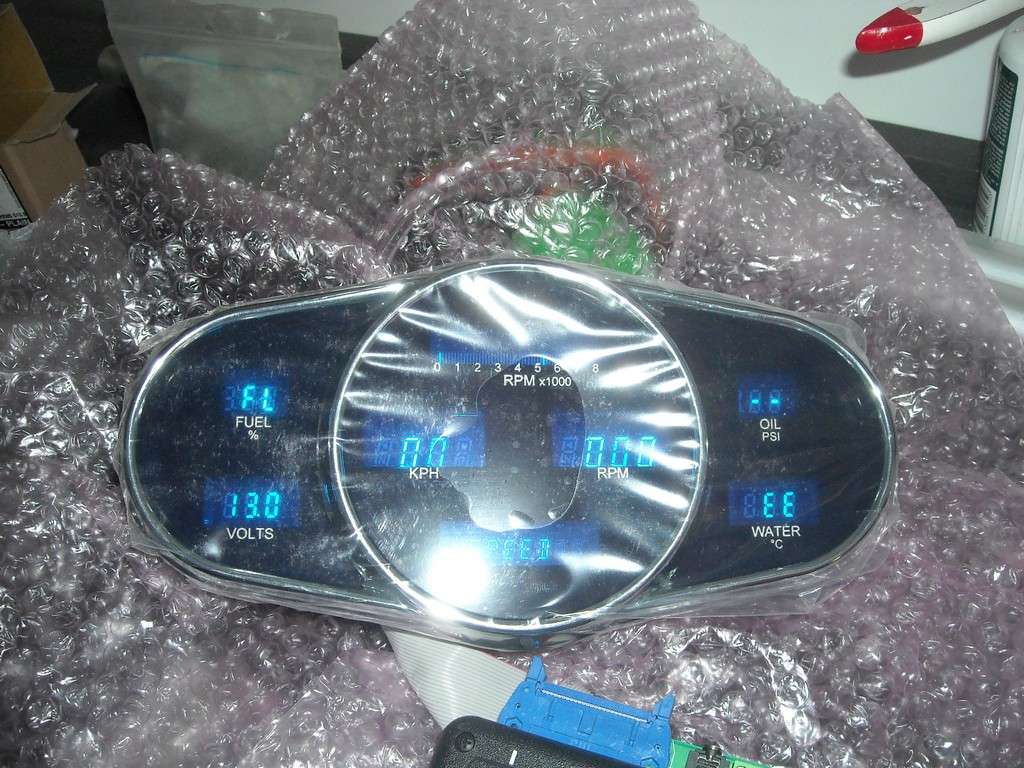
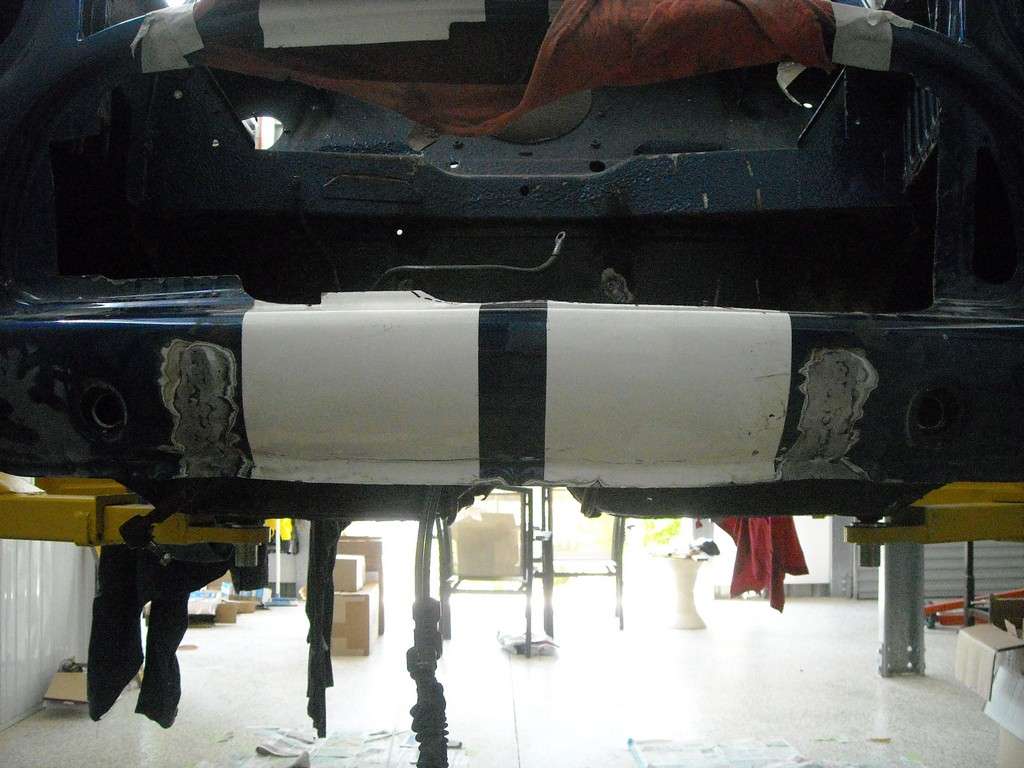
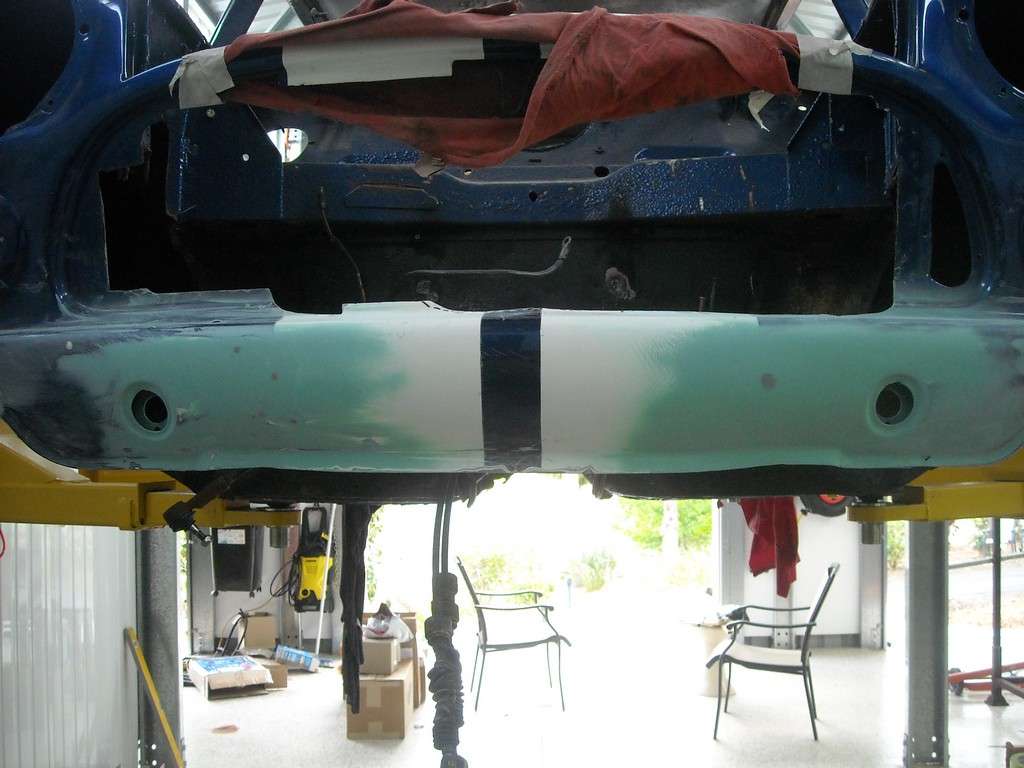
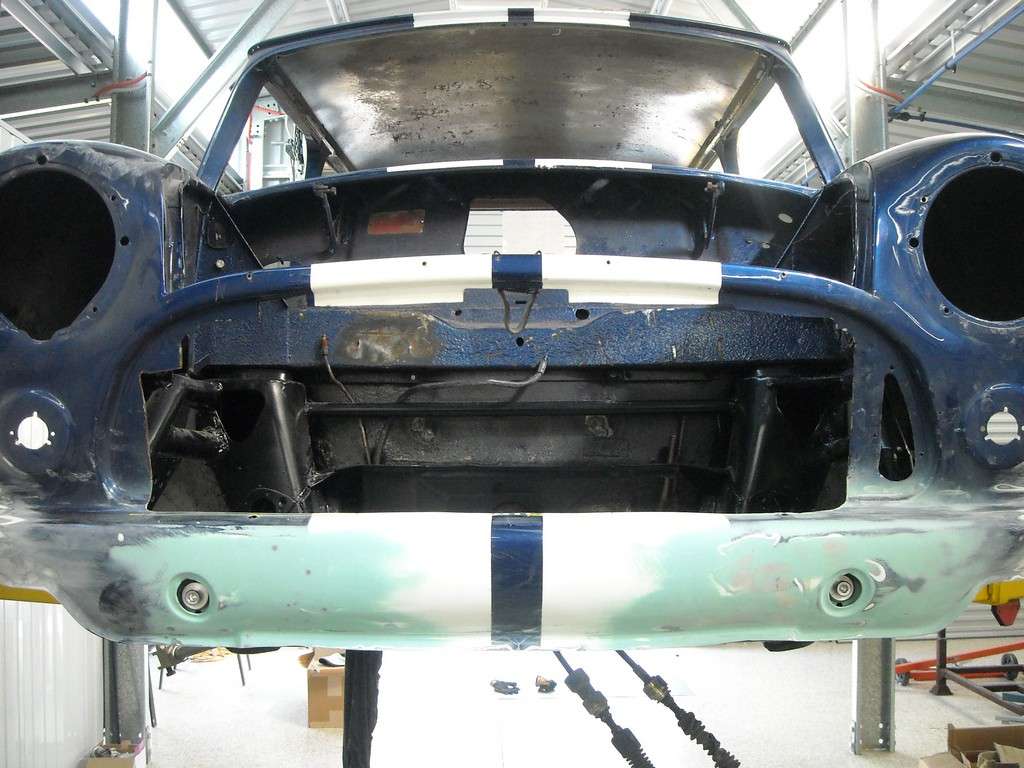
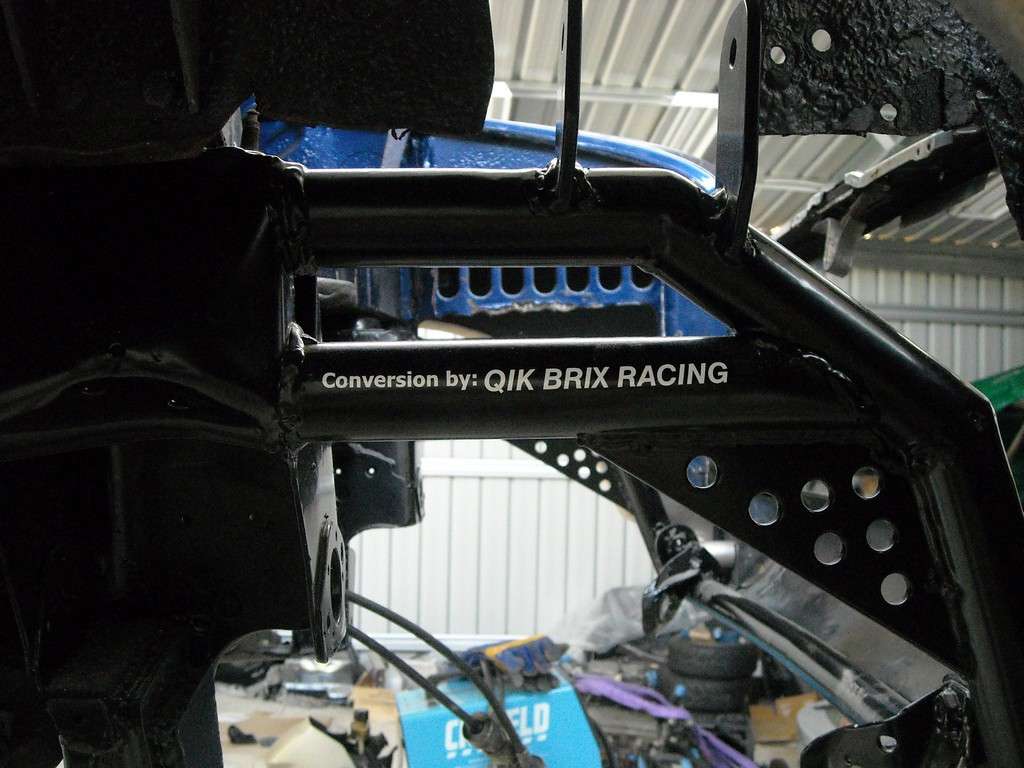
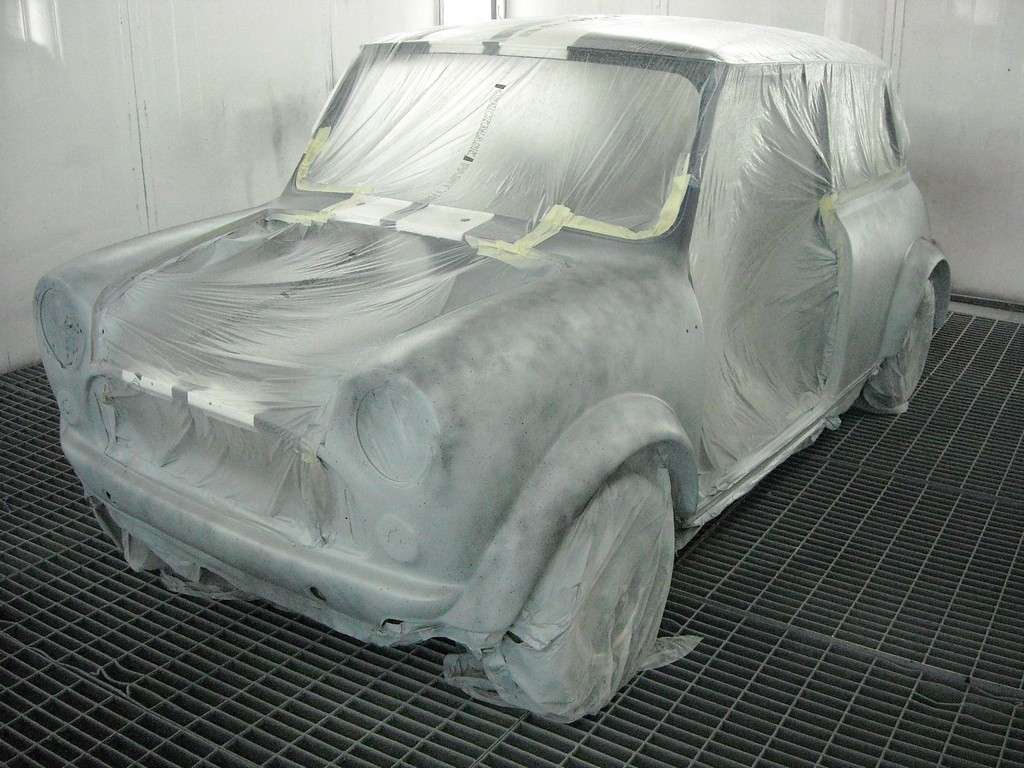
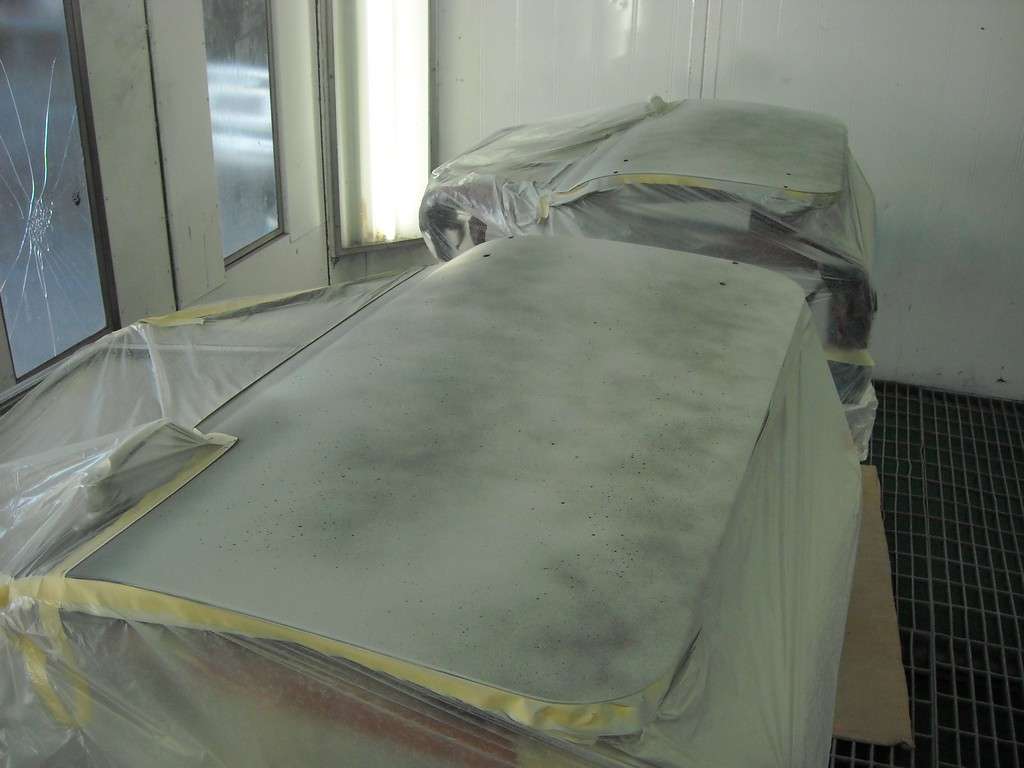
Time for an update! Tricky has been busy over the last few days. Busier than what the pics suggest, he has been working on a special part of the project but I won't be putting up pictures here until it is all done (or almost all done) to avoid the nay-sayers and those that believe what we are attempting, saying that it can't be done. On to the pics!

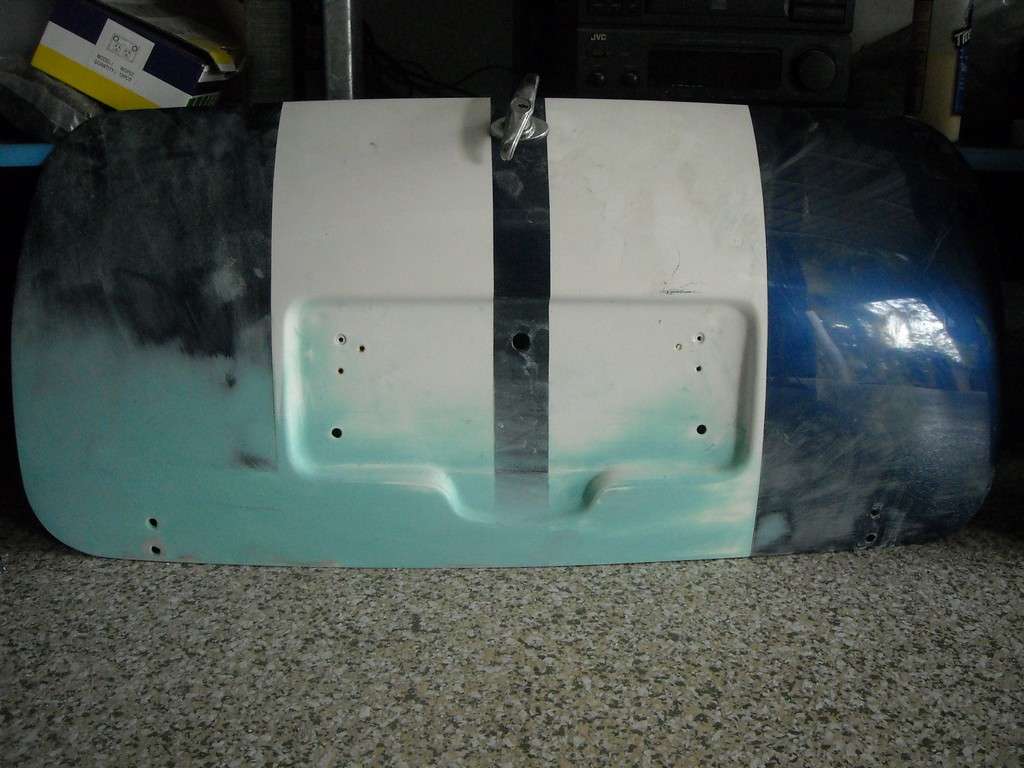
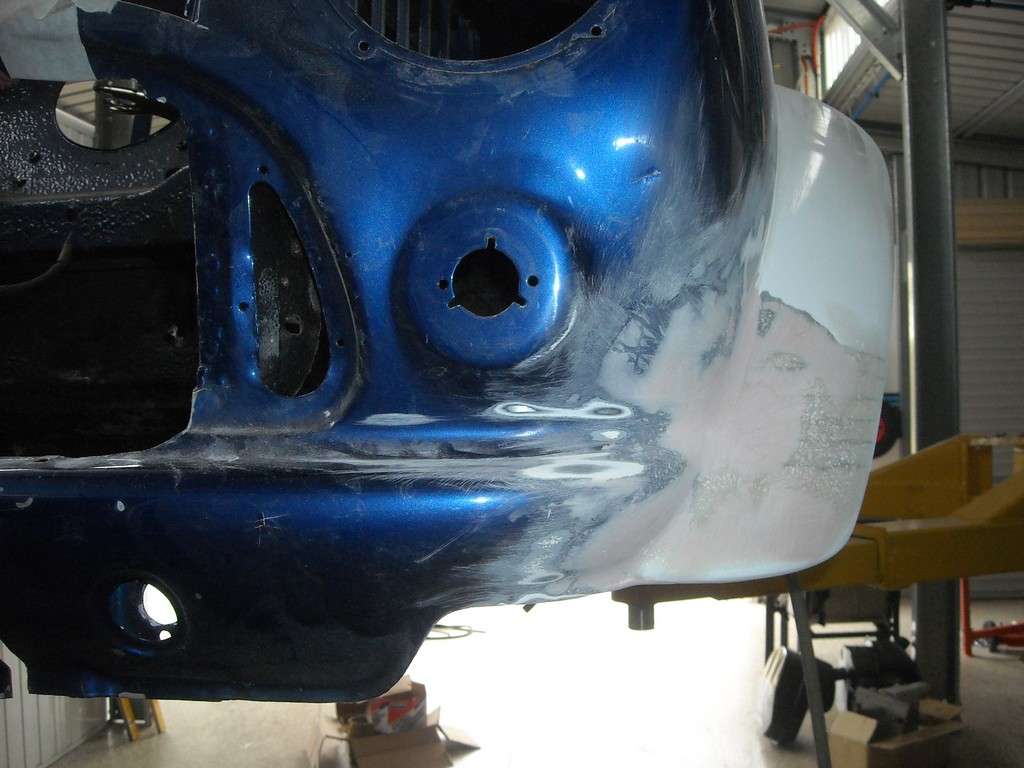
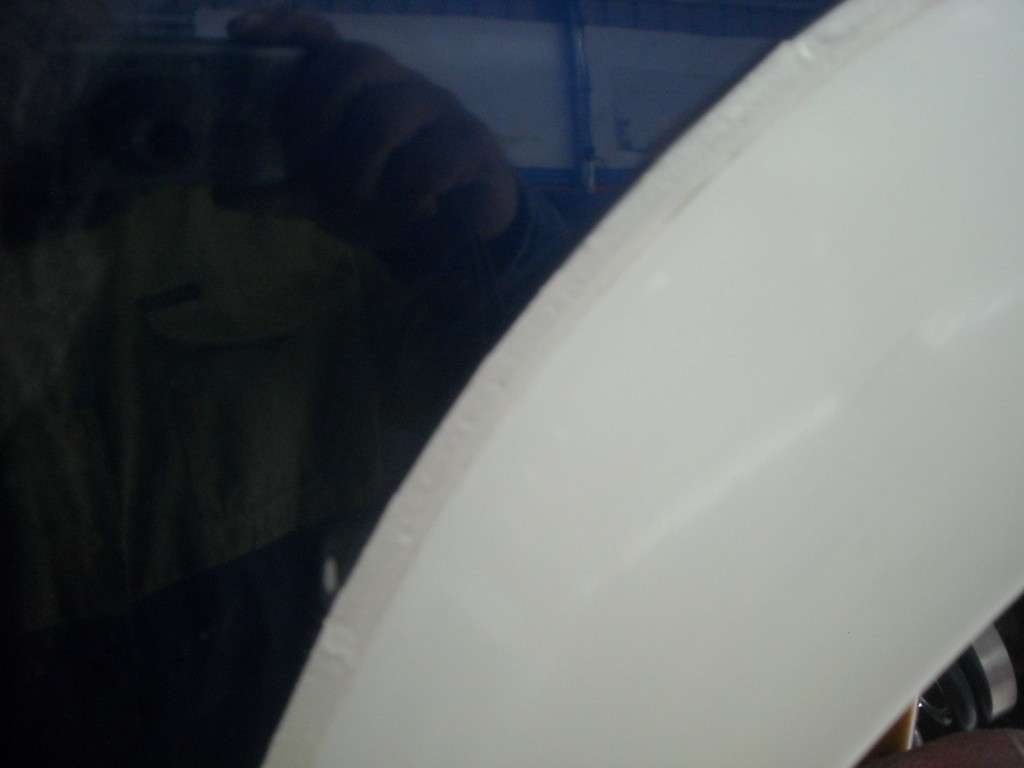
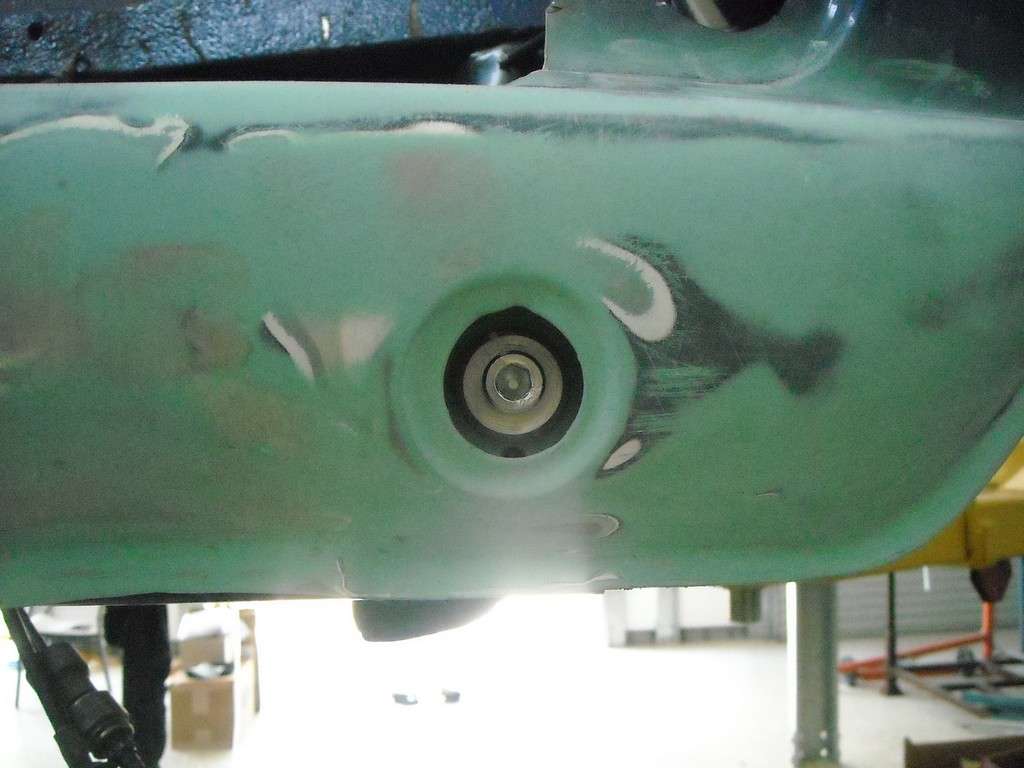
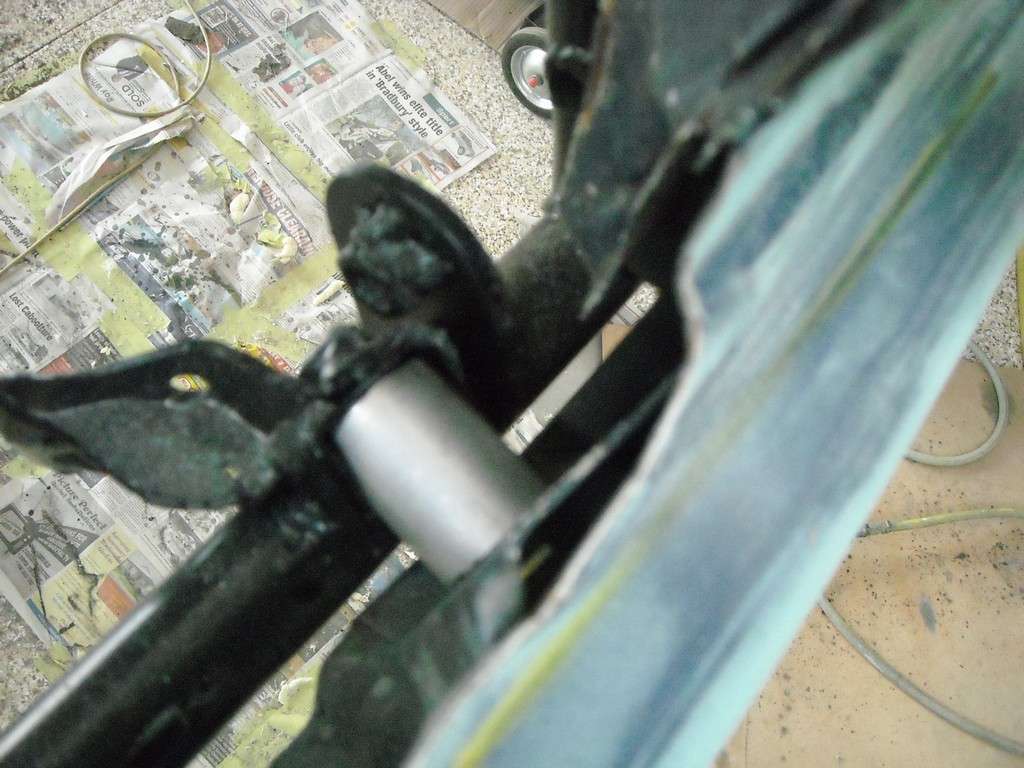
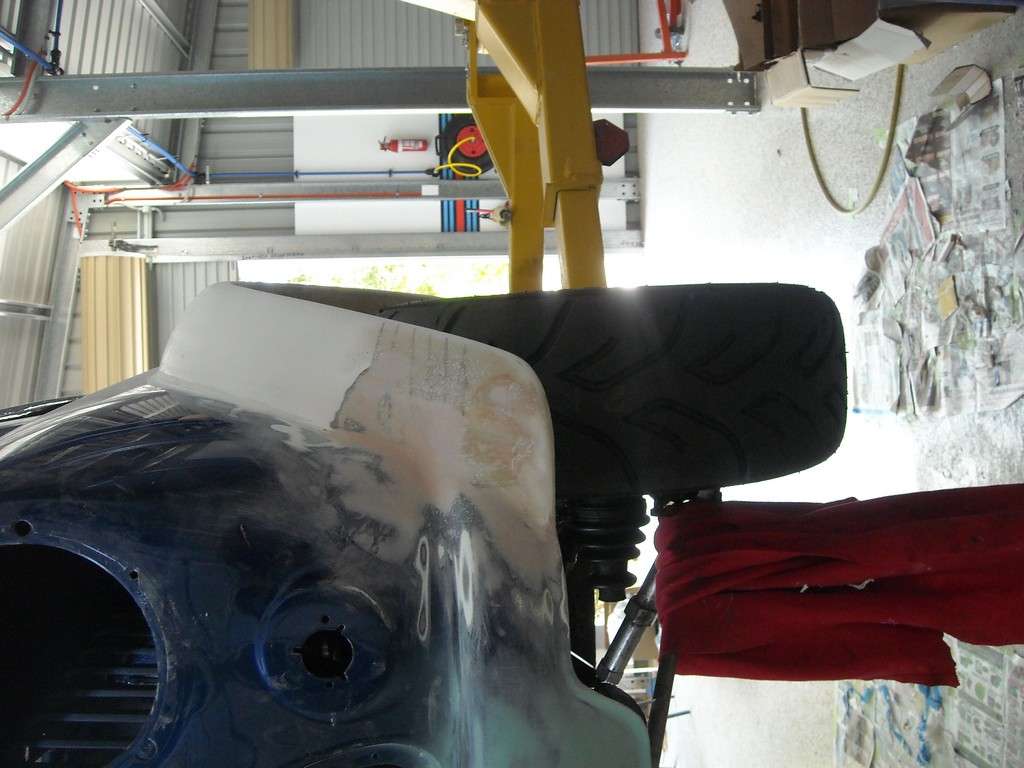
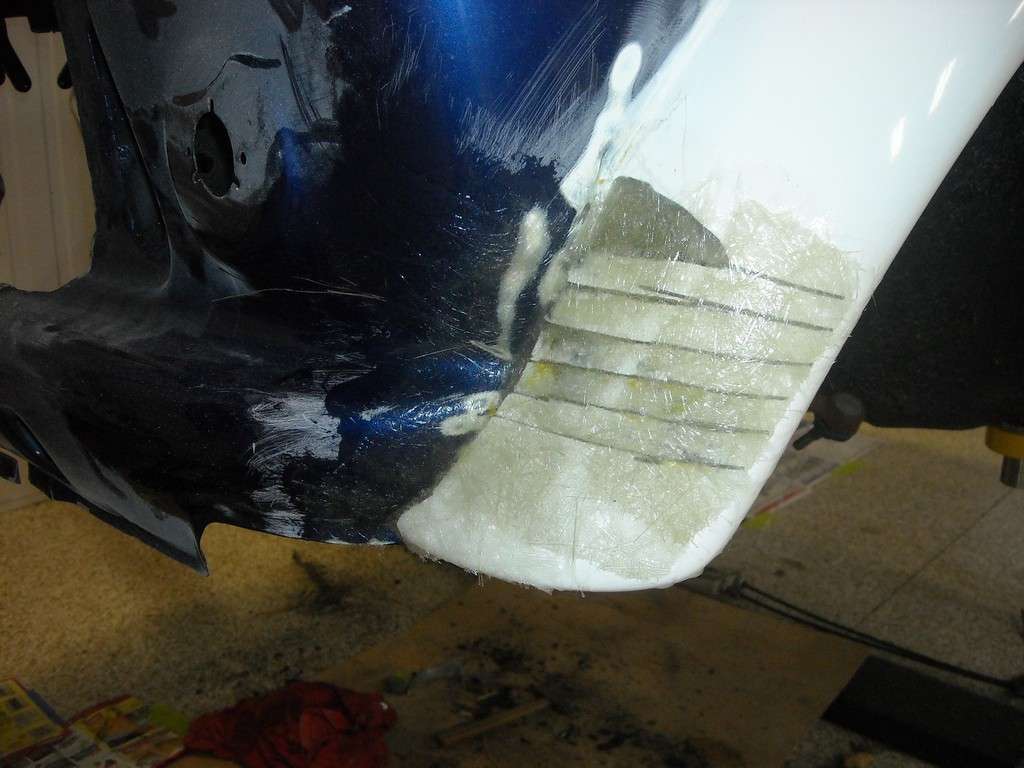
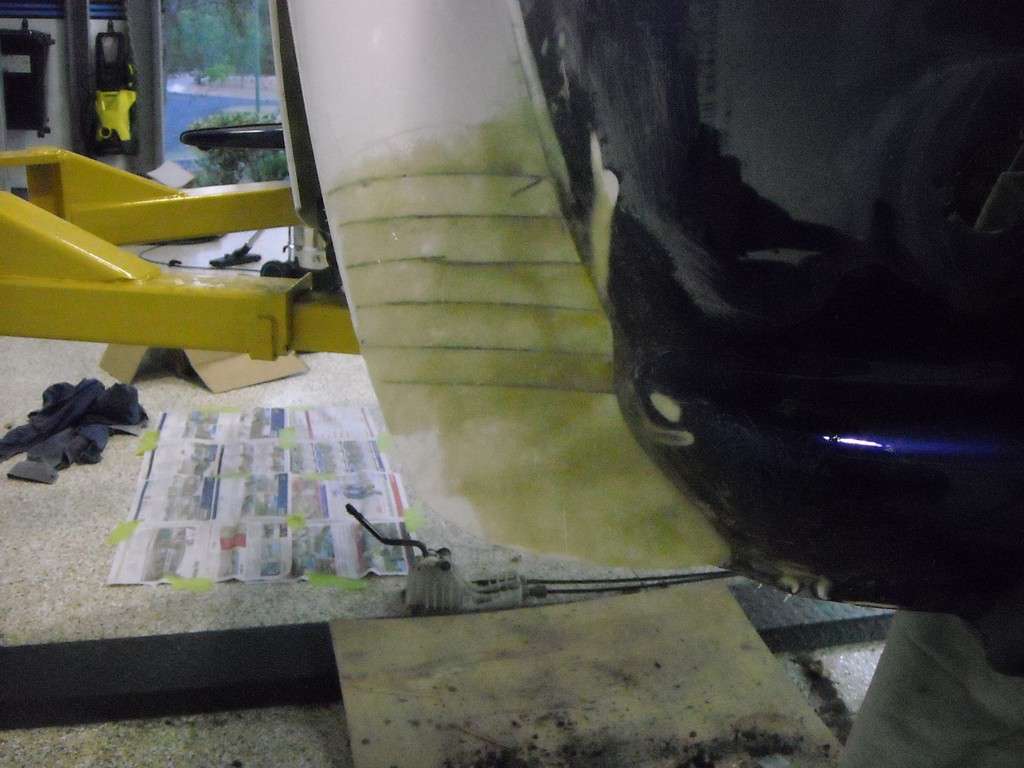
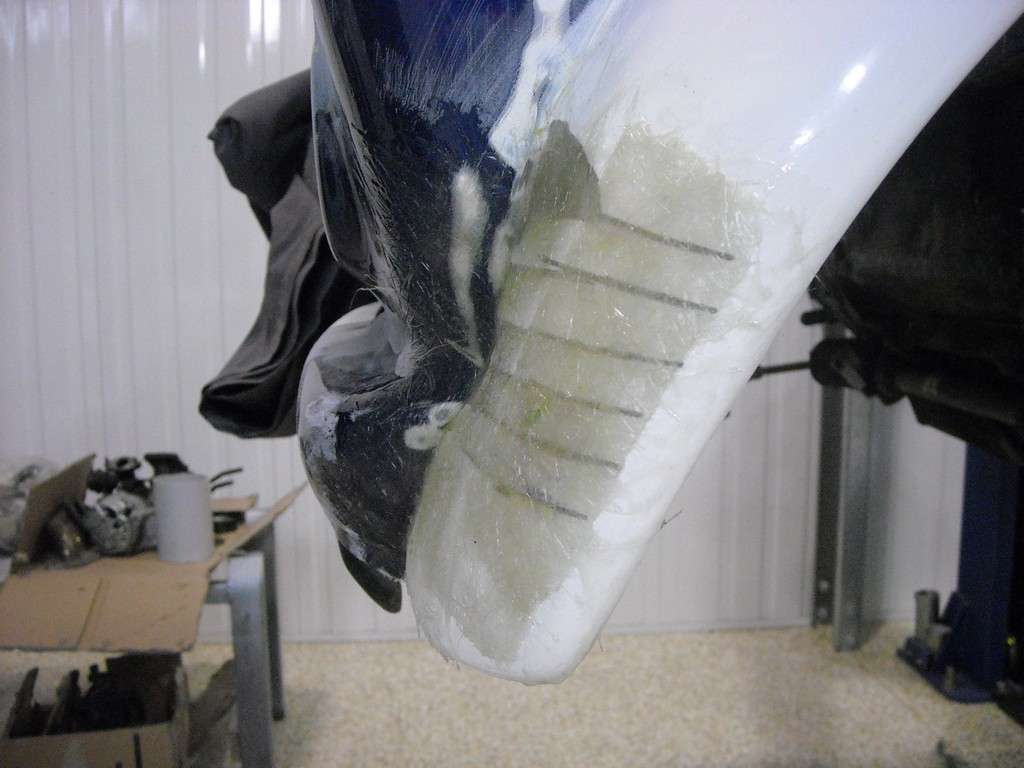
The front flares have been reinforced with fibre glass (and you can see where the flares have been cut so that they could be a better fit against the body):
Image
Image
Image
Image
Image

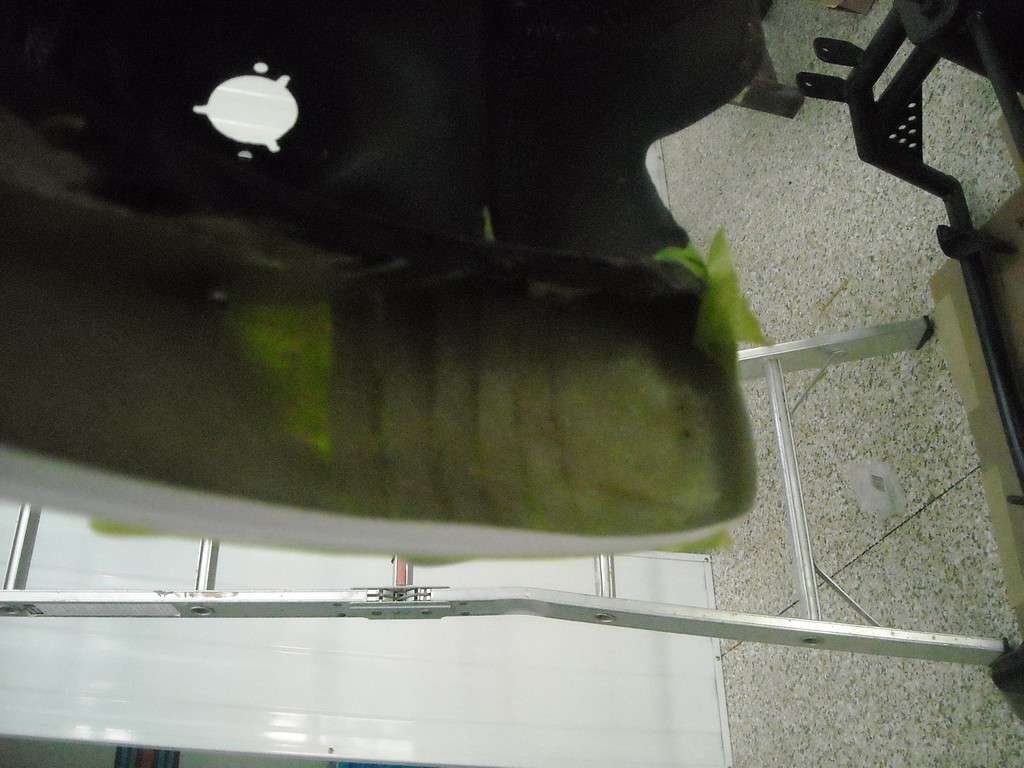
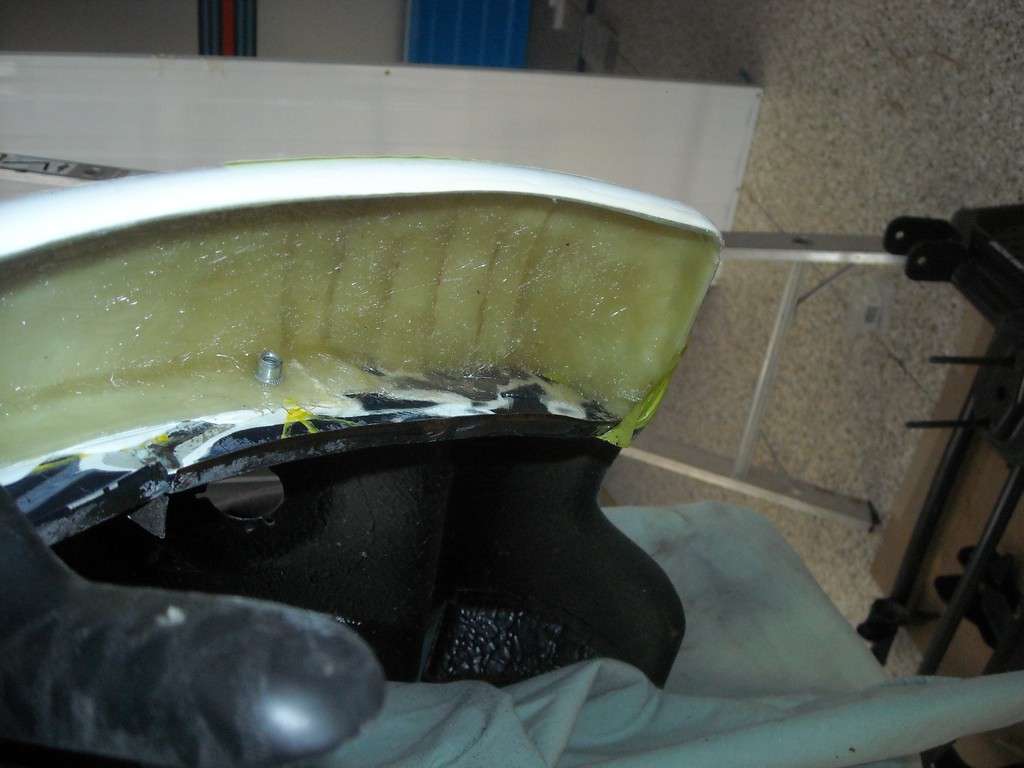
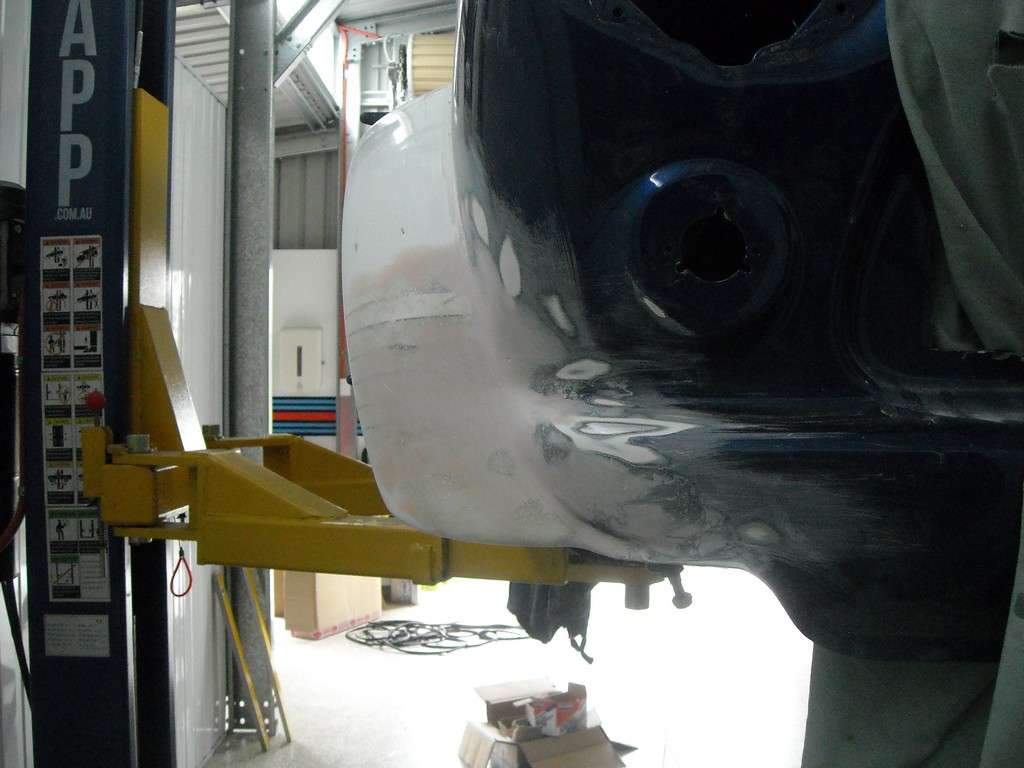
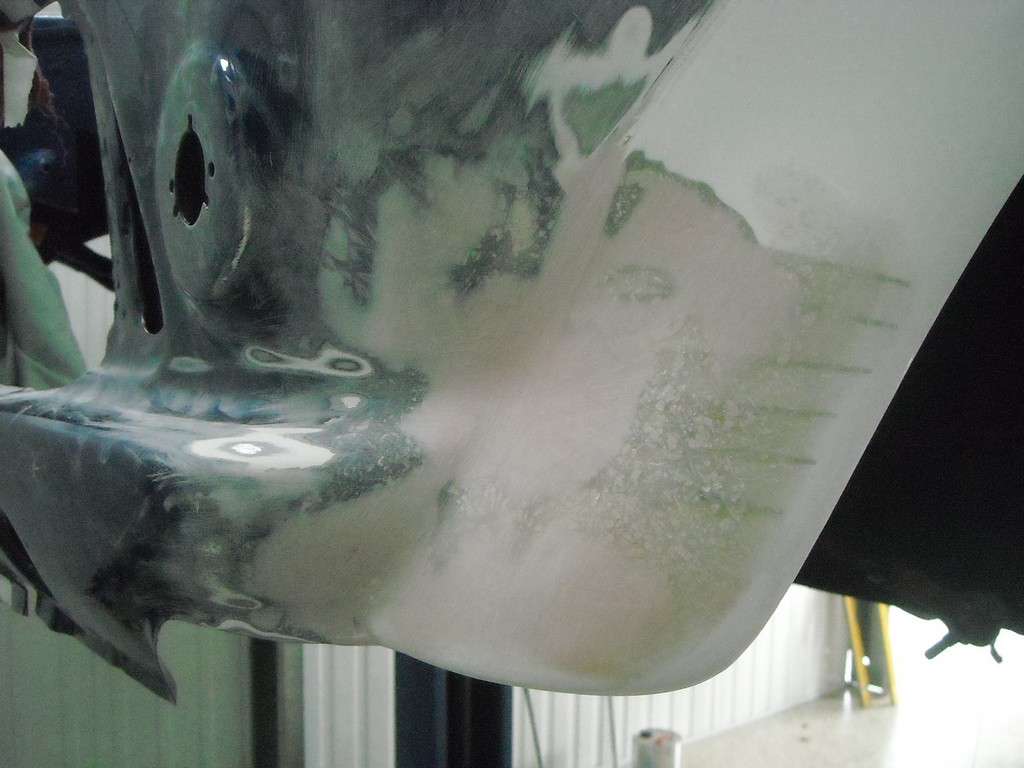
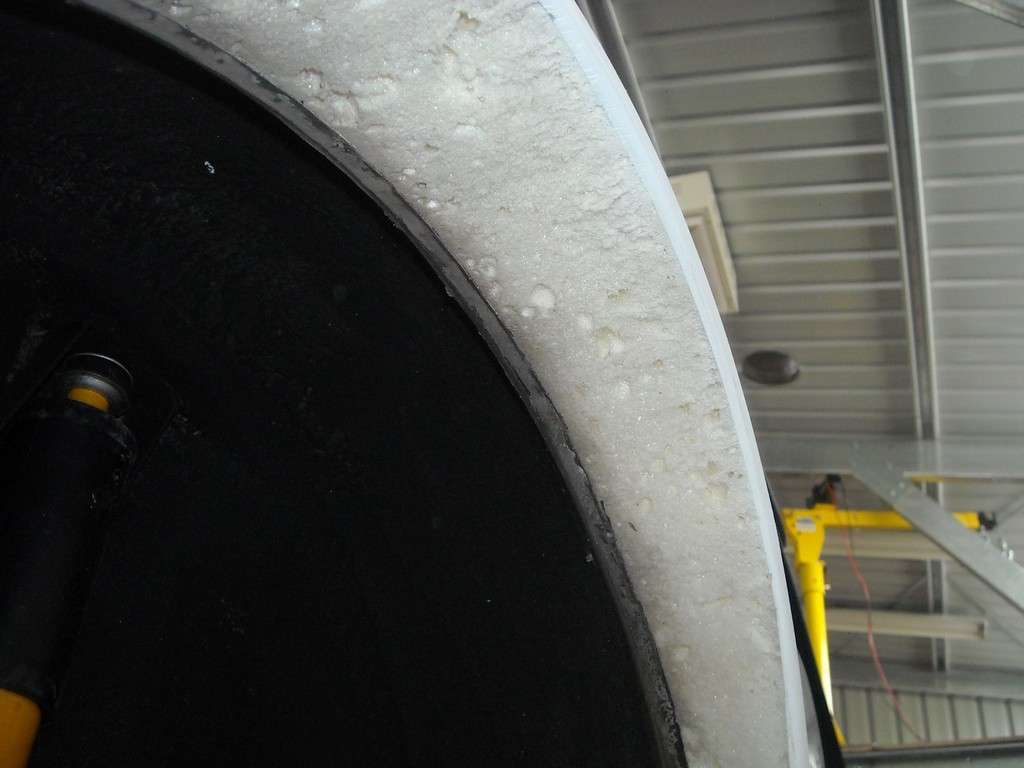
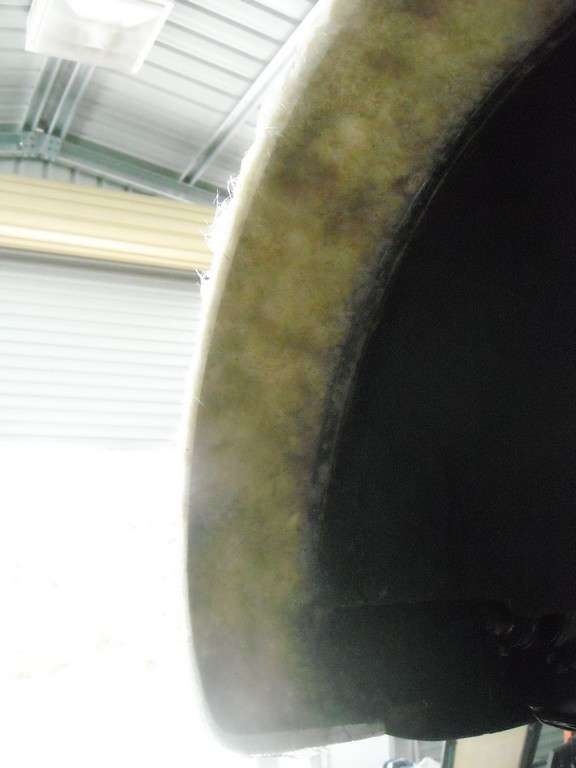
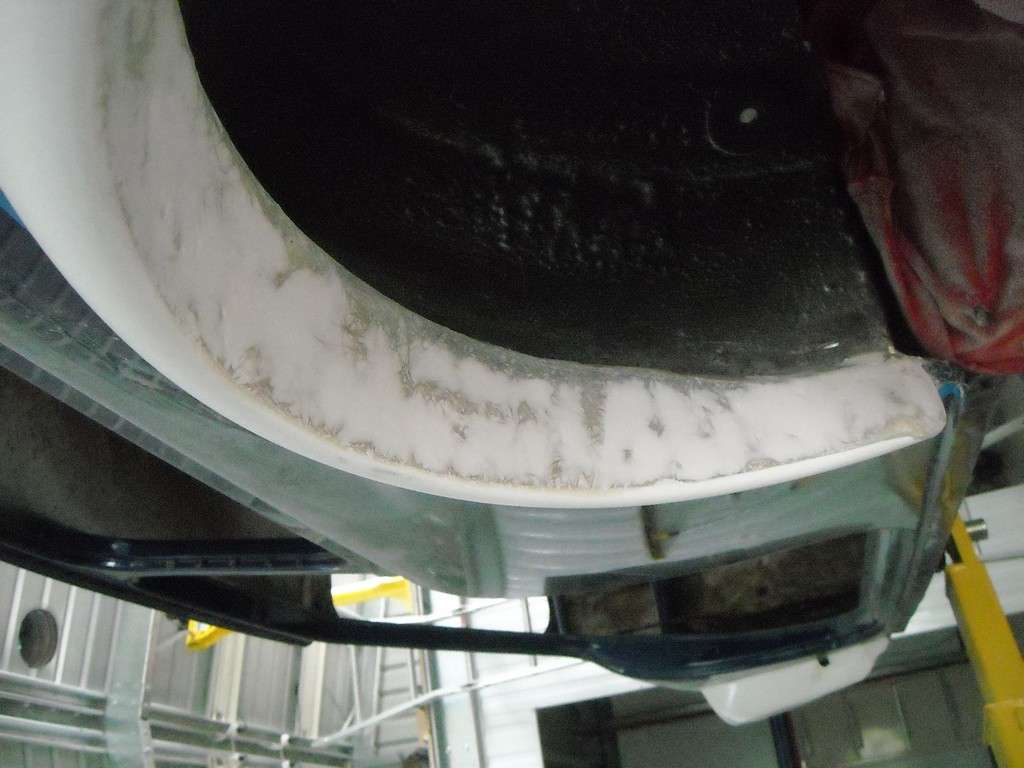
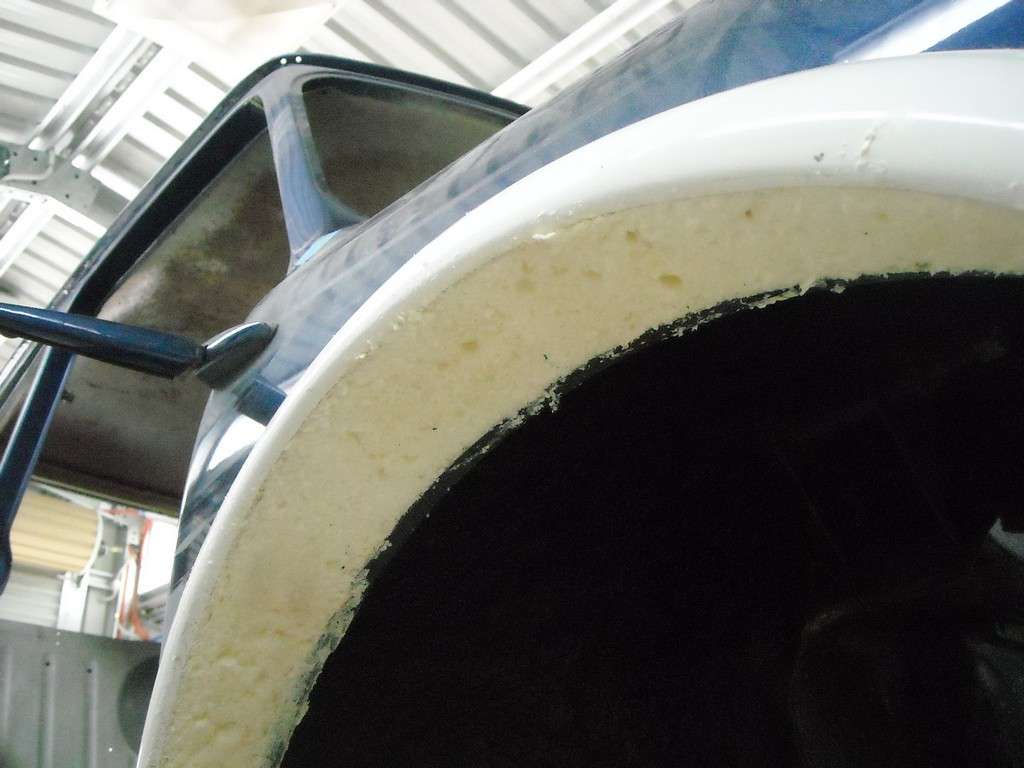
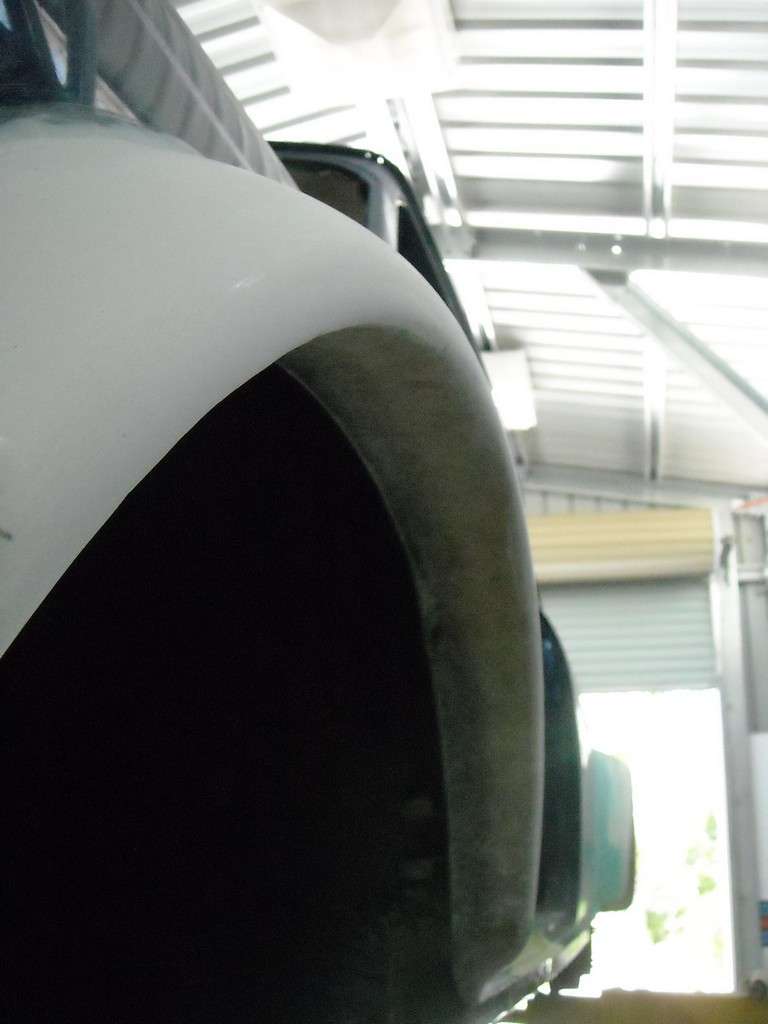
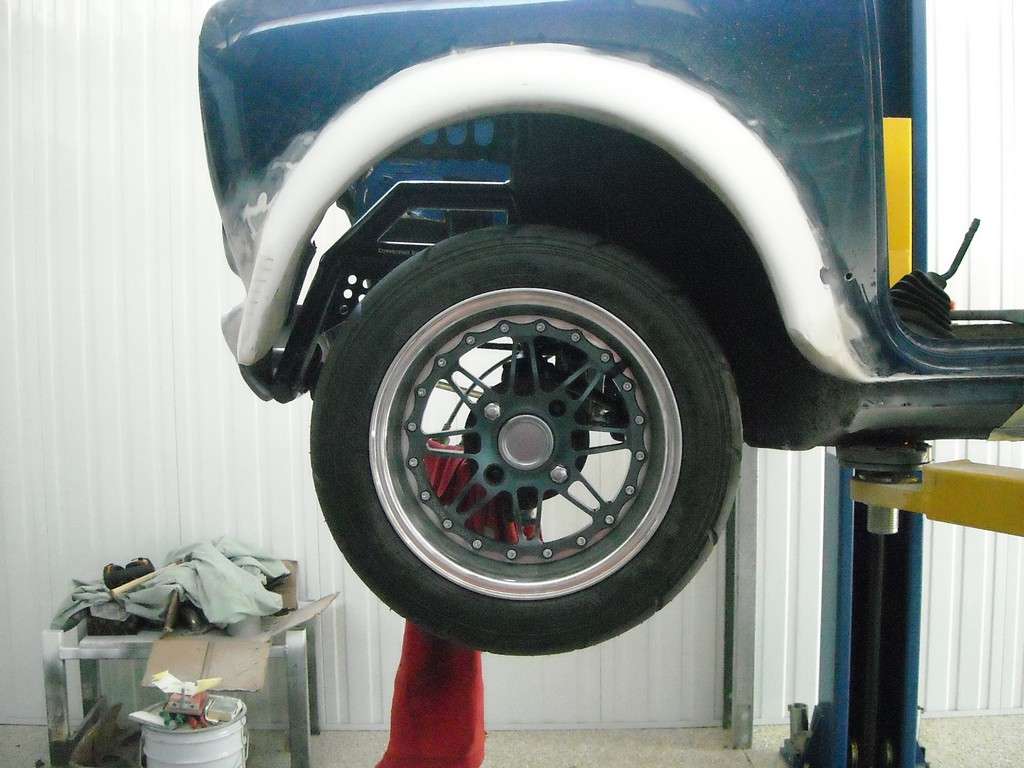
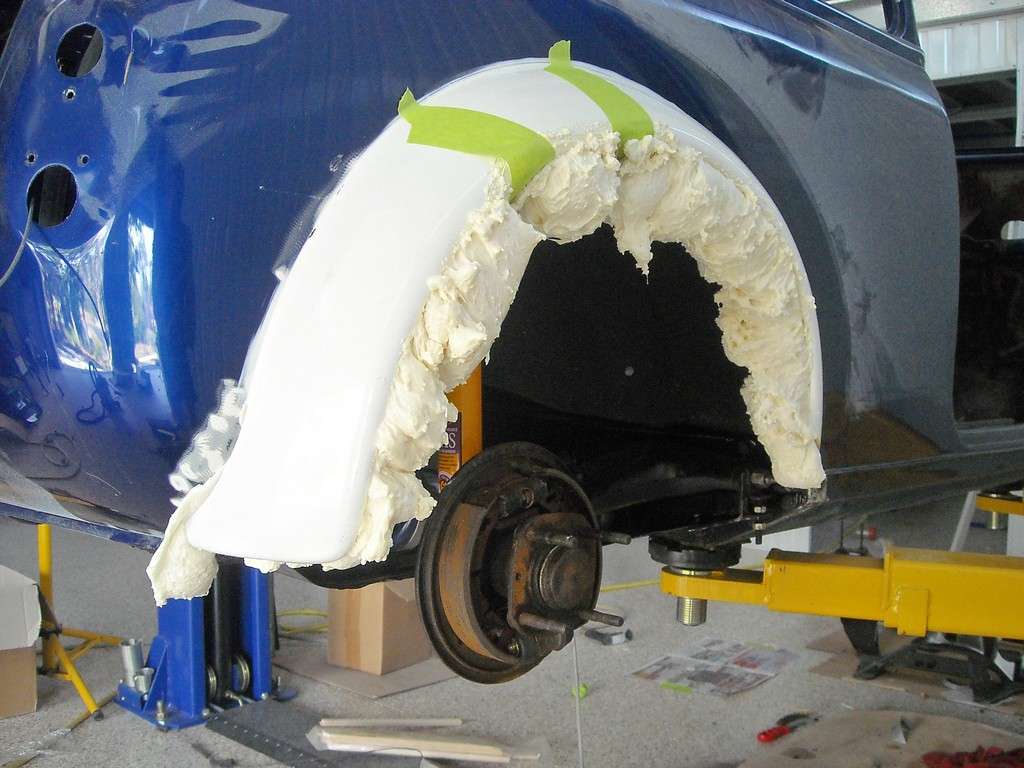
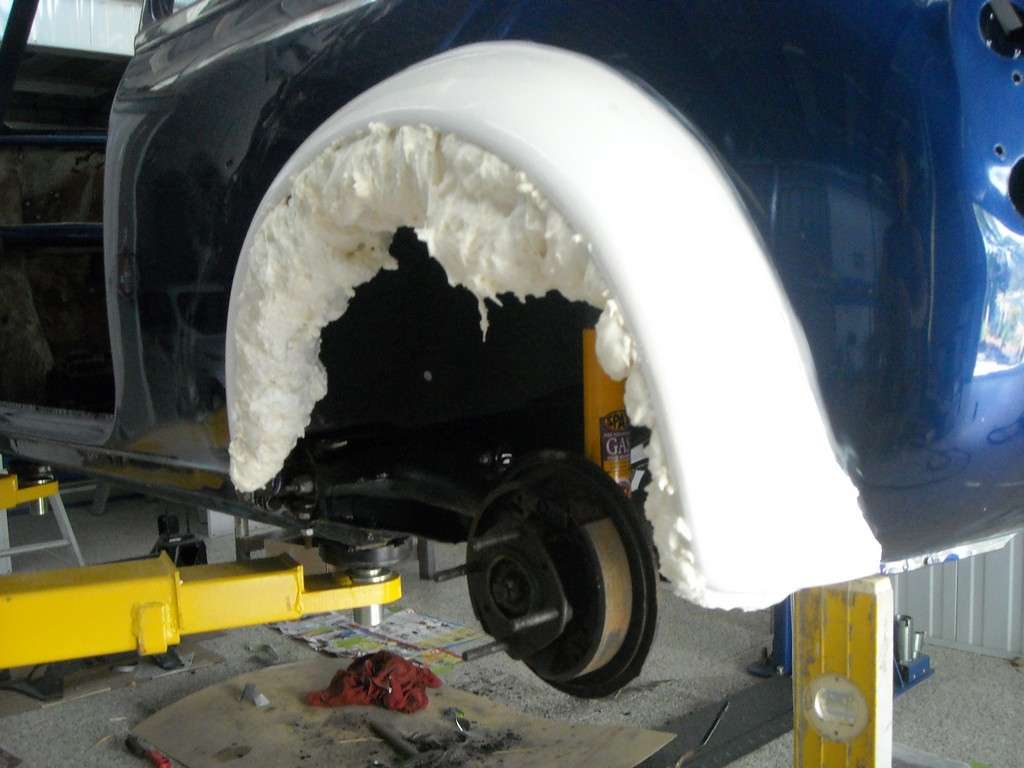
Tricky has put some expanding foam underneath the rear arches so that he can trim it back and fibreglass underneath the flare so there isn't a hole for dust / gime:
Image
Image

That's all for now and hopefully it won't be too long before the next update.

Author:  Gordo [ Fri Oct 18, 2013 7:06 am ]
Post subject:  Re: Another 4EFTE conversion [UPDATED 17/10 - Flare work]

Personally I think you should have cut the front arches to suit the flares and tubbed the rears

Author:  1018cc [ Fri Oct 18, 2013 7:42 am ]
Post subject:  Re: Another 4EFTE conversion [UPDATED 17/10 - Flare work]

Tricky and I discussed it at length and he is going to check if the front ones scrub against the tyres only. Due to the flares being modified there is only 12mm difference between where the flares sits and the body. I just didn't think the time and cost involved was worth it for 12mm of difference.

Author:  1018cc [ Mon Oct 21, 2013 9:19 am ]
Post subject:  Re: Another 4EFTE conversion [UPDATED 21/10 - Flares and boo

Tricky has been busy yet again and taken more photos. The missus and I also went and saw the car on Saturday and Tricky was happy to oblige at short notice. Thanks mate.

Image
^Boot is pretty much done and feels smooth as

Image
Image
Image
^Flares just about all blended in to the body

Image
Image
^Work under the flares is nearing completion. Still need a couple layers of fibreglass to stiffen everthing up and protect the underside of the flare from stones.

Image
^and a sneak peek of what is to come. I initially wasn't going to put anything up about the dash but couldn't help myself when Tricky sent me that shot :mrgreen:

Author:  clovus [ Mon Oct 21, 2013 9:37 am ]
Post subject:  Re: Another 4EFTE conversion [UPDATED 21/10 - Flares and boo

I love those Dakota dash's. Interesting to see how you hook it up to get all the gauges working.

Author:  Gordo [ Mon Oct 21, 2013 5:41 pm ]
Post subject:  Re: Another 4EFTE conversion [UPDATED 21/10 - Flares and boo

I looked into going for the Dakota dash for the roundy I have here nearly done. Was jus a little too expensive for me at the moment. (My advice for everyone is to finish your car builds before having kids!)
Am going to get a complete automater gauge set when funds allow.
Love the look of the digital dash though and it has everything in it!

Author:  1018cc [ Mon Oct 21, 2013 7:26 pm ]
Post subject:  Re: Another 4EFTE conversion [UPDATED 21/10 - Flares and boo

Thanks for the comments guys. I've done a fair bit of reading about hooking up sensors to DD gauges and they should all be relatively ok. I guess I won't be having the final word on how easy they are (Tricky has hooked up a set of DD gauges in another car before)!

Dan, I would still think that a full set of autometer gauges will look great. I think having a matching set of gauges always looks better and more complete than a mix 'n' match set (plus autometer are a great brand too).

P.s. being DINKS has its benefits when it comes to minis :)

Author:  Gordo [ Mon Oct 21, 2013 7:46 pm ]
Post subject:  Re: Another 4EFTE conversion [UPDATED 21/10 - Flares and boo

Think it's only about $600 for a set of Autometer gauges from the states

Author:  Archangel007 [ Tue Oct 22, 2013 6:04 pm ]
Post subject:  Re: Another 4EFTE conversion [UPDATED 21/10 - Flares and boo

Gordo wrote:
Think it's only about $600 for a set of Autometer gauges from the states


Dont buy locally Dan, they will be twice that and then some....
Much cheaper in the US!

Cheers,
Tricky

Author:  1018cc [ Fri Nov 01, 2013 11:31 pm ]
Post subject:  Re: Another 4EFTE conversion [UPDATED 1/11 - Flares rust eng

Update time again! I've been a bit slack on the email / computer / ausmini thing of late but Tricky certainly hasn't been so onto the pics:

Image
Image
Image
^Rear arches all filled in.

Image
Image
^Head came up better than I thought. Looks like it will be useable after disassembly and a clean up.

Image
Image
^Gear cable hole through firewall

Image
^Mounts for the gear lever

Image
Image
Image
Image
^Pics above are of the passenger side sill. Tricky is doing his best to get rid of all the rust.

Image
Image
Image
^Painted engine bits and pieces. Getting ready for the engine to go back together.

Image
^Tricky cleaned out the parts washer after having a lot of the engine bits in there for the last week or two. Glad it isn't on the engine anymore. Tricky described the goo left as 'thick with oil, grease and crap'.

Image
Image
Image
Image
Image
^Engine bits awaiting reassembly. Head has come up ok compared to how it looked at the start. Should be useable which is good. This photo is of the disassembly.

Image
Image
^The first subframe design that the car had had bits sticking out the front that I believe JC was going to use to put tow hooks or something on. These extra bits of metal just poked through the front. I was never a fan of the tow hooks so they were filled in and smoothed out and will be painted over.

Image
Image
^Front flares are ready for fibreglassing and smoothing.

That's it for now until I next have time to do an update. Hope you all enjoyed!

Author:  1018cc [ Fri Nov 15, 2013 6:05 pm ]
Post subject:  Re: Another 4EFTE conversion [UPDATED 15/11 - primer]

Hey guys, time for another update.

Image
Image
^Body work on the front valance has been finished.
Image
^Subframe spacer. This frame design also allow the engine to be removed from the top
Image
^Subframe with the very exclusive Qik Brix Racing sticker.
Image
^Flares completed and smoothed off with fibreglass
Image
^Suspension and steering bits painted up
Image
^Tyre on but it doesn't sit as far out as either of us expected. Might be partly because of the camber
Image
Image

Off to paint:
Image
Image
Image
Image
Image

Some things that have happened in the last week. We were planning on having the car complete by the end of the month - unfortunately that won't happen now. The painter of the car has had some things happen at his work so the final coat of paint is on hold until next year (Feb) and the guy that is going to make us the dash has a 6-8 week lead time so that means the dash won't come through until after Christmas (he usually only has a 2 week lead time). At this stage, Tricky is going to press on with everything he can and the car will have to sit in the corner of his shed for a while until it can be finished off. I am hoping by getting Tricky to push ahead and get it to a running and driveable stage, the reassembly after top coat will go quickly. The last major thing that he won't have any control over is when it goes to the upholsterer. That's all for now, should be some more good updates coming while Tricky gets stuck in to finishing the car off as much as he can and then it will be a waiting game for the dash and paint.

Author:  13secmini [ Sat Nov 16, 2013 8:39 am ]
Post subject:  Re: Another 4EFTE conversion [UPDATED 15/11 - primer]

Great job guys, can't wait to see this one completed - Tricky is the man!

Author:  1018cc [ Sat Nov 16, 2013 2:09 pm ]
Post subject:  Re: Another 4EFTE conversion [UPDATED 16/11 - brake lines]

Thanks for the kind words Brad. Can't wait to see it finished as well.

Tricky has been on his nerd box and sent me a few more pics. The brake lines have been run and the booster has been mounted:
Image
Image
Image

The brake lines are very neat and are an absolute credit to him.

Author:  mattsmadmini [ Sat Nov 16, 2013 7:34 pm ]
Post subject:  Re: Another 4EFTE conversion [UPDATED 16/11 - brake lines]

yah! progress pics! :P

Author:  hallsey [ Wed Nov 20, 2013 8:32 pm ]
Post subject:  Re: Another 4EFTE conversion [UPDATED 16/11 - brake lines]

Top job there tricky very neat and symmetrical

Looking good Nick

Cheers Hallsey

Page 3 of 6 All times are UTC + 10 hours
Powered by phpBB® Forum Software © phpBB Group
http://www.phpbb.com/