Hi Guys,
Time for a quick update methinks.....
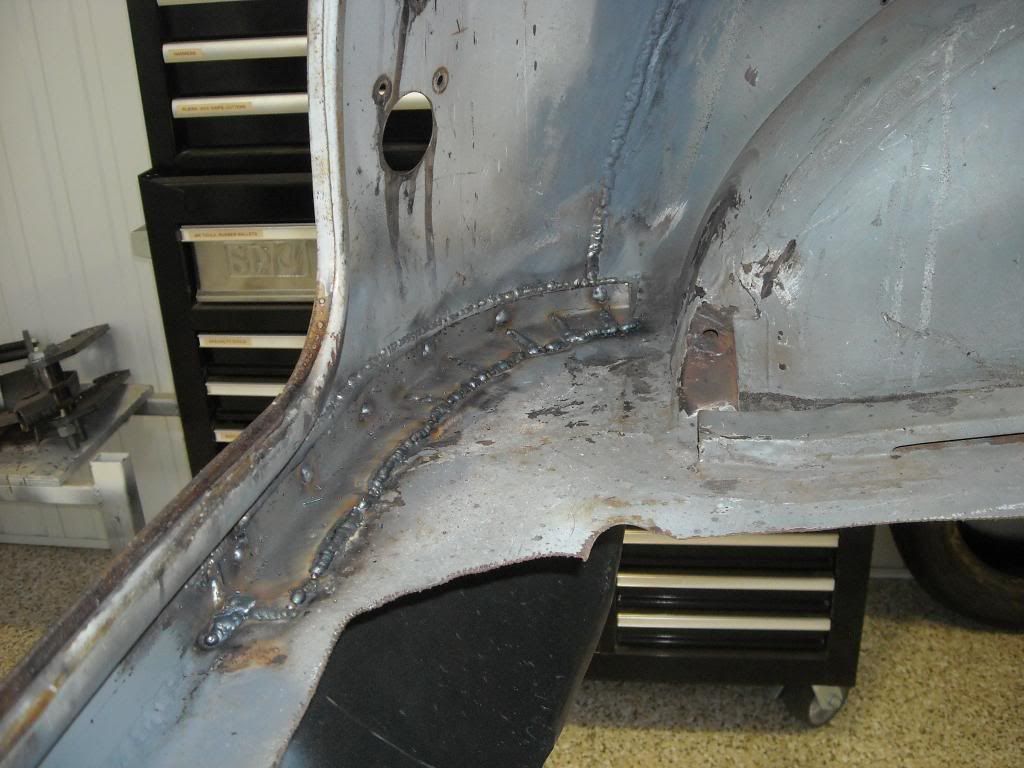
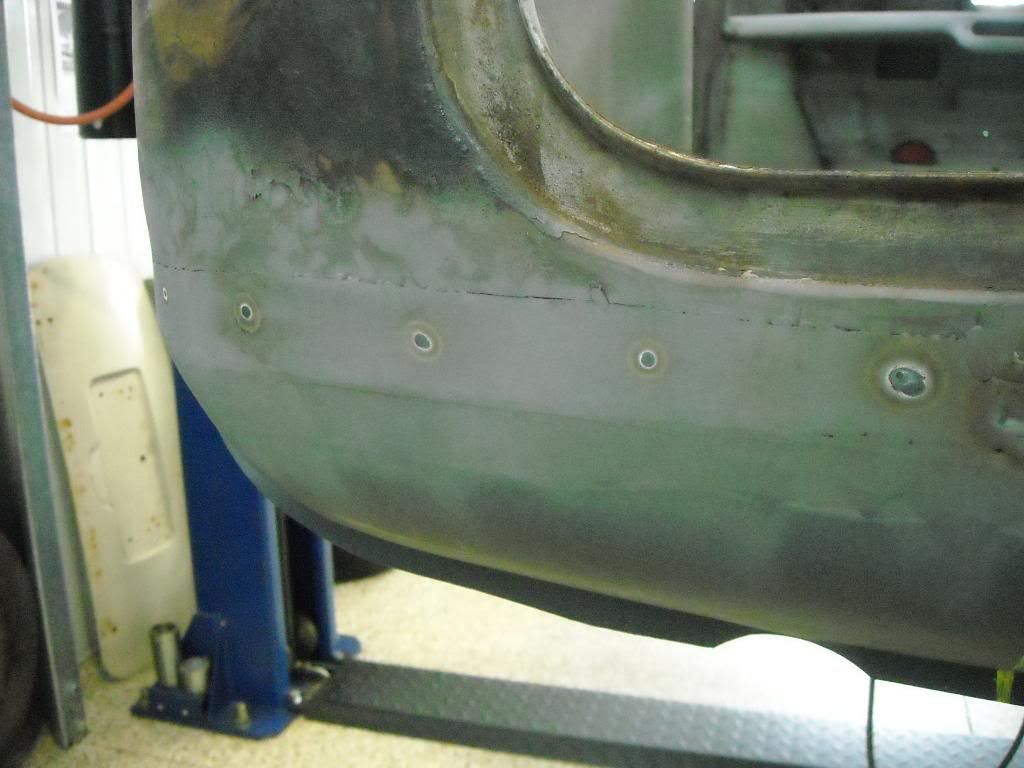
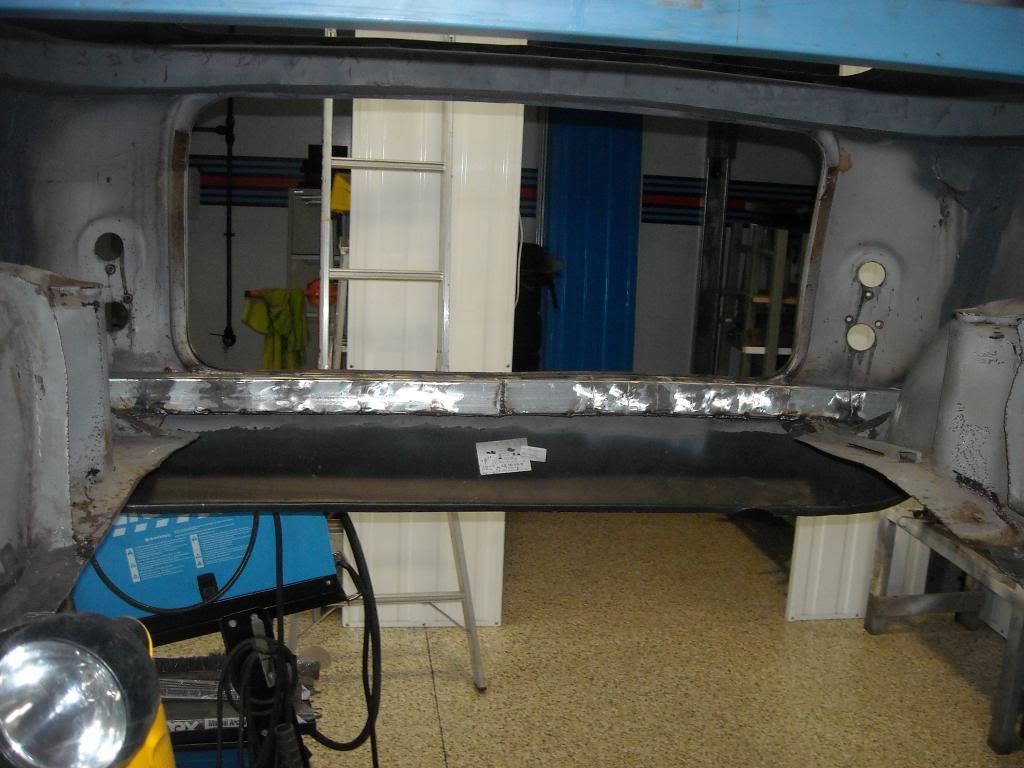
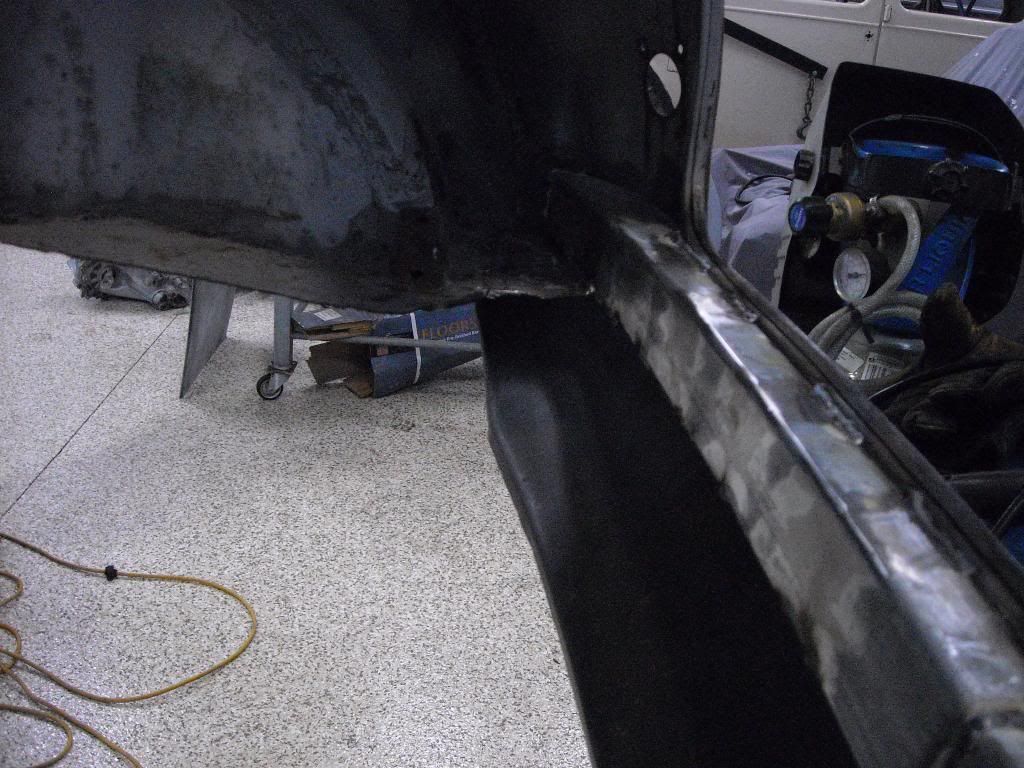
We left Leonidas with the rear valence completed, and deseamed. While I was there, I did a quick patch job on the passenger side rear quarter which had taken a shunt in a previous life. I then had to tie the outside skin back into the boot floor, or what was left of it, as the corner rearwards of the wheel arch was stiil to be used. Once the outside had been ground back with the flap-dics, the finish was pretty good. With a skim-coat of filler and then some hi-fill, you would not now the repair had been undertaken - which is what you want really. It was a simple case of bending a small strip of 1.0mm into a right angle, then using the shrinker to put a curve in the piece. Once the fit was right, it ws simply welded to the floor and plug-welded (rosette welded) to the outside skin:
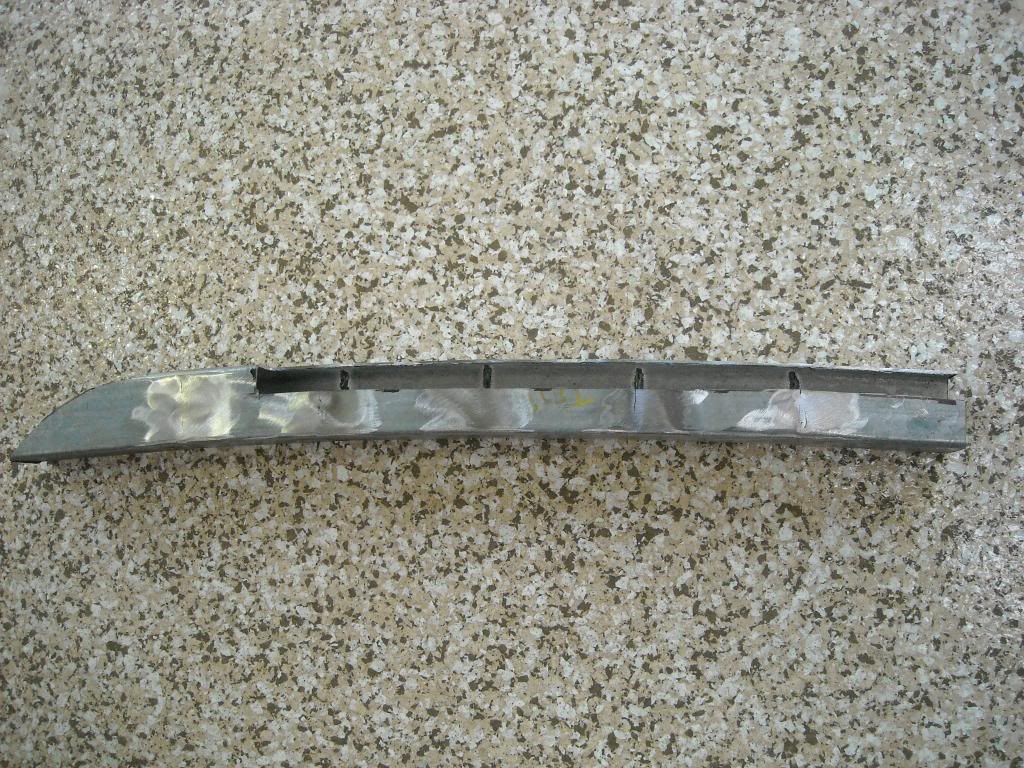
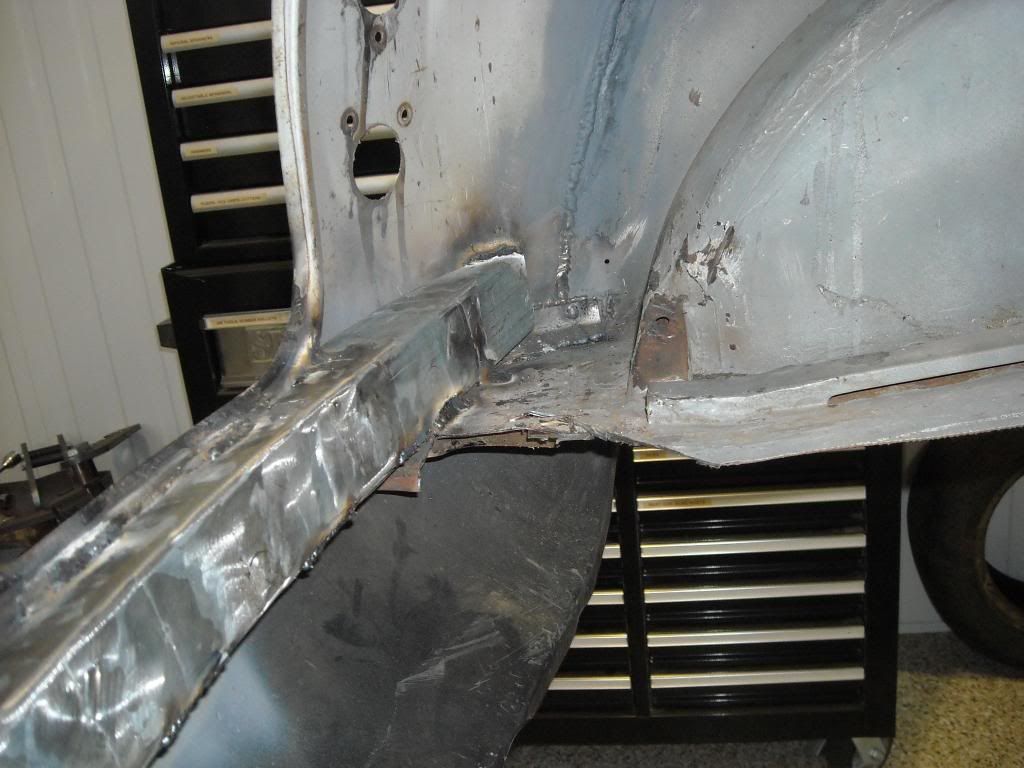
Now that the boot floor and skin had been patched, this area had to be reinforced as it forms part of the structural element which carries the rear subframe and handles all the stesses and loads from the rear subframe - lateral loads, thrust and braking. A piece not unlike the profile that went in above the boot opening was made to reinforce the lower boot lip from one side to the other. Instead of using some steel to form a part, I used some 50x50 rhs for the piece which I decided to make out of two pieces and put small cuts (kerfs) into the steel then weld them up when the correct profile was obtained. Once the correct curvature was obtained, I simply cut out the interfering boot lip area from the piece so it would sit flat on the floor and flat against the outer skin:
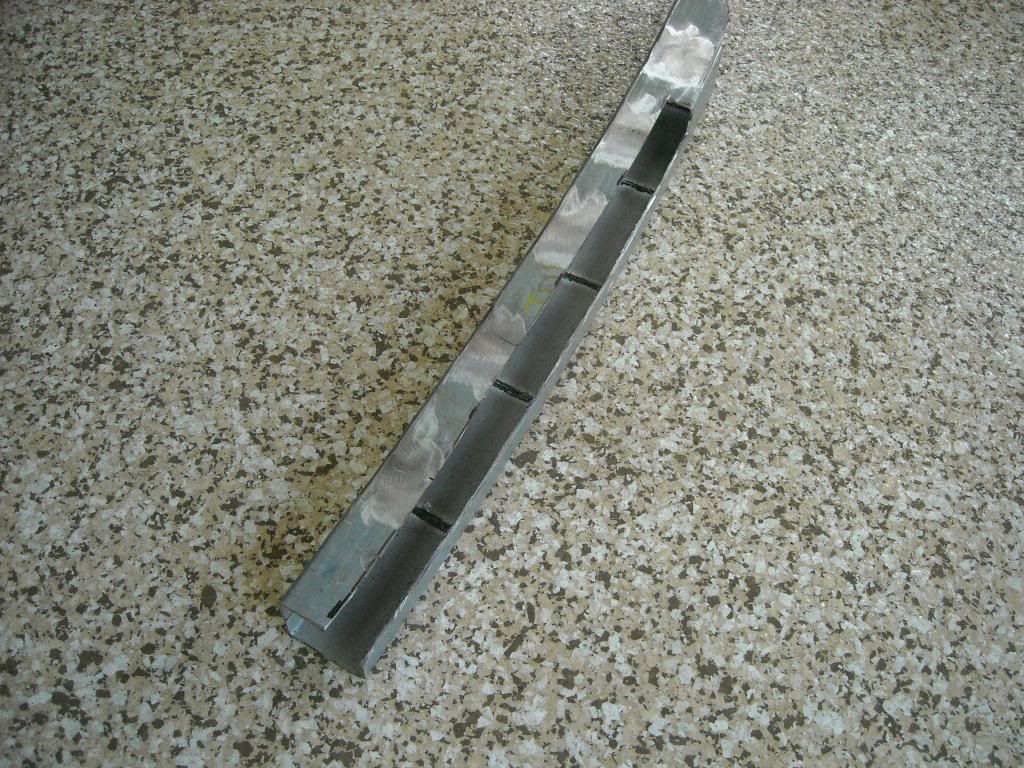
Both pieces in place and joined in the middle:
Profiled at the ends to follow the curvature of the outside skin:
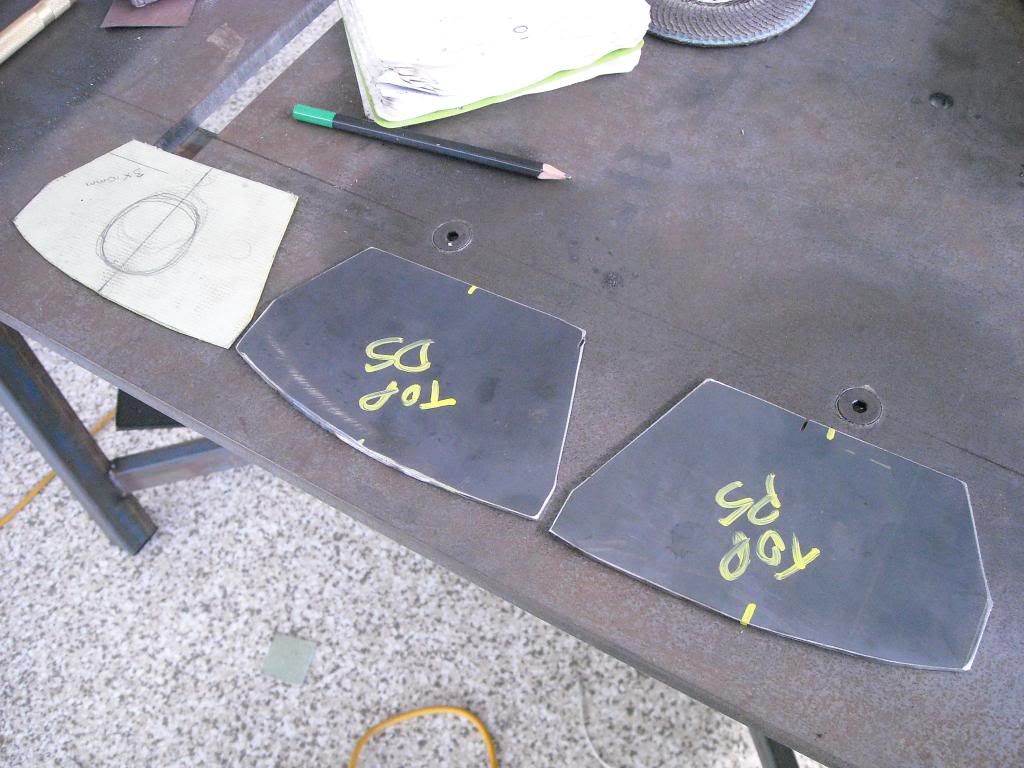
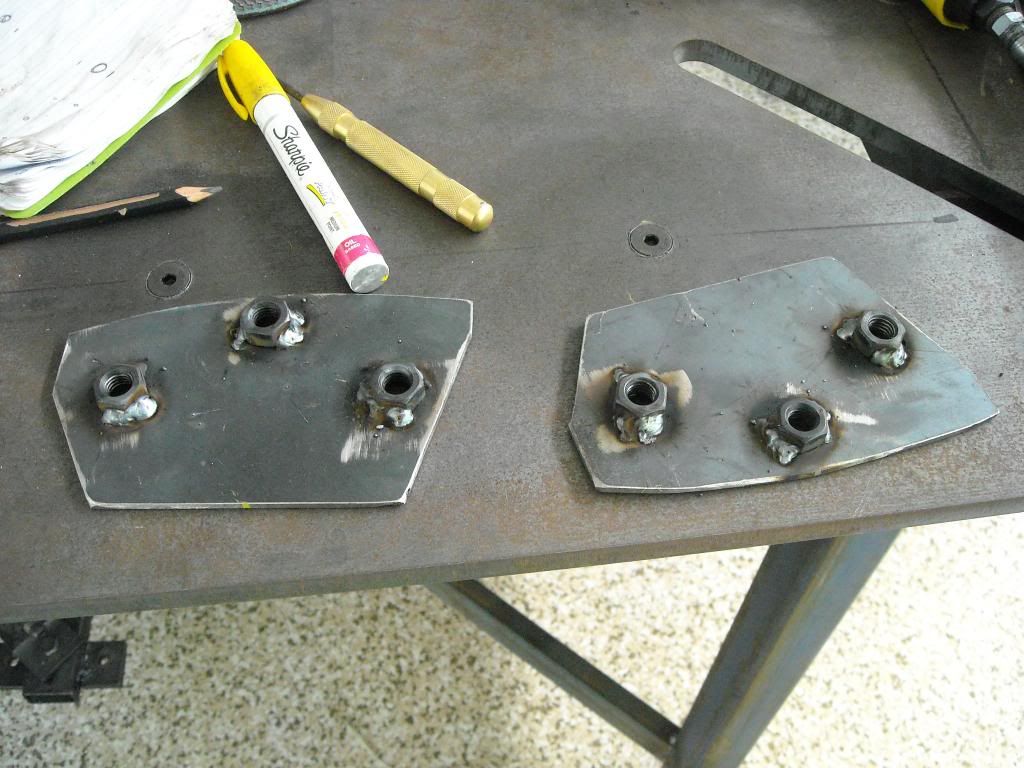
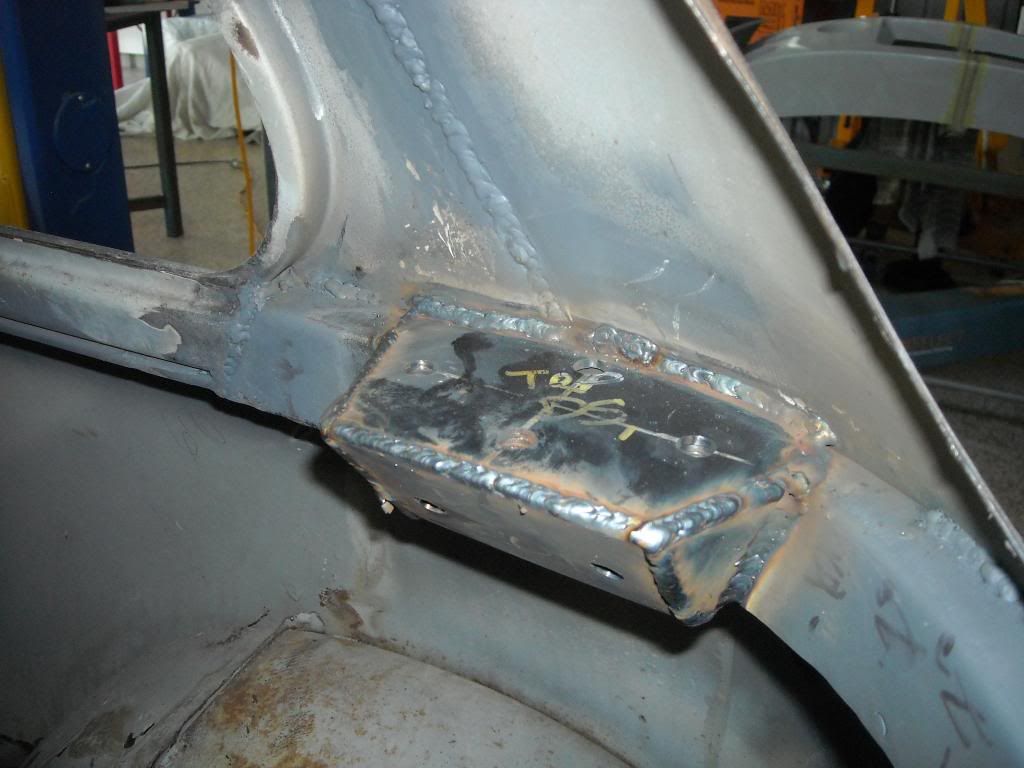
Now that the rollcage had turned up, I decided to continue with the reinforcing in the rear and fabricate the upper mounting points for the rear rollcage stays. While this cage did not come with with the rear stays, it had the bolt-on parts for them so we decided to use them simply because the rollcage forms part of the structure that resists torsional stresses. We also made the decision to weld-in the roll cage instead of its intended use as a bolt-in item. It would be much more rigid this way. The location for the mounting point for the rear stays was always going to be bang smack in the middle of the C-pillar, so using CAD (Cardboard-Aided Design) once again a simple shape was drawn up that alowed sufficient area to weld the cage stay on, but not too big to impair anything else in the rear compartment. These top and bottom plates were then cut from 2.0mm steel with 12mm captive nuts welded to them as fixing points:
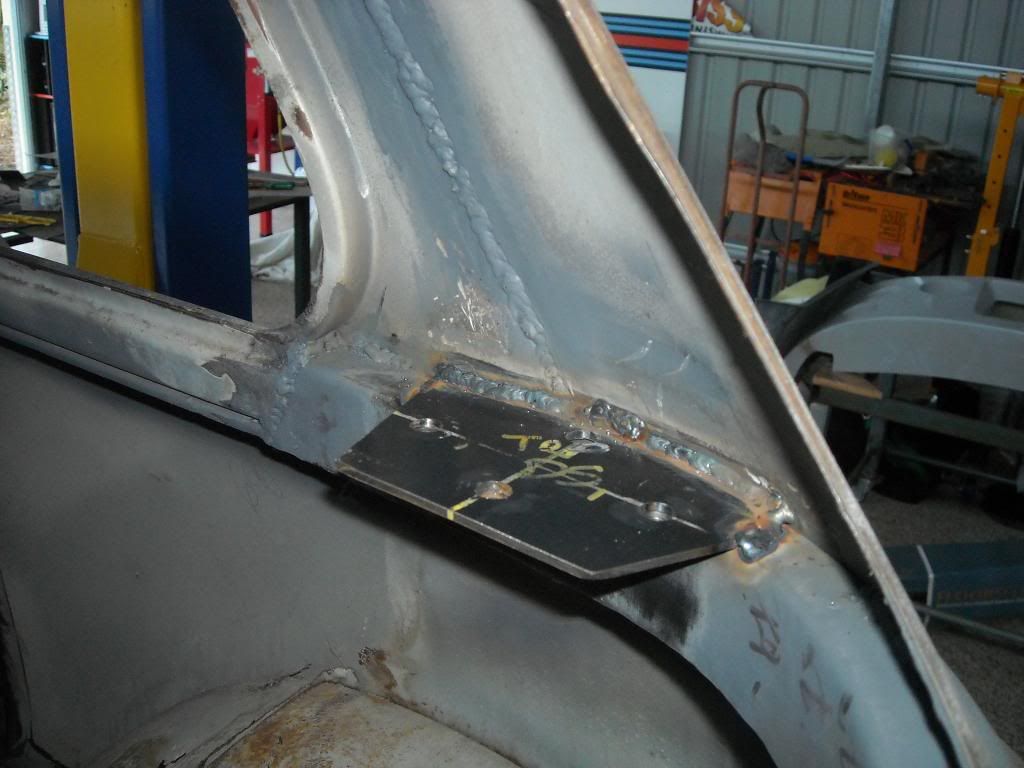
Then weld them into position (note that the captive nuts are now redundent, but we left them there anyway just in case we needed extra fixing points for some reason, like, say a dry sump reservoir or oil catch-can or something):

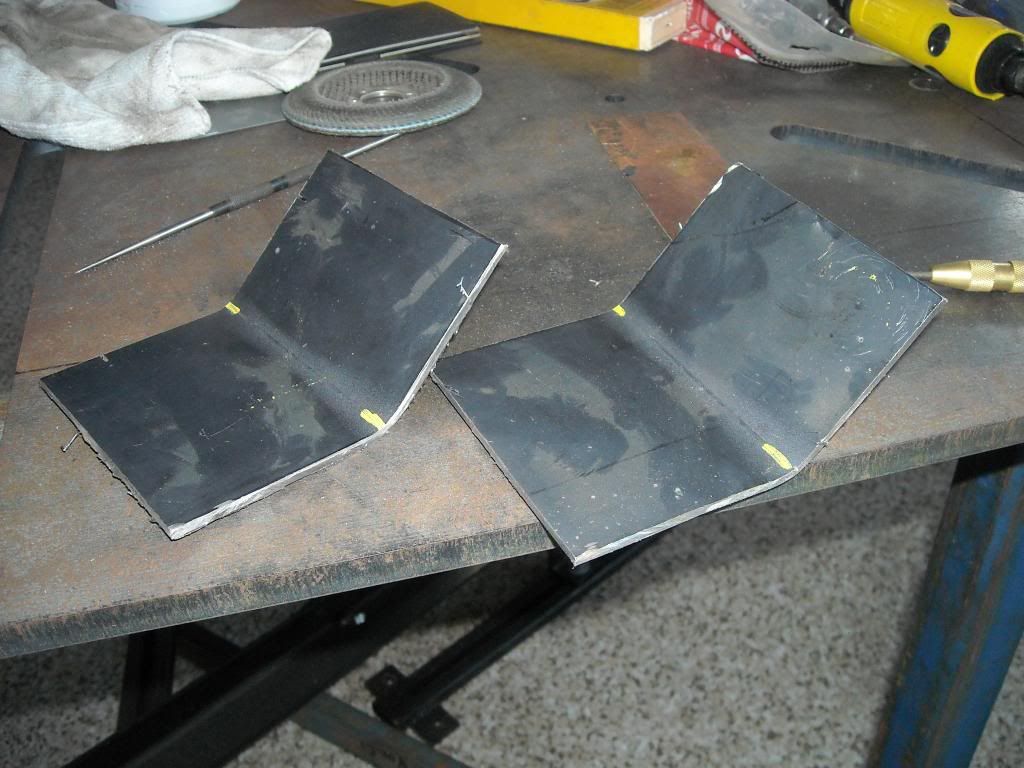
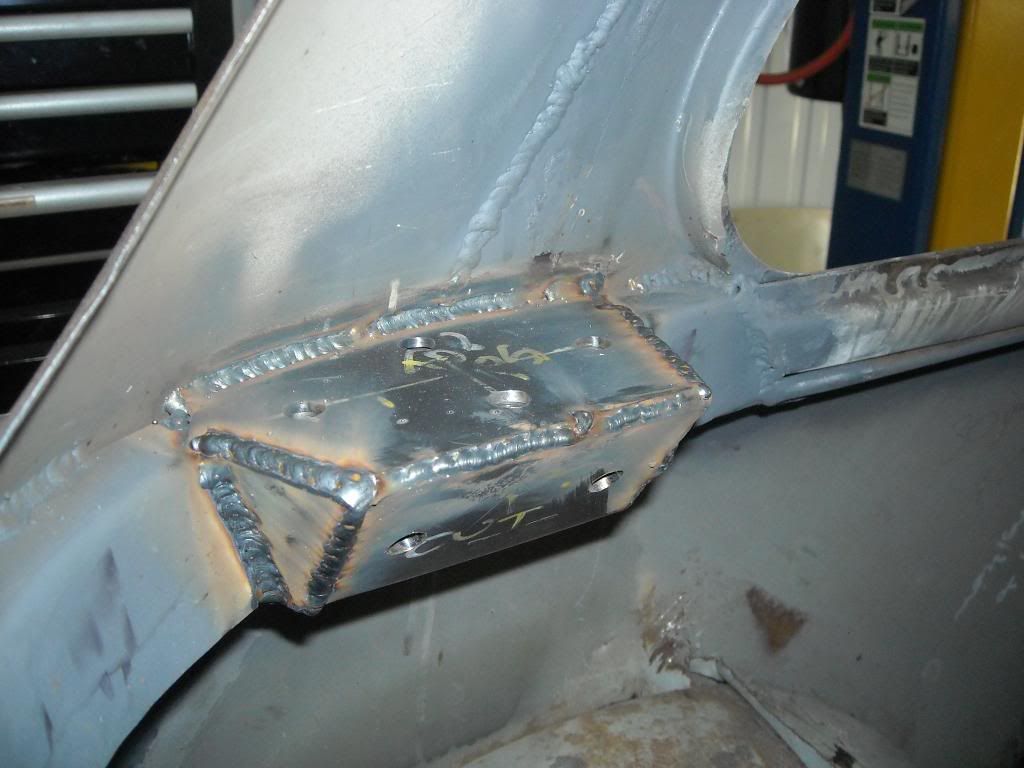
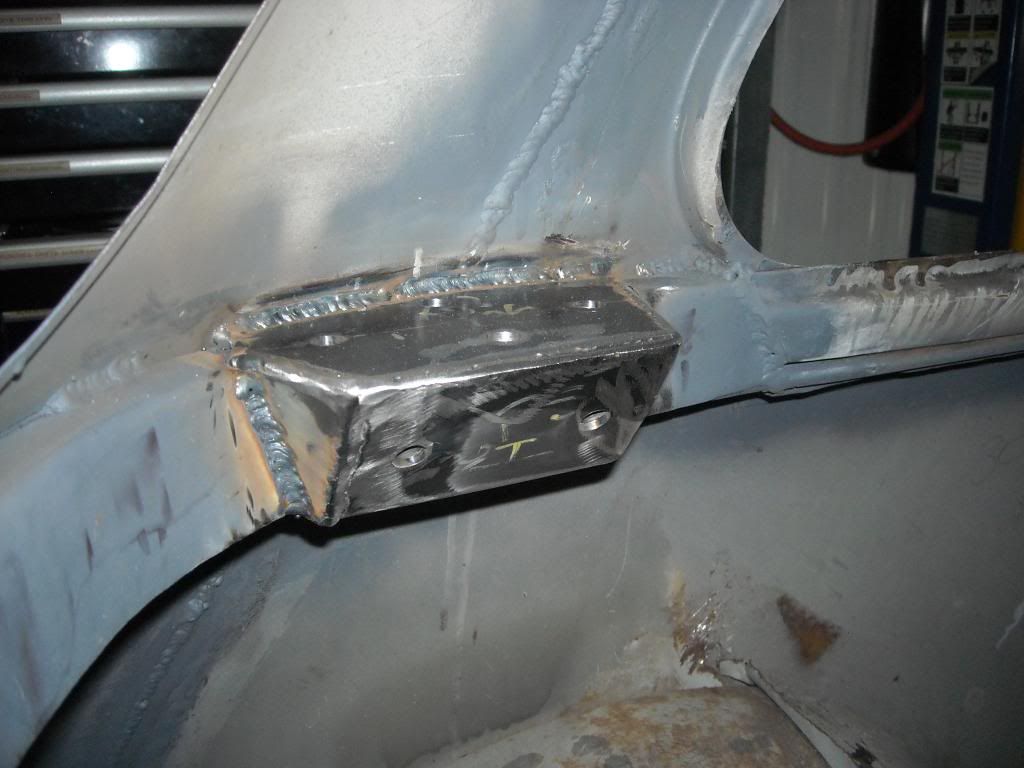
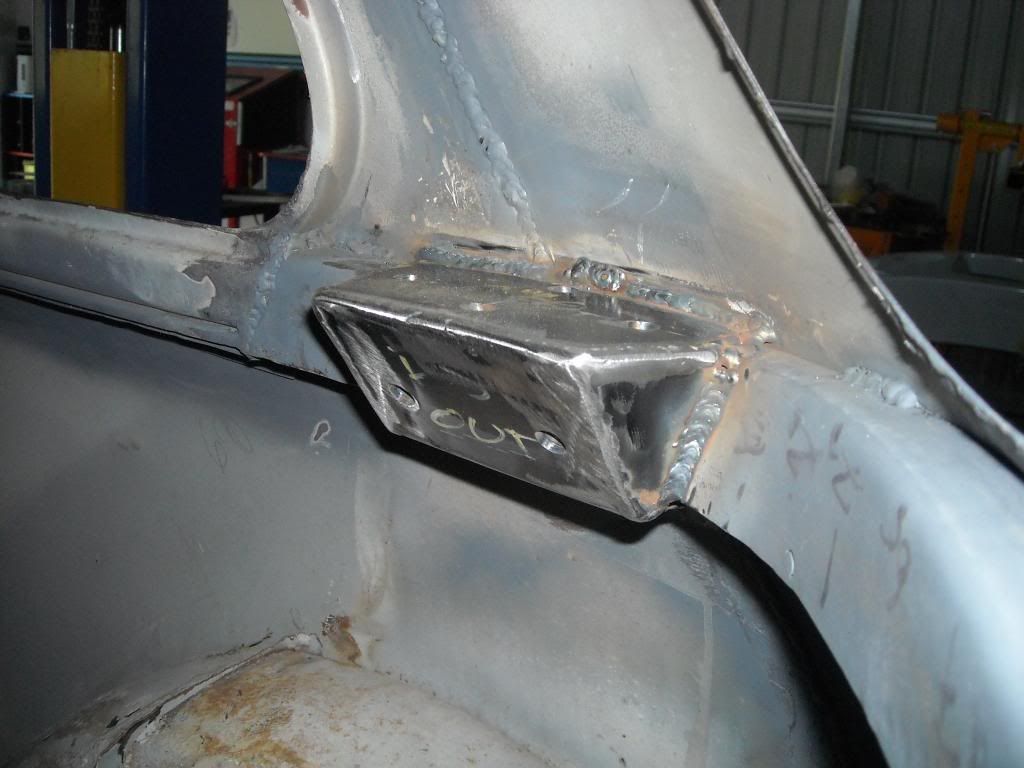
Now that the top plates were welded in, the profile for the front and bottom faces could be ascertained and 2mm plate cut for that. Once again, we bended then up in the press and welded in some captive nuts for use later as part of the subframe anchoring points:

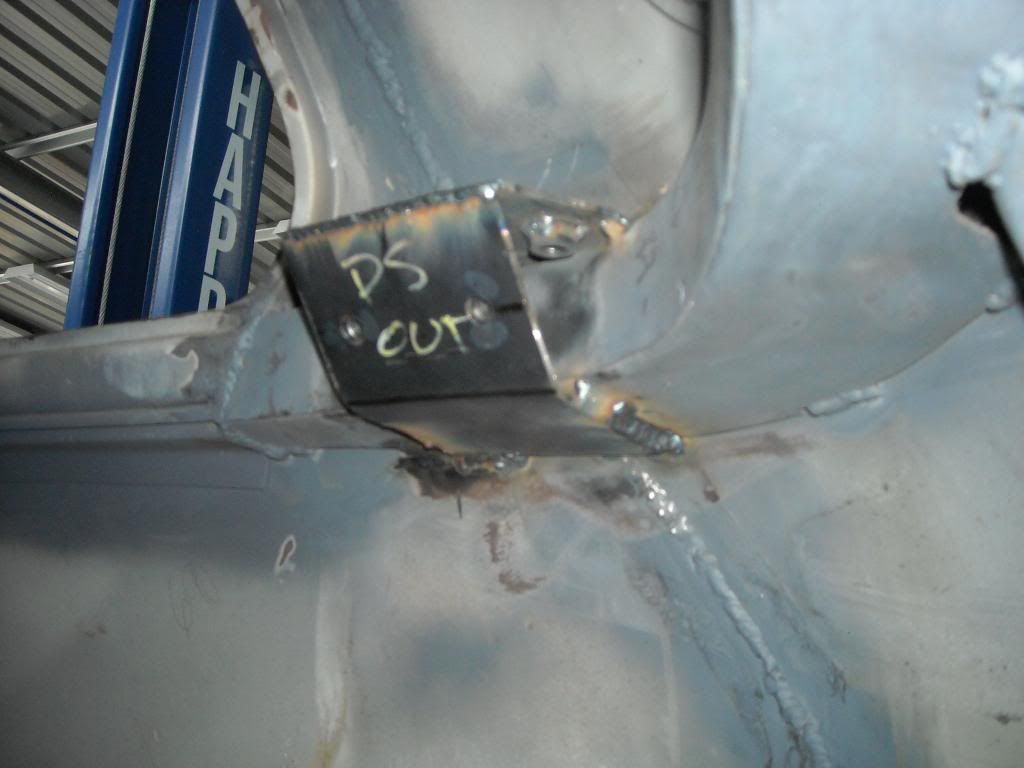
And of course, the little side infill pieces were welded in too as can be seen:
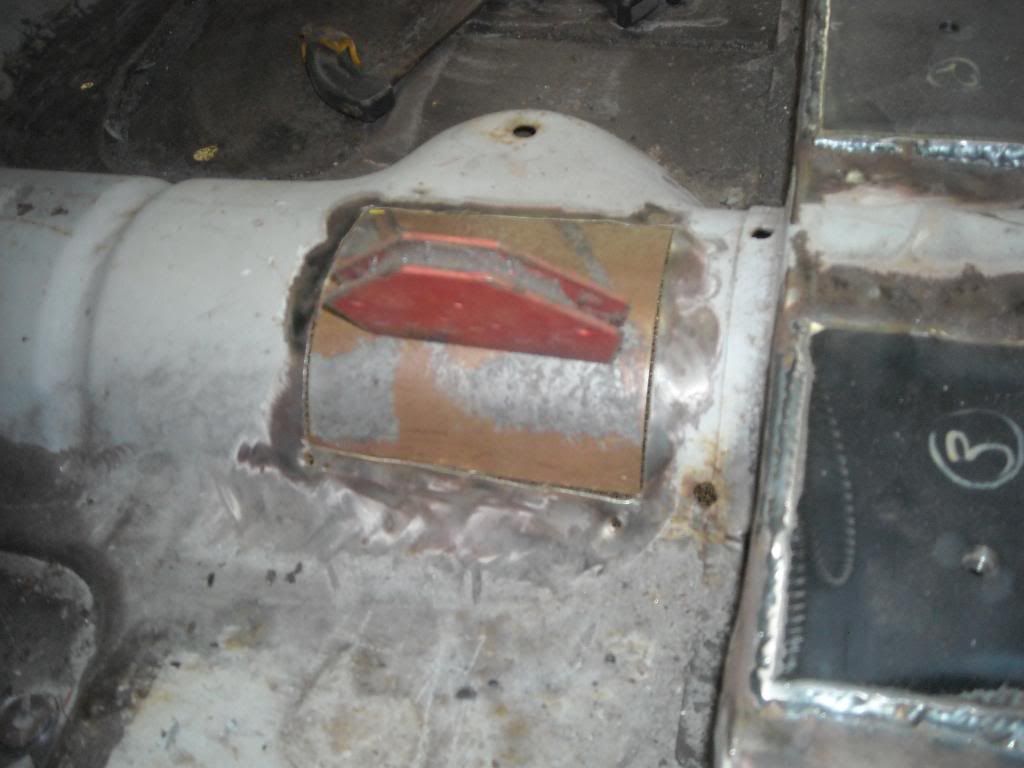
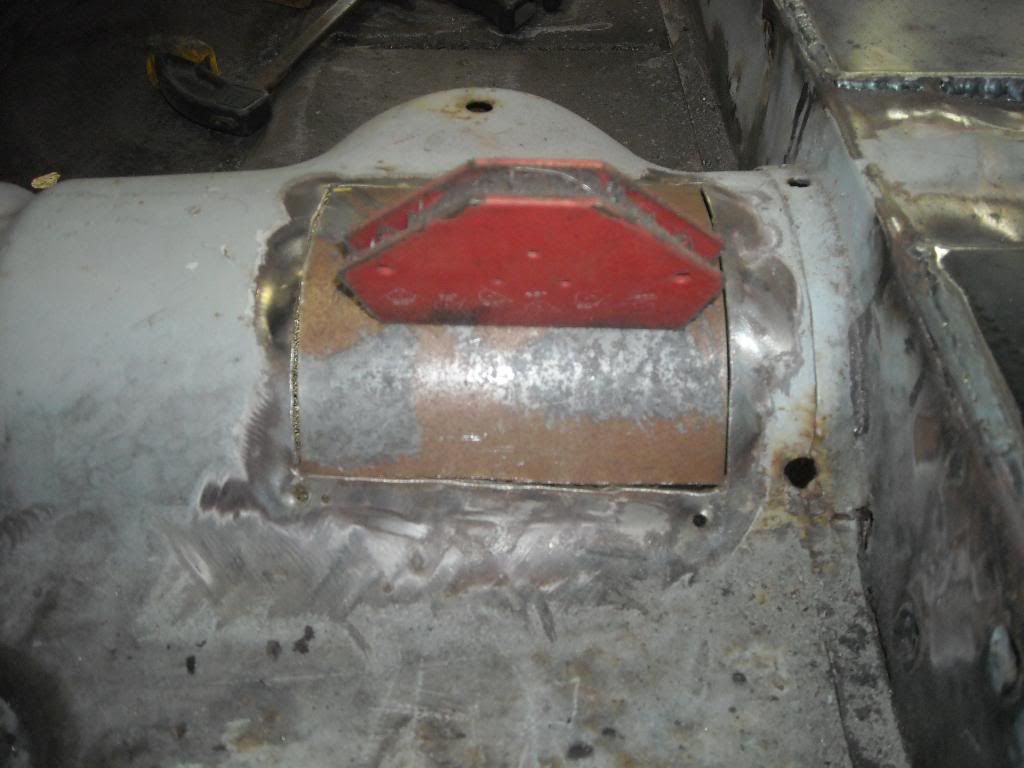
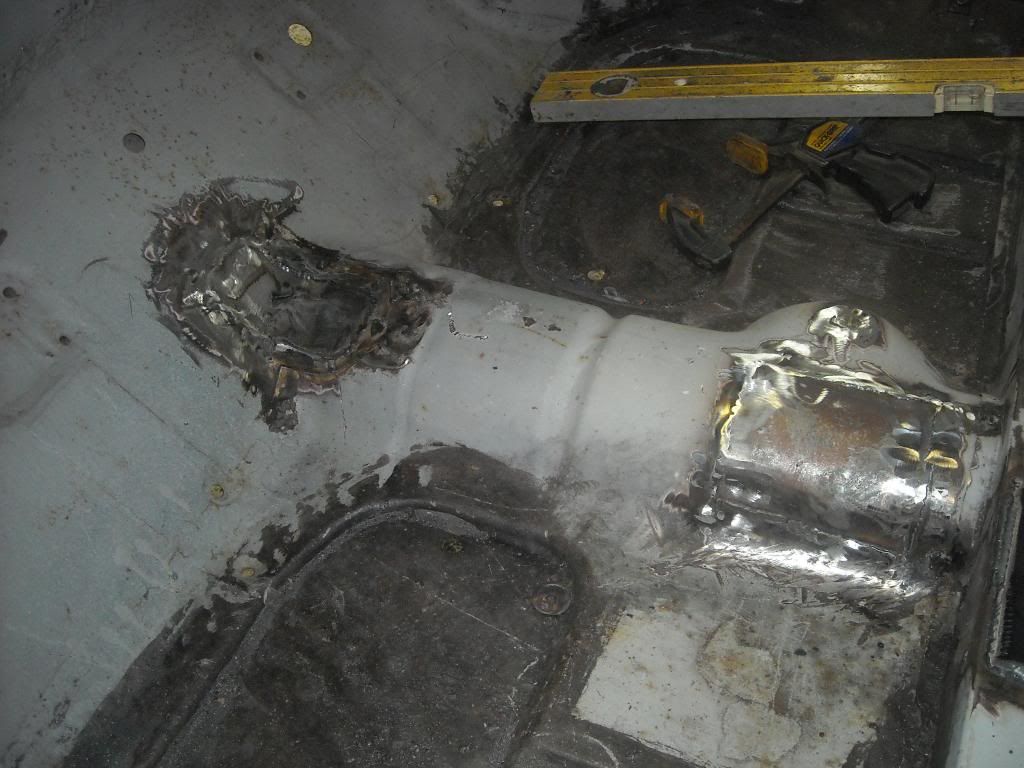
While I was waiting for some bits to arrive, I decided to get on with doing other small bits n pieces around the car. First thing was to patch the transmission tunnel (exhaust tunnel) where the shifter had come up through the floor. Leonidas has, at one time, had both a pudding stirrer and the later type rod shifter. Both holes had to be patched as the Honda linkage will sit atop the floor without any penetrations through it:
More to come soon.
Cheers,
Tricky