I think its time for an update!!
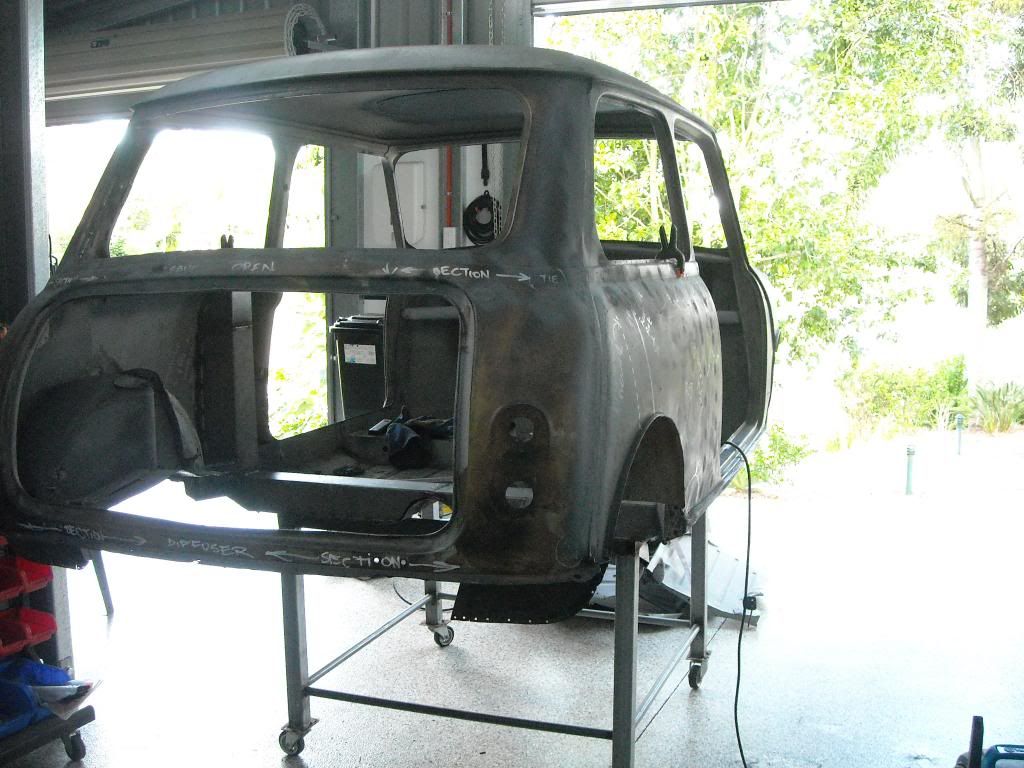
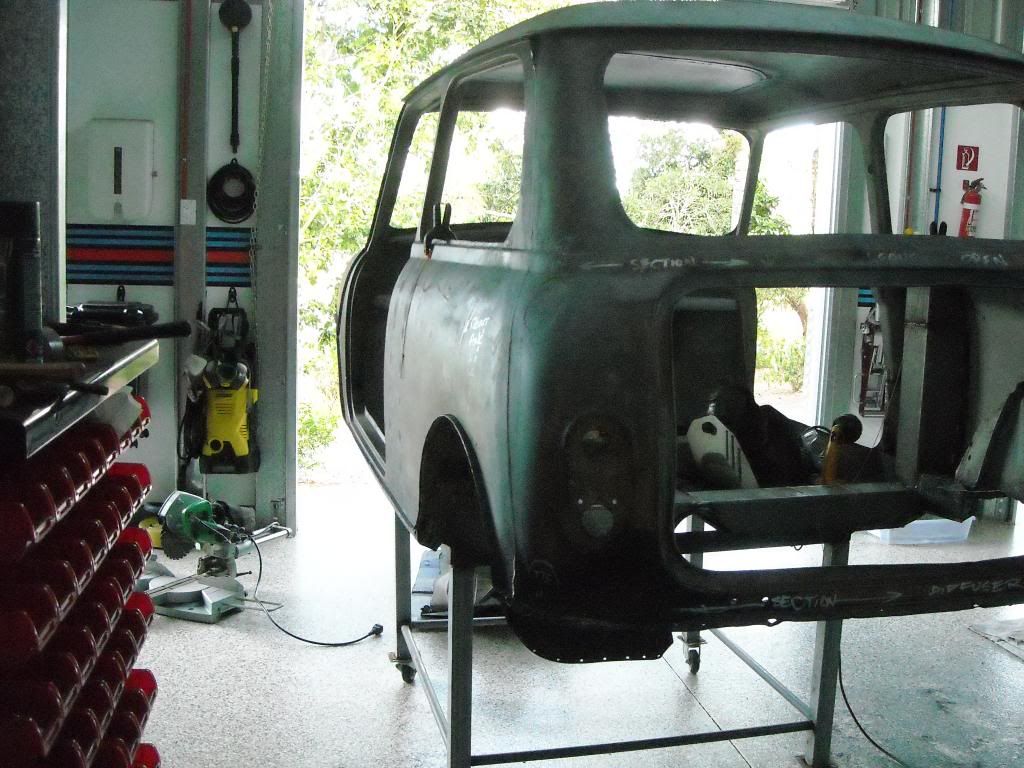
We left off with the lower front subframe mounts completed, and the original Mini mounting holes tapped to take 8mm bolts.
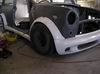
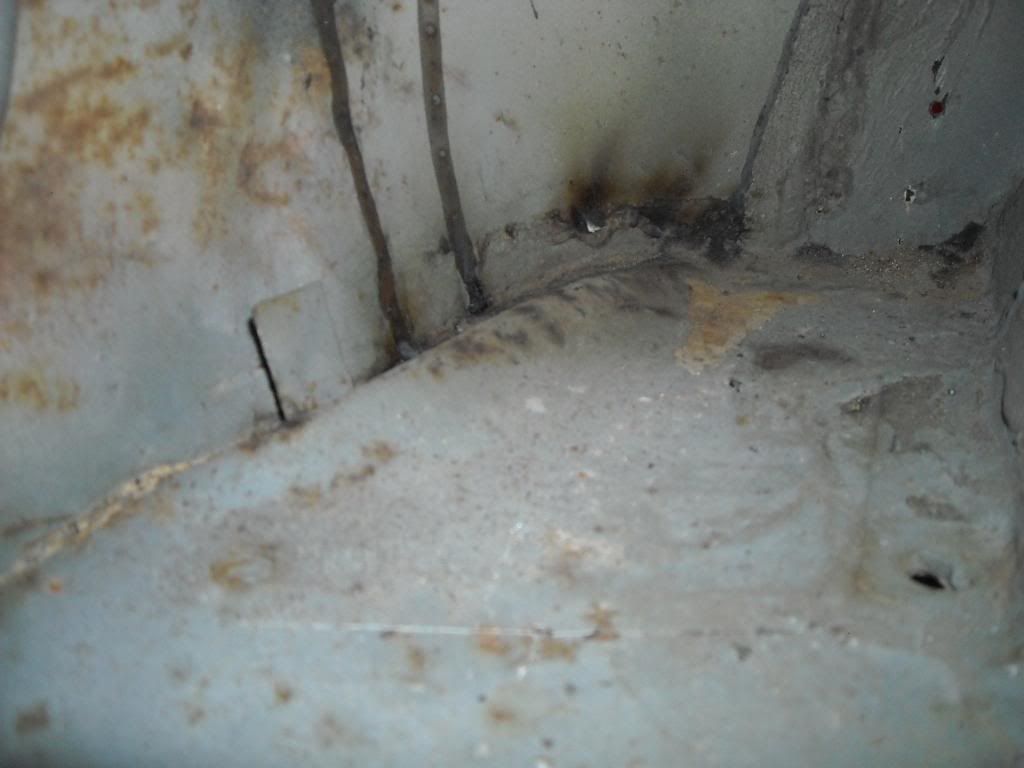
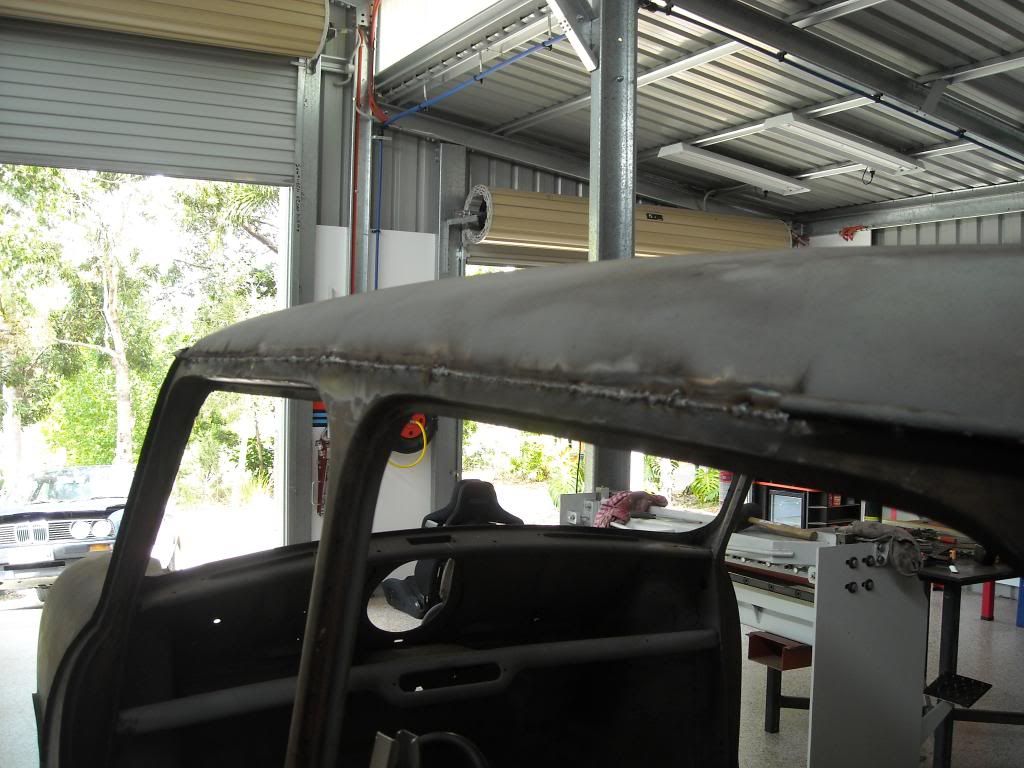
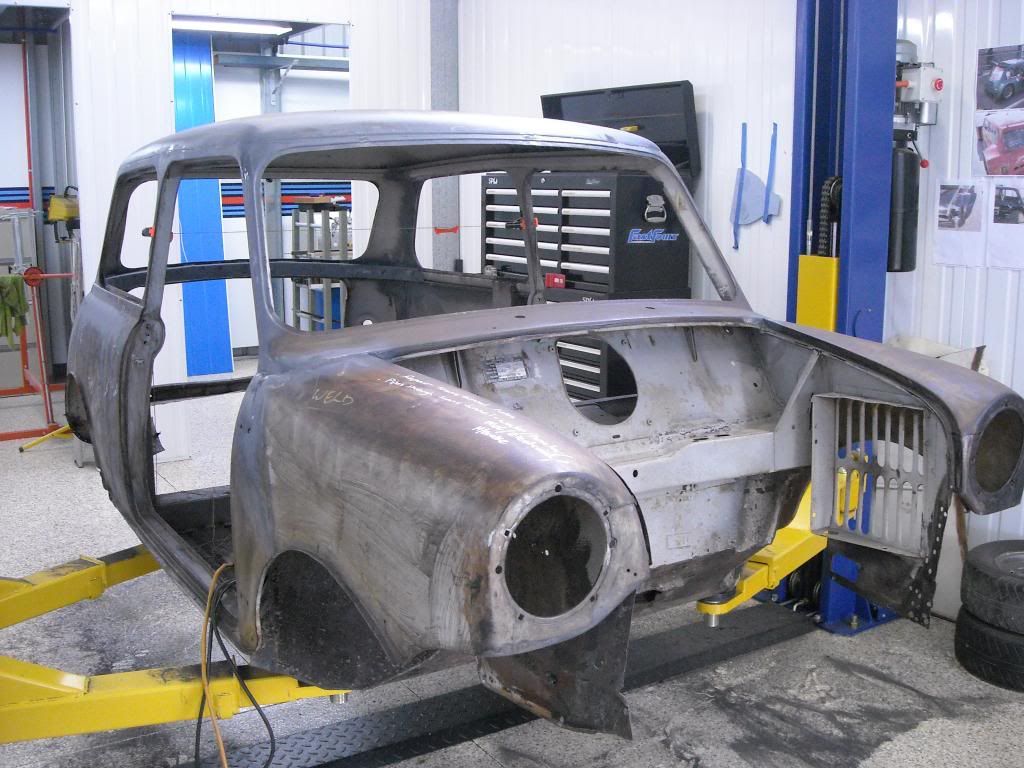
As I was doing the rear bulkheads, I did notice that Leonidas had taken a bit of a shunt in the passenger side rear corner. Not a huge shunt but enough to bend the floor. The PO must have tried to belt it out at one stage and all he succeeded in doing was to fold the floor over on itself. I am going to leave this for now as we have a new rear valence coming, and once that is fitted up I can get a good idea of how far out of shape this section is. It will however, take some punding to undo the mess that is there, and me just be easier to cut it out and weld in a new section.
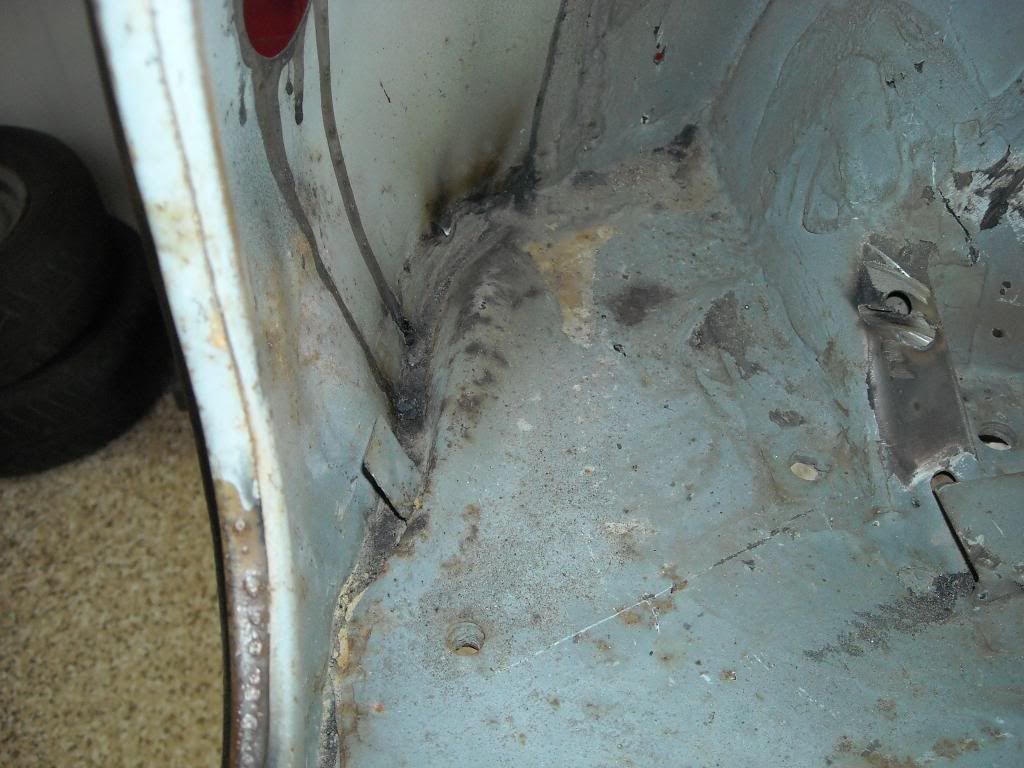
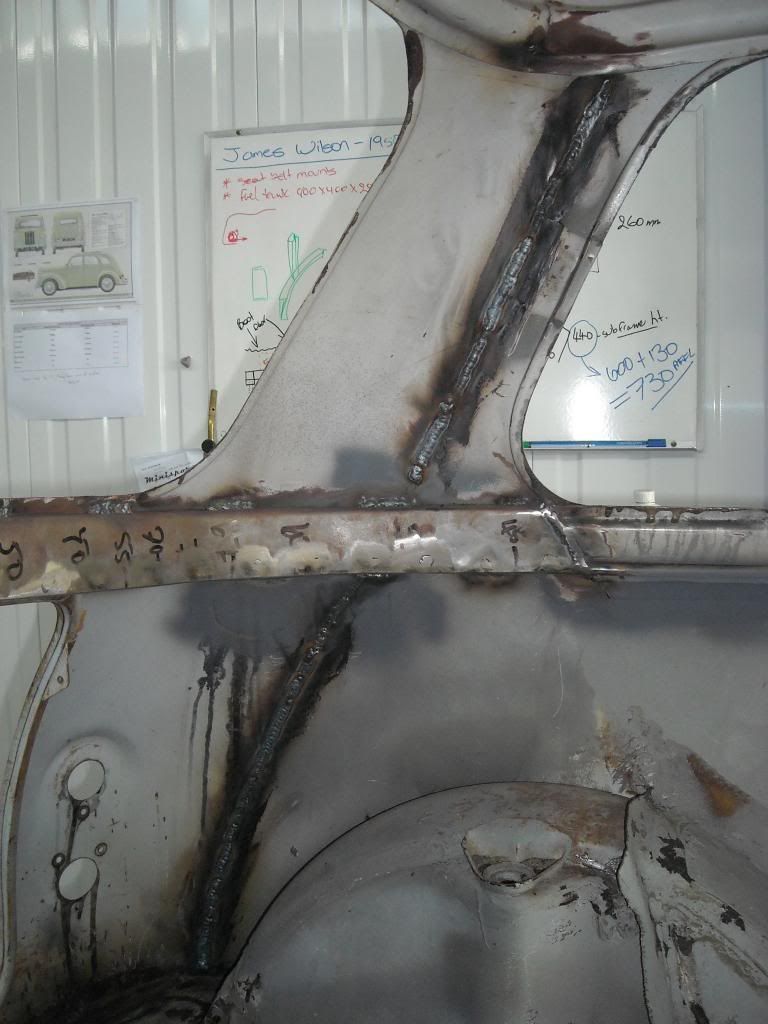
As I mentioned before, Justin was keen to have the whole shell deseamed, and I agreed with his sentiment as I like the look of a deseamed Mini. I started on the back, as it was partly done when we welded up the seam underneath the bulkhead. After wire-wheeling the seam, I welded it fully from top to bottom, ensuring that there was good penetration to both sides on the fold.
Passenger side:
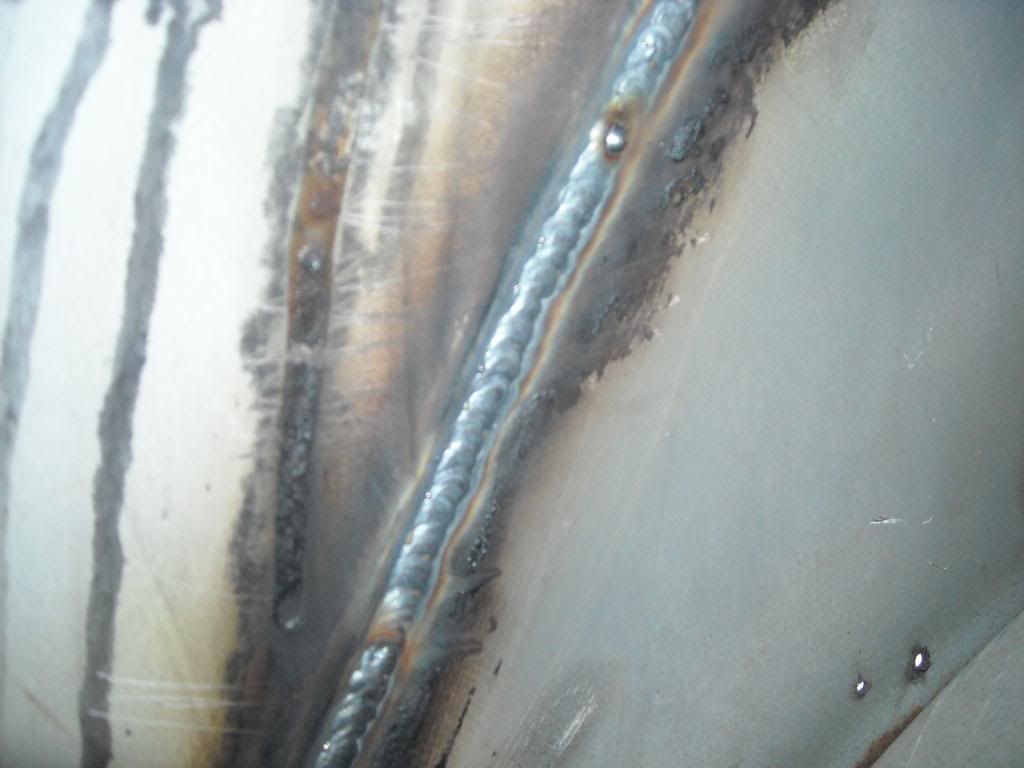
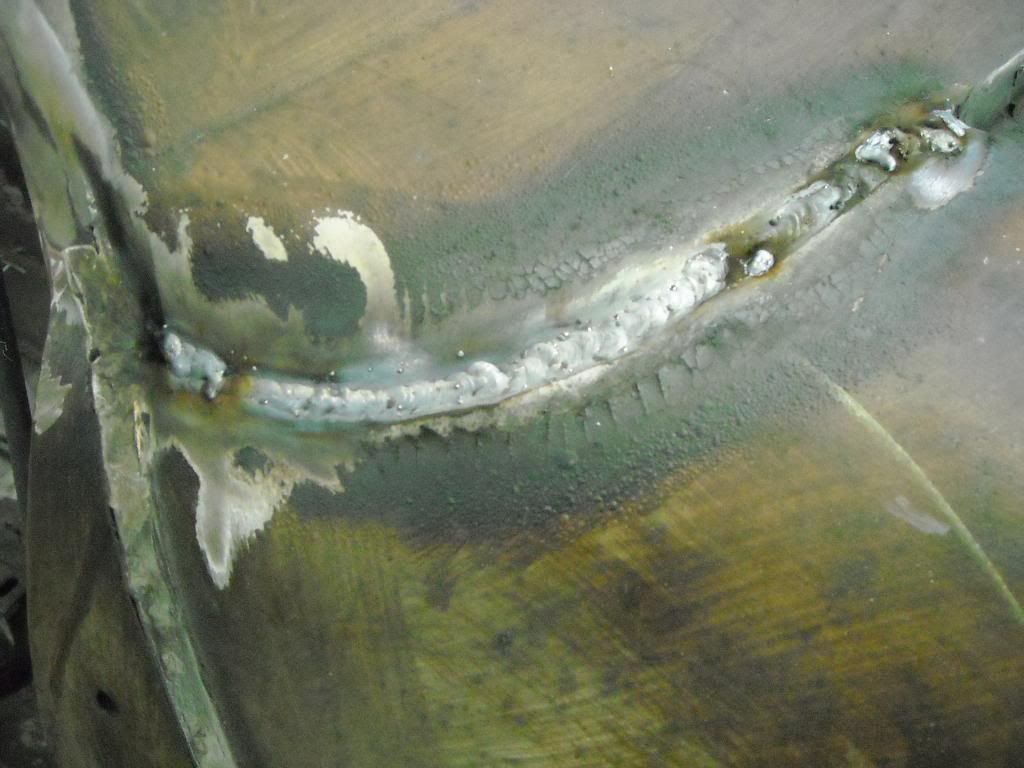
Close up showing good coverage:
The secret to getting good coverage and penetration is to make sure that the seam is scrupulously clean. Any crap in the fold will contaminate the weld and porosity will result. I dont recommend deseaming for those that are half-hearted about it - it involves a lot of work, and a lot of time.
Drivers side:
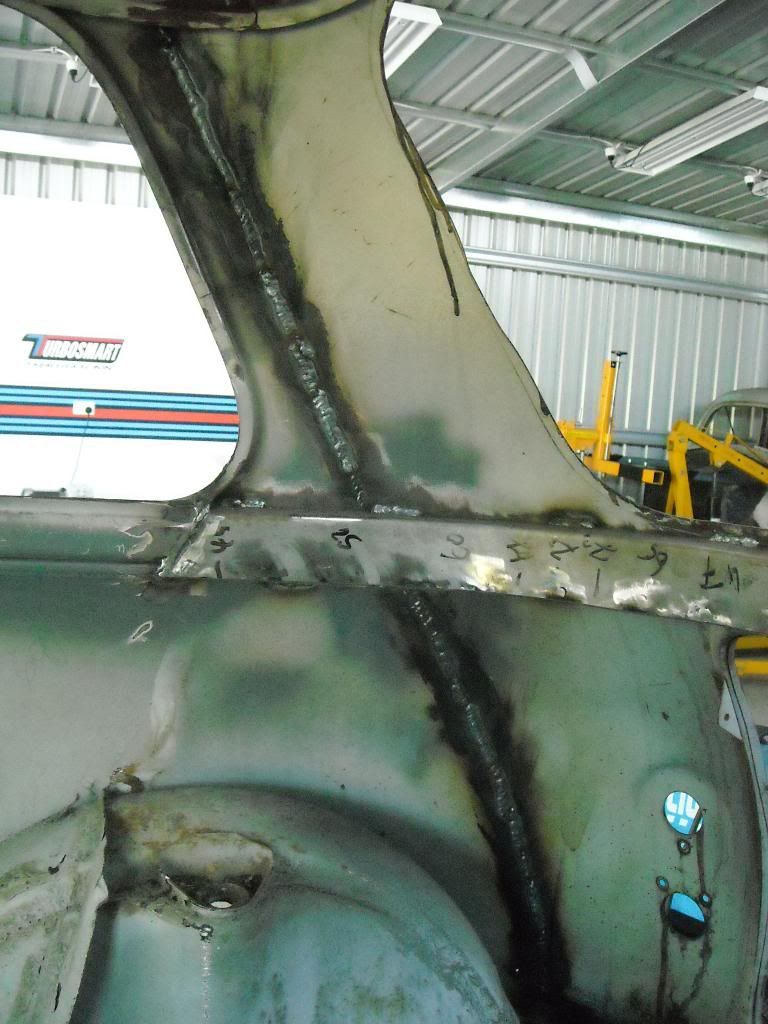
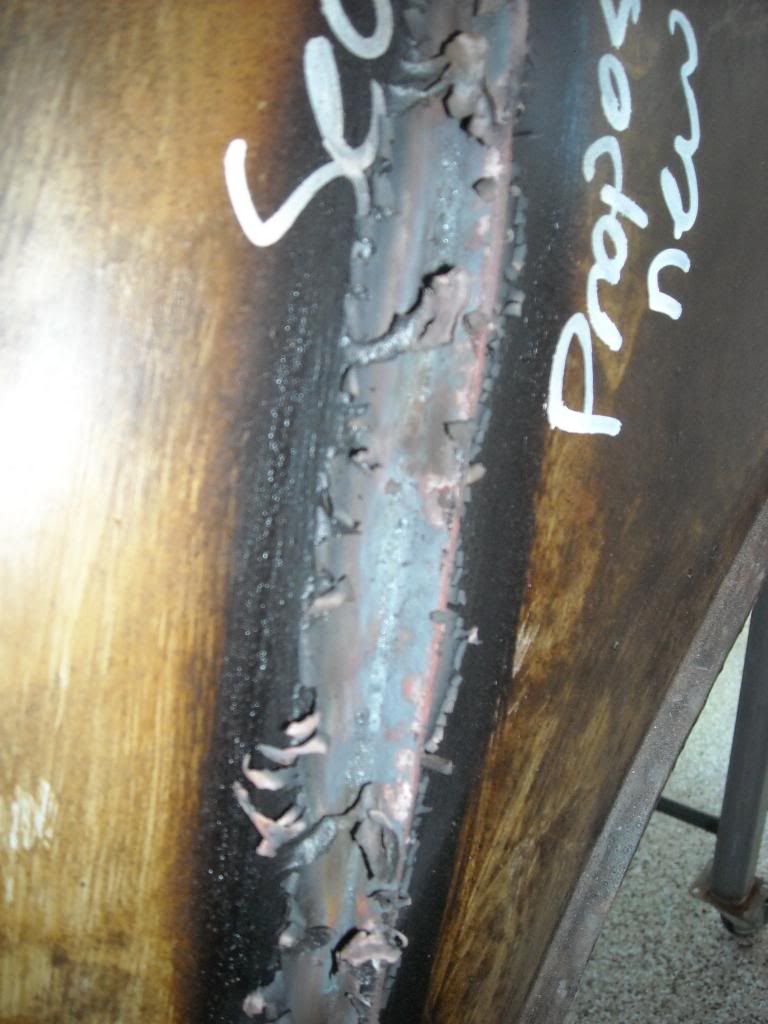
Penetration through to the outside:

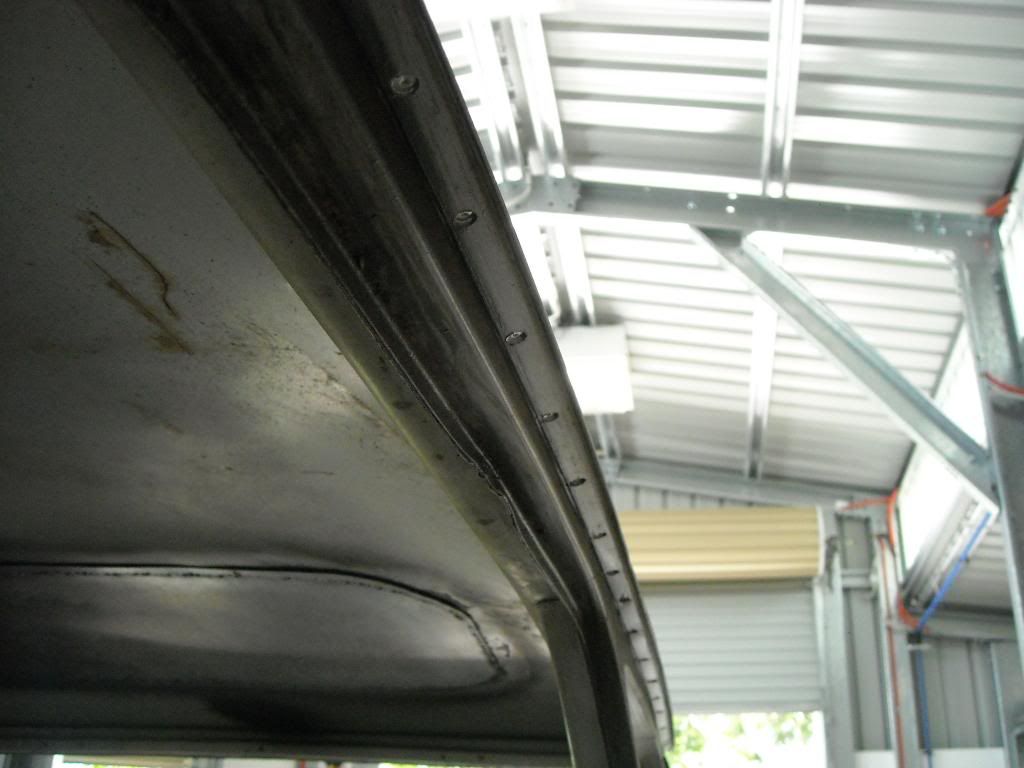
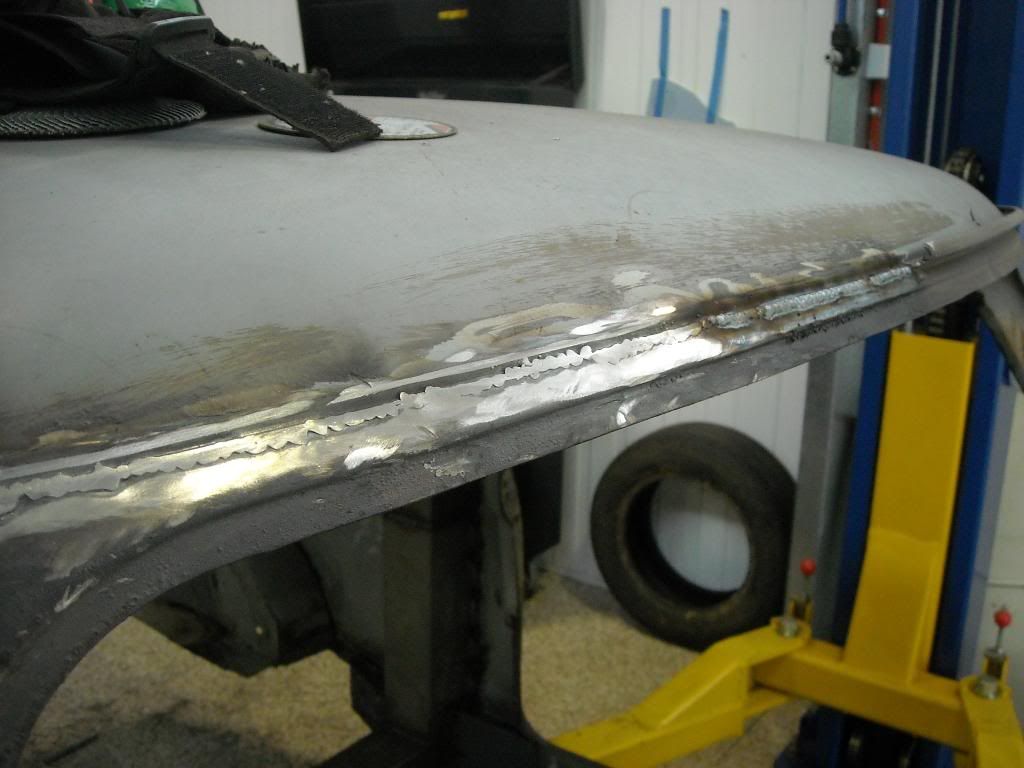
Once the seams are fully welded from the inside, the flange can be cut off with the grinder, and then the seam are ground flush with a flap disc, taking care not to warp the panels with too much heat. Be aware though that there is a 50mm section at the very top of the seam that cant be welded from the inside, that will have to be done from the outside. I leave this bit until I am ready to do the roof section:
This is what a nice smooth Mini bum should look like:

Next, I decided to do the roof. This is a fairly hard part of the car to deseam, as it all has to be done from the outside. For now, I will leave the A-piller/roof junction for when I am doing the A-pillers themselves. First, start off with removing the seam reinforcing that is spot welded to the underside of the joining flange. A good spot-weld cutter or drill bit will help here - there are about 30 spot welds each side!!! I use a cobalt spot-weld drll bit, as it is so much easier to use than a spot-weld cutter! Once all the welds are drilled out, take a hammer and cold chisel to the rail and they should pop straight off.
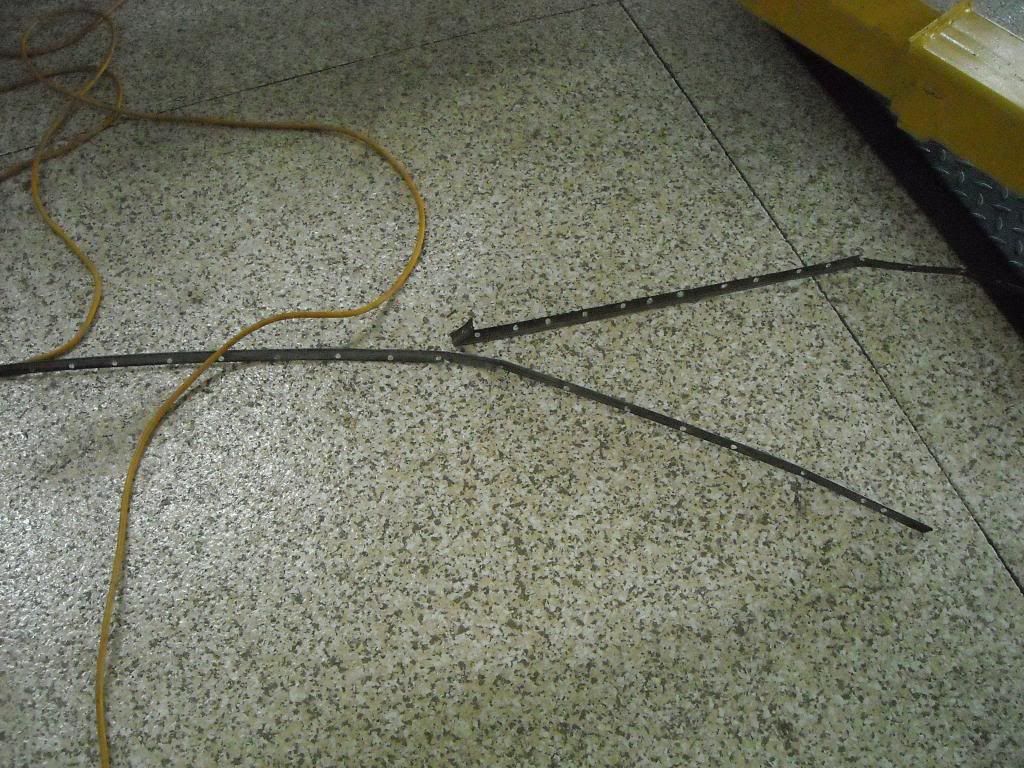
These are the reinforcing strips we need to get rid of:
And discarded:
The roof cannot be welded from the inside, like the rear seams. This means that you have to cut the flange off first, then weld the seams together. Care has to be taken in not cutting off too much of the flange, and leaving a gaping hole that is too wide to weld. The secret is to cut of about 75mm-100mm at a tme, leaving some of the flange slightly proud, then hammering the metal over and welding it together. Then, once it has been fully welded and ground back slightly, to the peen the weld so it is just below the two adjoining surfaces so filler can level the joint and make it look totally flush.
I started Leonidas' roof about 50mm from the passenger side A-piller/roof junction, and then worked rearward:
When you hit the C-pillar/roof junction at the rear corner, you have to be careful when cutting away the flanges as this will create a hole where the three body pressings meet (passenger side, roof and rear) - like this:
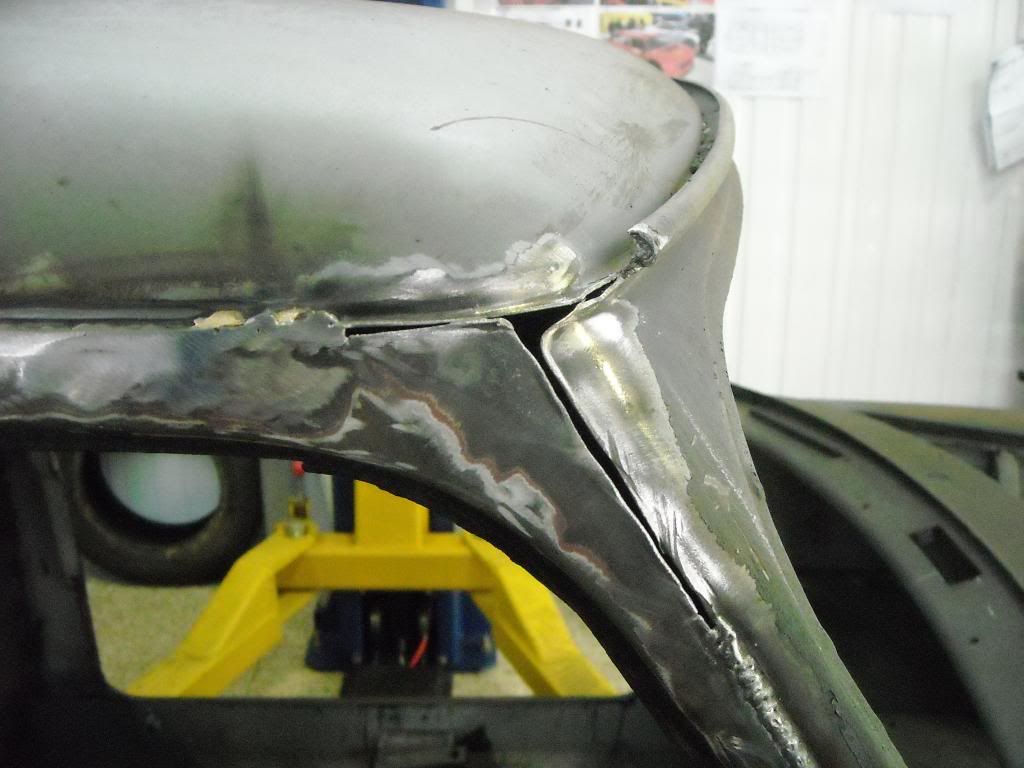
With a bit of skill and determination and simply taking your time, you can weld it up just fine, and then carry on around to the rear:
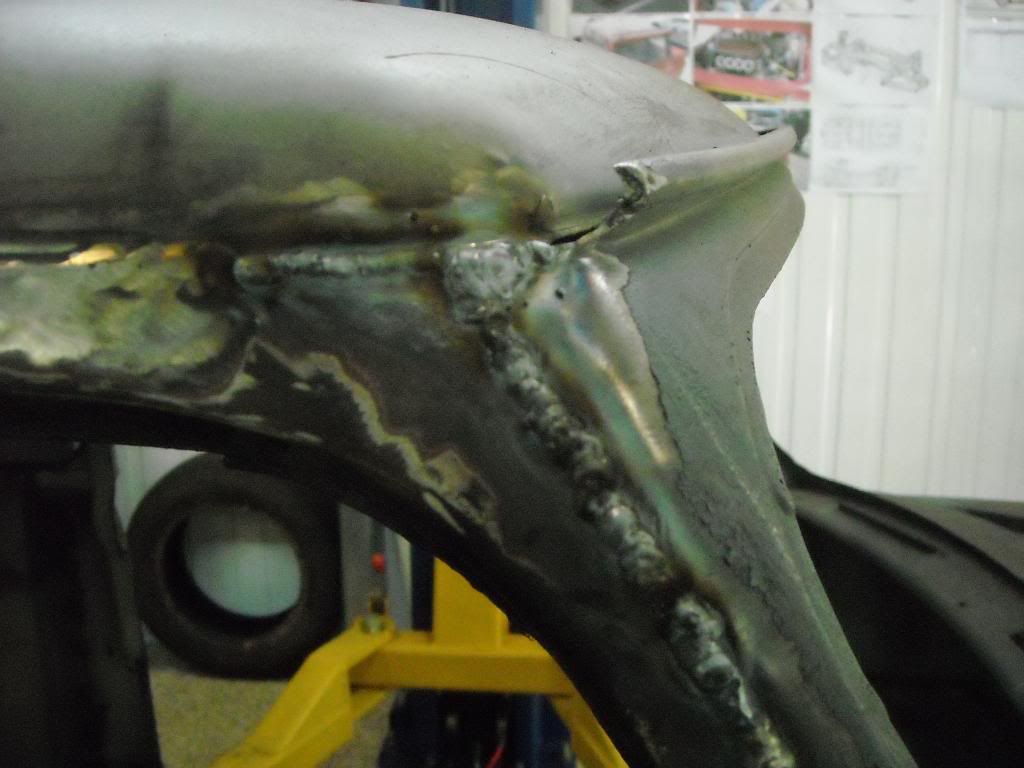
Until you hit the other corner, and then the same procedure applies:
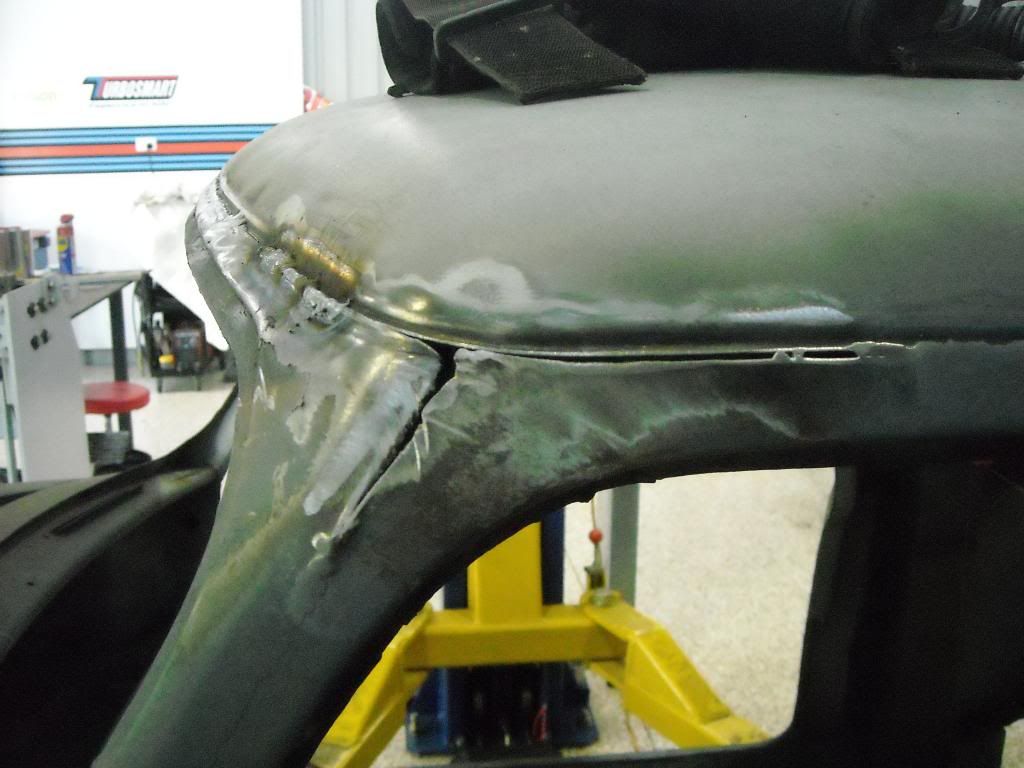
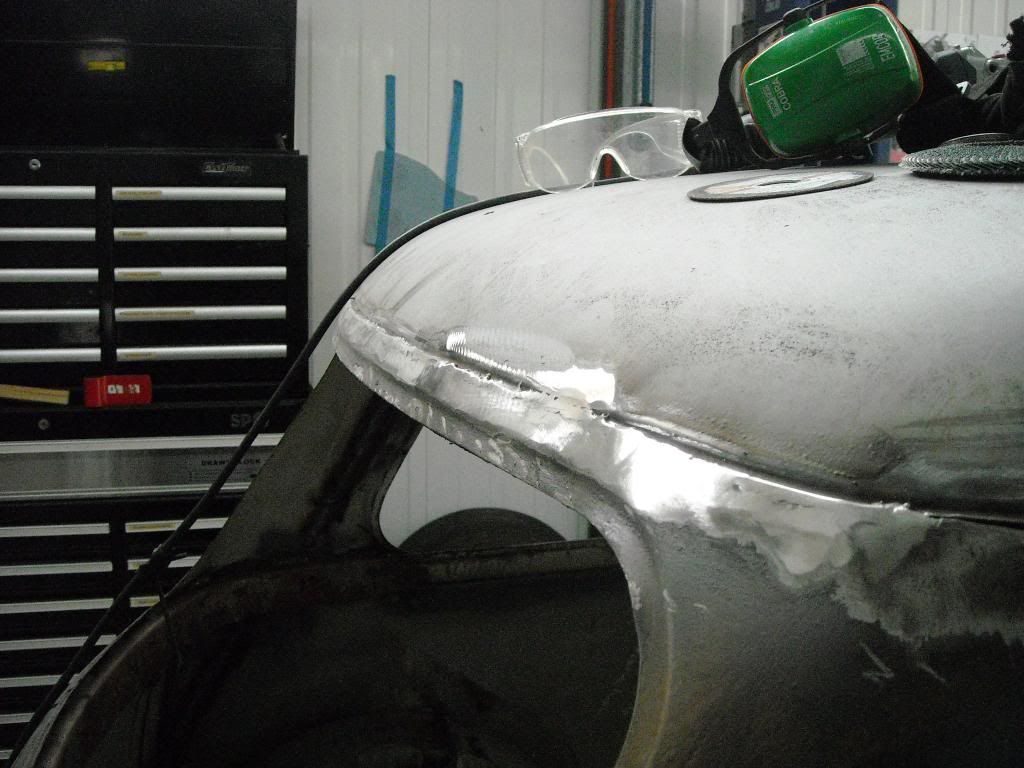
Moving onto the front A-piller seams - these are much harder as part of them are welded from the inside, like the rear seams, but most of it has to be welded from the outside, like the roof seams. Basically, treat them the same as the roof seam and it will work out just fine - cut a section, weld, cut a section, weld!! The part inside the front guards can be welded from the inside, which is where I start. I then work my way up the guard and A-pillar:
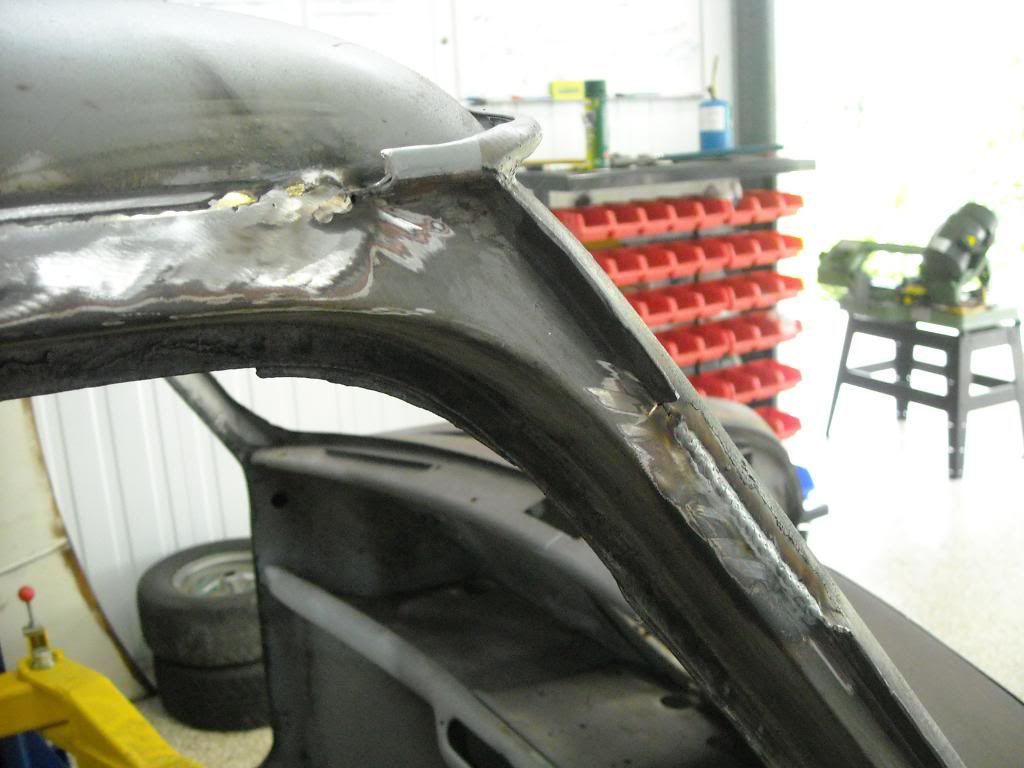
Passenger side completed:
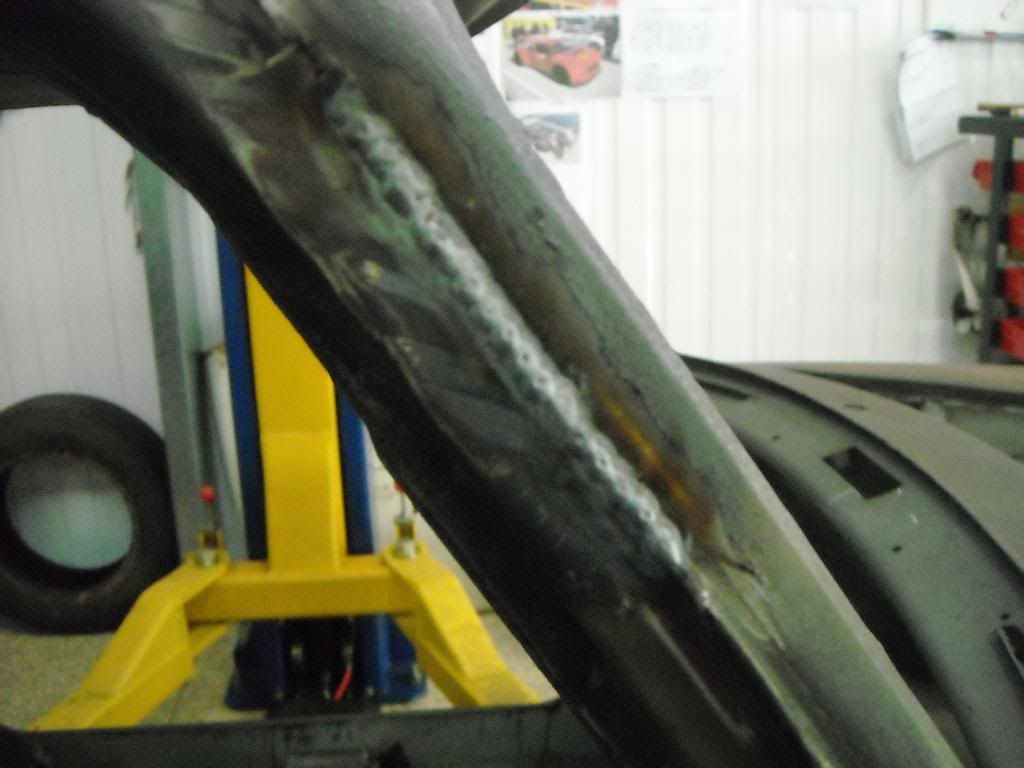
The junction of the A-pillar/roof creates the same problem as at the rear - just take your time and dont cut too much flange off. From there, you can move around to the front of the roof:
Once you have welded and ground back all the seams, this is the end result, a nice, smooth deseamed shell:
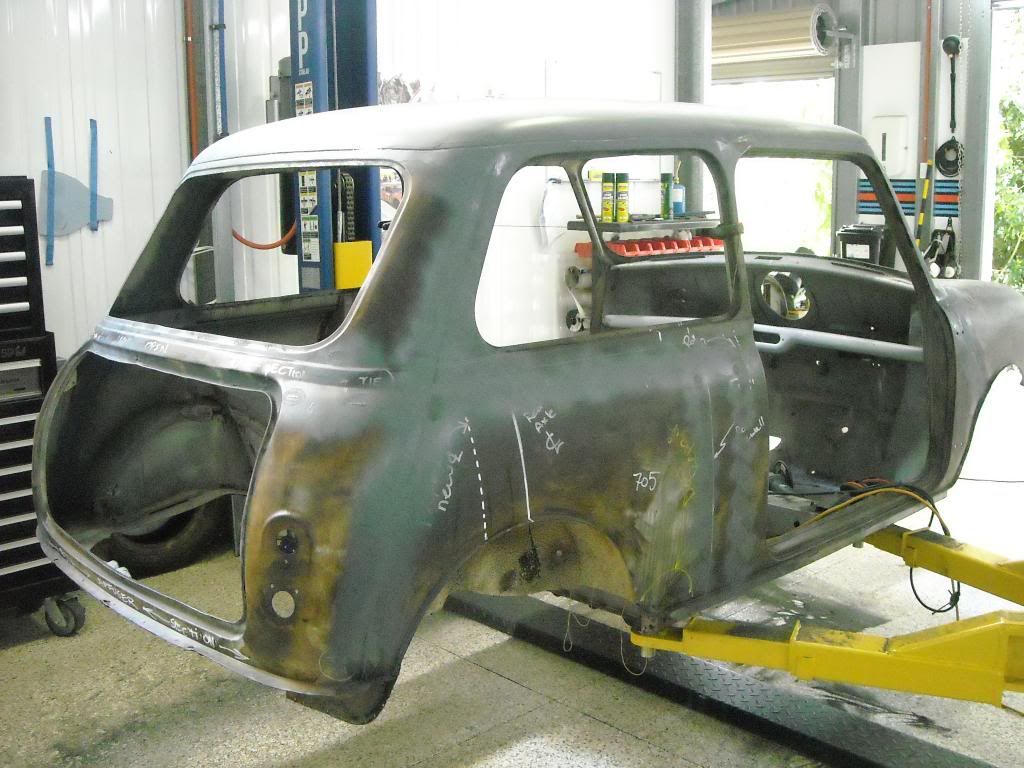
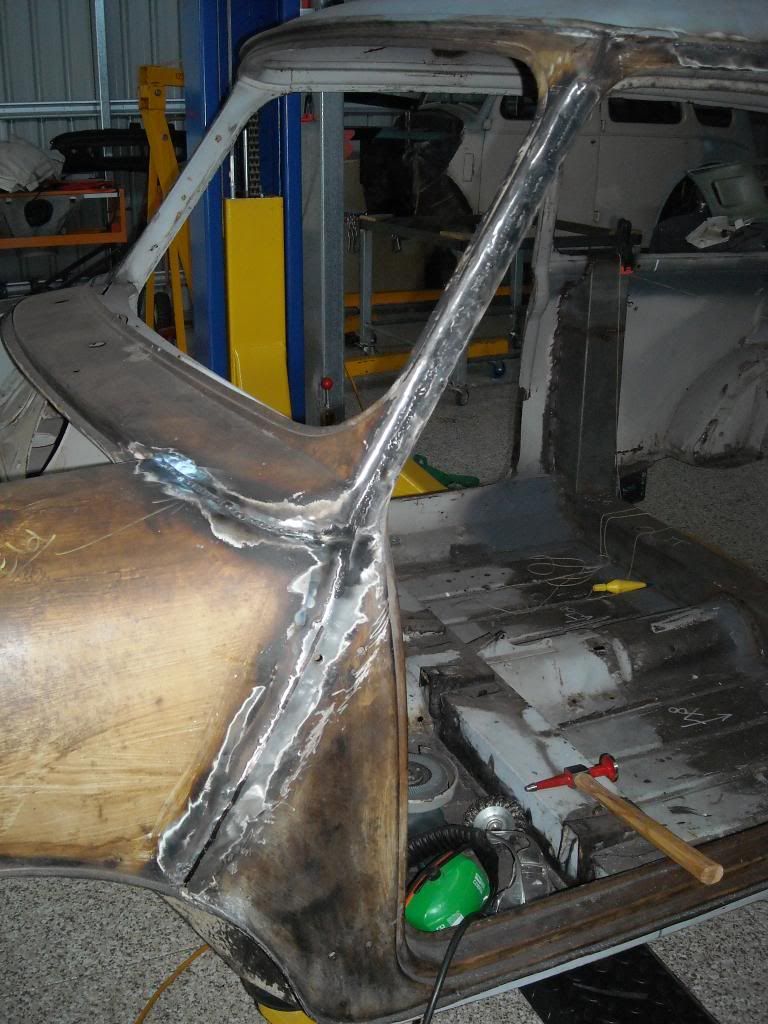
Also, while I am in this area, I weld up the front guard to scuttle seam. It saves any chance of rust developing here and just enhances the smooth body look that the deseaming portrays. There will be no seams evident on Leonidas when we are finished:
So, there you go, a deseamed Mini. Like I have said previously, doing this is not for the faint-hearted, as it is a lot of work and takes a good amount of time. However, I believe that the look is truly worth the effort. Its a case of each to their own though, as I know that there are Mini afficianado's out there that think a deseamed shell is an affront to God and all things holy!!

Cheers,
Tricky