Righto: For this you will need at least Dremel tool (or similar) preferably with the flexible attachment, polishing wheels, cutting disc's, sand paper, a grinding stone and some time. This is all that I used.
1: Get yourself a set of alloy wheels - I have pinched Ash's Jellybeans that were looking pretty secondhand.
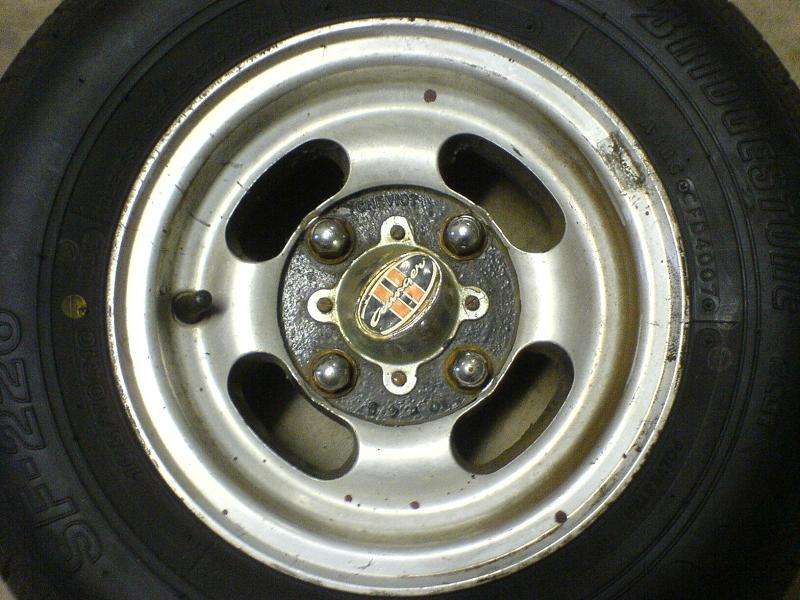

^Get some gutter rash into ya
^Bits of paint from somewhere
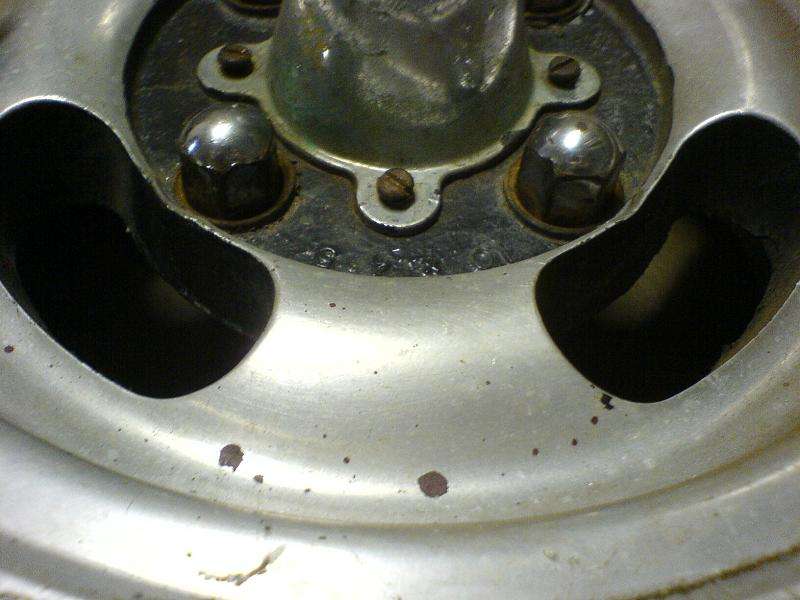
2: Start by stripping the wheel of everything (I left the tyre on - it doesn't really matter but it would have made it easier to do around the outside of the lip if it wasn't there).

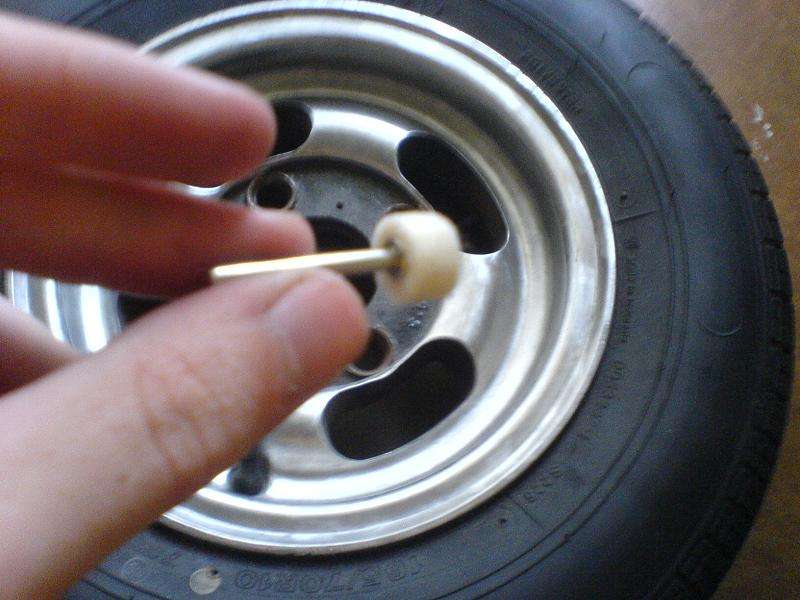
^I started by taking the centre cap off

^Keep all the wheel nuts etc somewhere safe so that you can find them easily later
3: Clean all the gunk off as best you can

4: Start by removing the gutter rash on the outer lip (these wheel had alot of it). I used a "Cut-off wheel" for this if it wasn't too bad but used a grinding stone if it was particularly bad and then used the cutting wheel to smooth the grinding marks out a bit. A friend with a lathe could help this bit too if it was big enough.

^Hint: Don't take too much off and try to keep it as even as possible. For the really big ones I just smoothed them off so they would polish up - I didn't try to remove them. Try and keep the lip flat (if it was flat to start with).
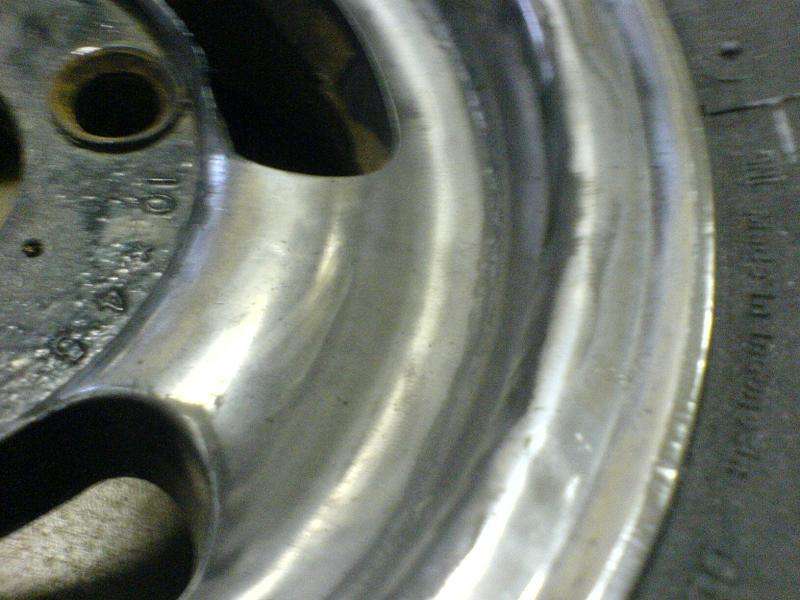
5: Go around the rest of the wheel finding the worst bits and use the cut off wheel on them - remember don't grind it flat if it is on a curved surface otherwise it will be very noticeable once the wheel is polished.

6: After you have got rid of all the big dents start sanding! I used 240 --> 320 --> 1200 -->2000 grit sand paper ($1.10 a sheet - still have 1/2 to 2/3's of a sheet left). I found I got the best result when placing a bit of cut sandpaper in front of a purchased sanding disc - this allowed me to push it down onto the wheel harder and get better results.

^Should start to look nice and even. Once you get to the 1200 / 2000 grit you will begin to see which bits you have missed - go and start again on those particular bits.
Go around the entire wheel over & over again until you have done all the different grits. It should start to get a little shinier each time.
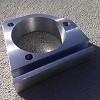
7: Get out a polishing wheel so that you can start polishing - i used about 3 different sizes and shapes to fit in different area's - this is one of the ones I used.
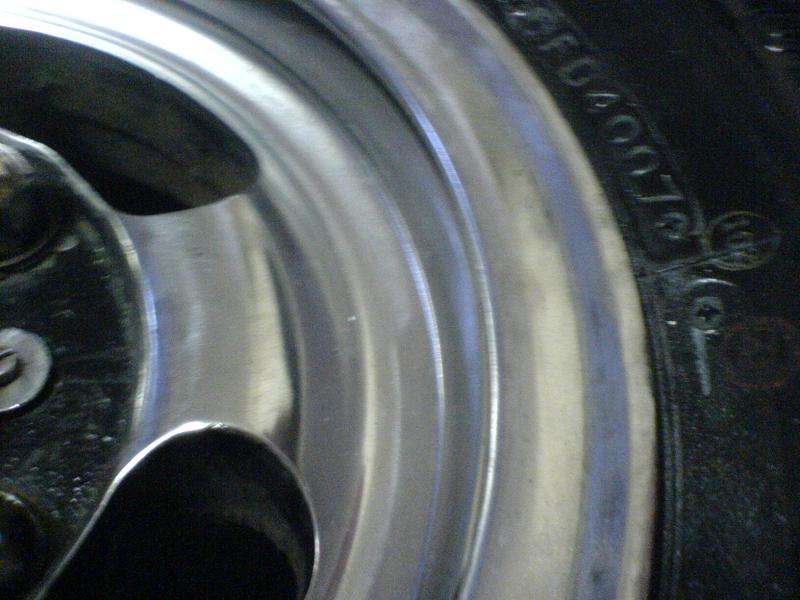
8: Start polishing with you favourite metal polish (I used Meguiar's NXT generation all metal polish).

^Getting shinier
Buff off all the extra residue that settles on the wheel and give it a wipe over with a tissue.
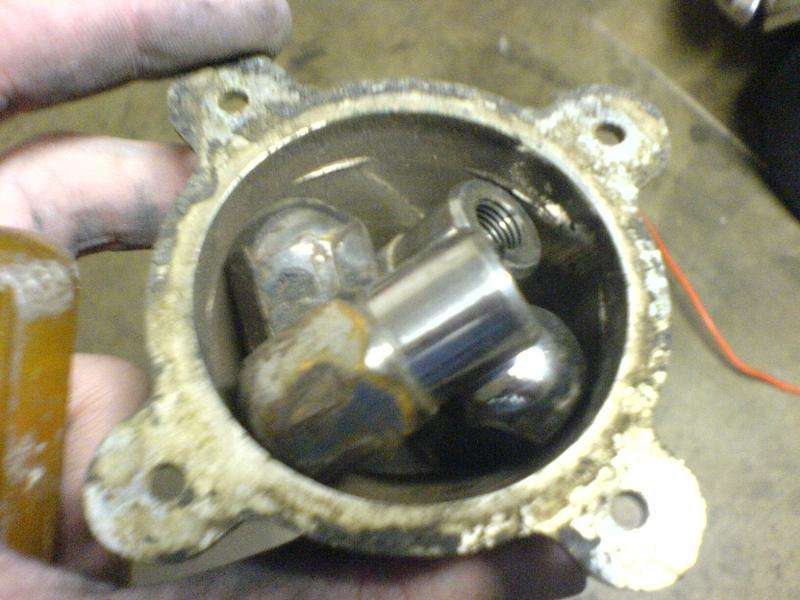
9: Do the same thing (grind / sand / polish) to the screw heads & nuts to make them look

I just used polish on the center cap as it was just chromed plastic - looked ok after just a polish.
10: Apply some tyre black to make it look nice

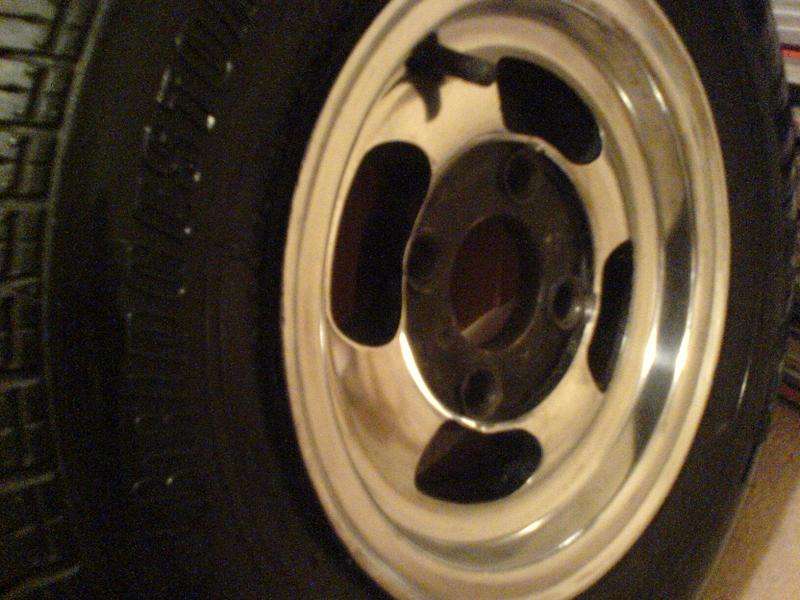

Add the wheel nuts & center cap:

Now you can start on the next one. The amount of time you will need to put aside will depend on how bad the wheel is to start with, how much of a perfectionist you are etc. The quickest wheel here probably took about 6 - 7 hours while the most badly damaged / worst one took about 12 hours. All up it has probably taken me about 35 - 40 hours to get them all looking like this. The most costly bit of the whole project was all the dremel bits I went through - which probably cost Ash about $80 or $90 ($20 - $22.50 per wheel). Not too bad for a nice looking set of wheel.
You probably could have used less bits but I wanted them pretty perfect. They could really use a coat of paint (to make them look really schmick-o but that's woman's work! (Ash said she'd get around to that later

).
Just a few days after doing them someone approached Ash looking to buy them!
Any questions PM me! Happy wheel polishing

Cheers, Nick