Hey guys,
I thought I should get around to posting a thread on this car that I bought quite a while back (18 months I think). I have taken a few photos and started doing some things to this car but always managed to lose track of the photos (i.e. left on an old work computer, thought I'd backed up my phone photos when I rooted it but didn't etc). A few other things happened in between and the car almost got sold to fund living expenses. It took a while to recover from that and now the bank balance is looking extremely healthy. Ash (wife) has just started a secondment in Brissy so I have loads more free time. So cash + free time to work on cars = completed car (hopefully).
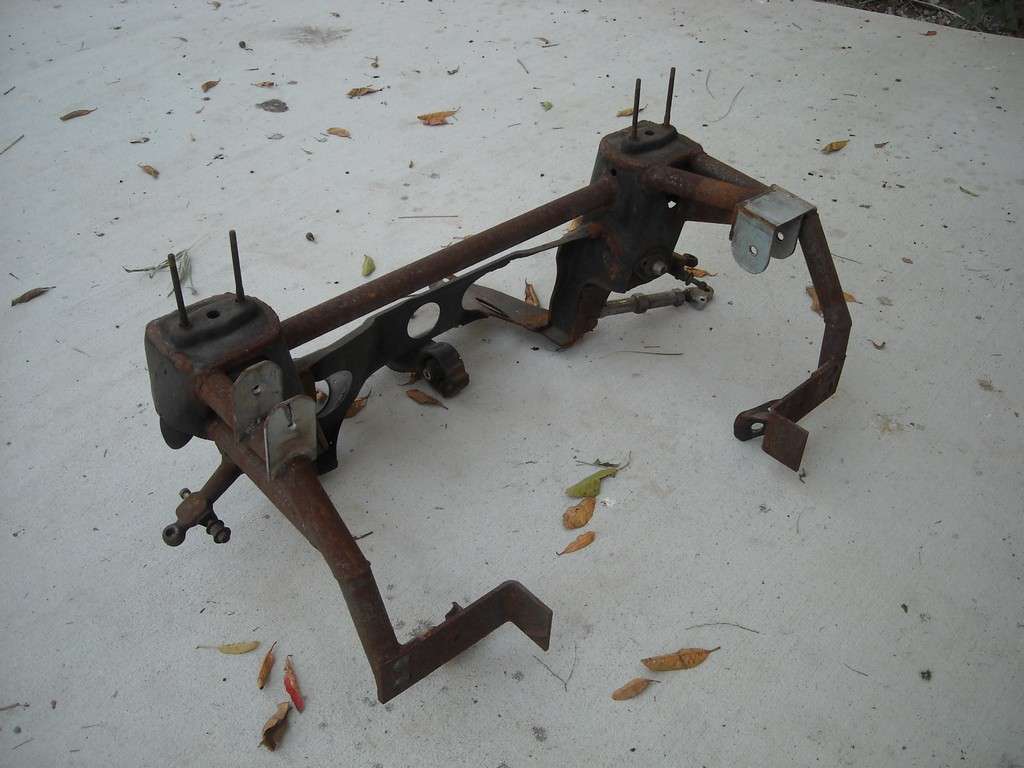
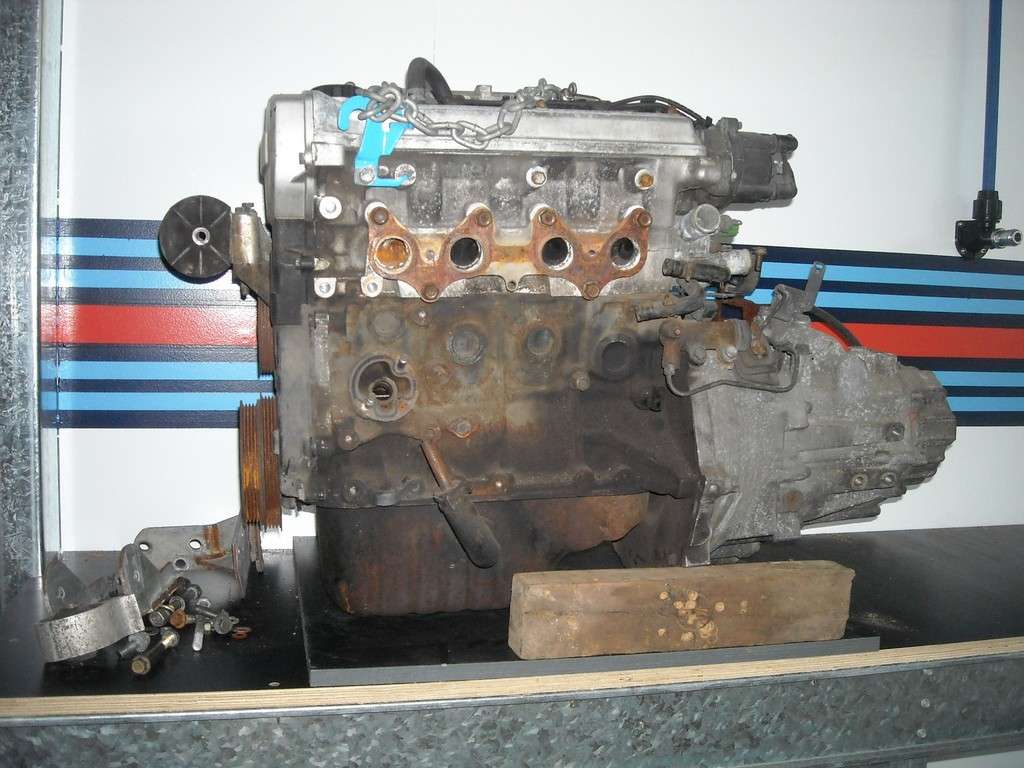
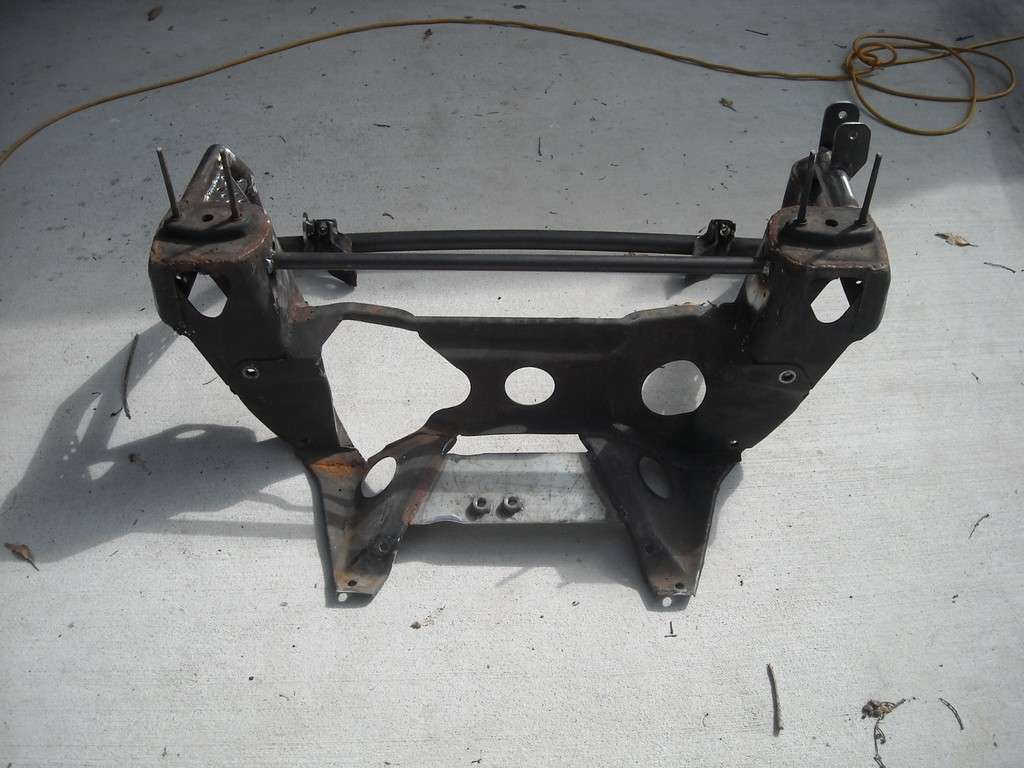
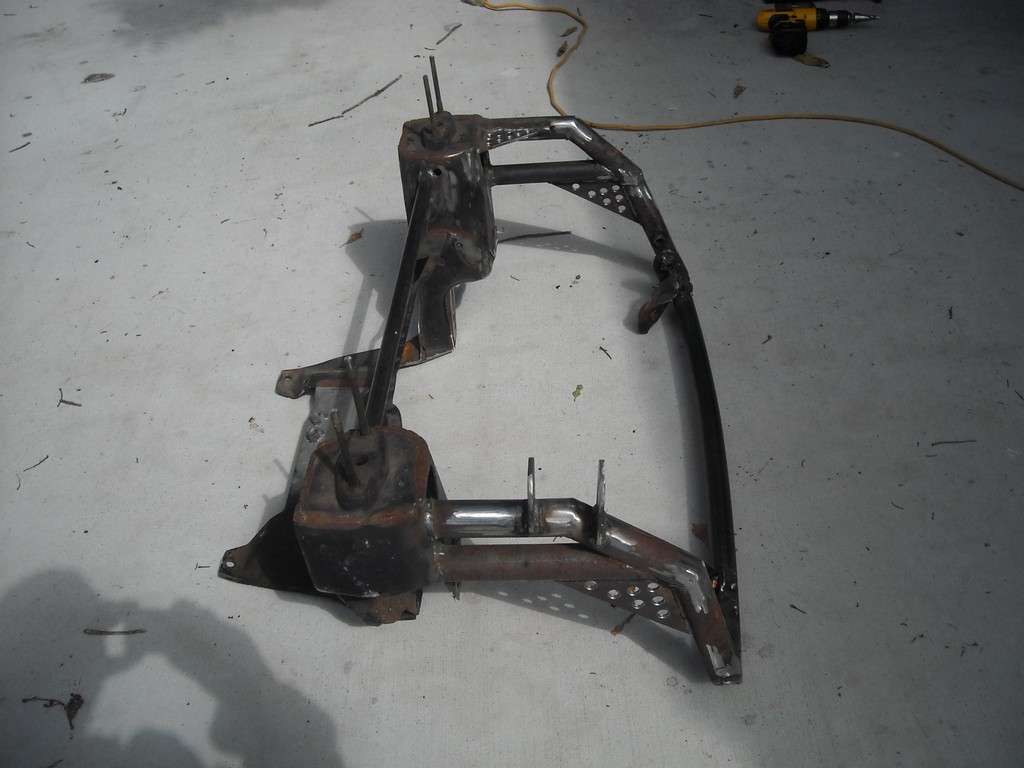
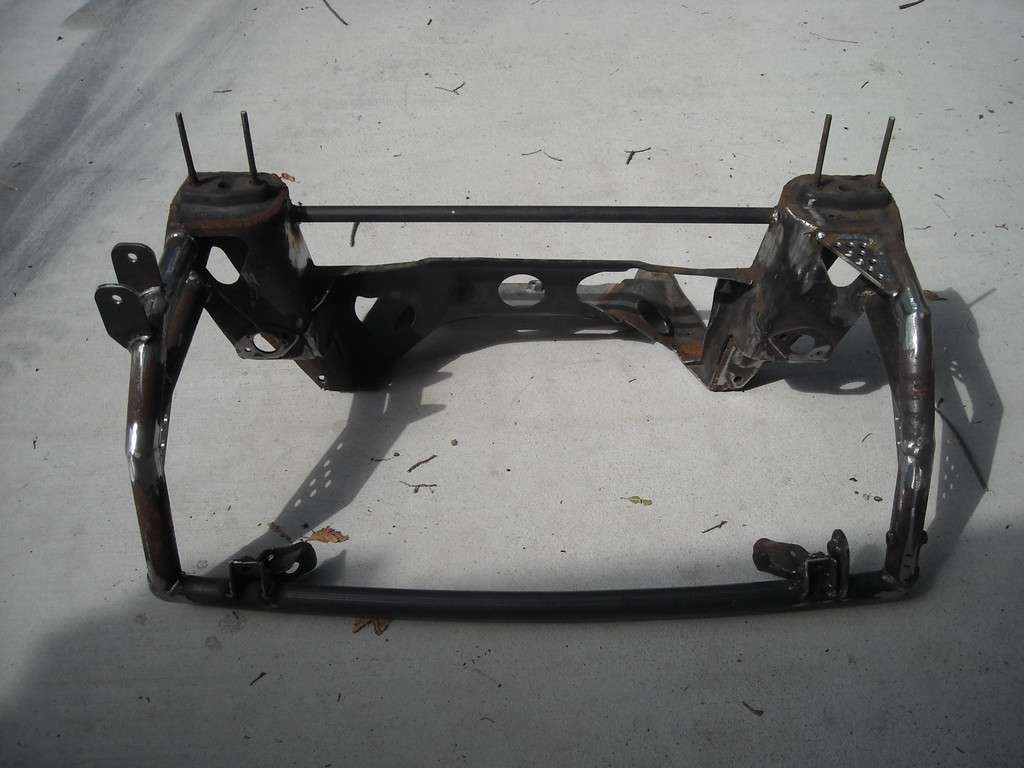
A lot of you will recognise the car from way back. The car was known by the PO as 'Hefty' - I've never been one much for naming cars. I purchased it as an unfinished project with plenty of parts and it is still much in this position. It is a 1966 ish Morris Mini - the fleet level with 'all the trimmings' (i.e. none). I guess it doesn't really matter that much anymore because this car was a LONG way from being restored to original. It is essentially just what I wanted.
I've tried to do as much reading as I can on these conversions in the past so I can try to avoid some of the pit falls that others have made. In the same instance, I am also treading a path that not many have followed (4EFTE into a roundy). I can see why - there is so much more engine room in a clubby.
Anyway.... to the photos! I know this will seem as though the thread is starting part way through but as I said, it is because I've been slack and lost the photos (hence a thread on ausmini) and because this car already had a heap of work done to it before I bought it.
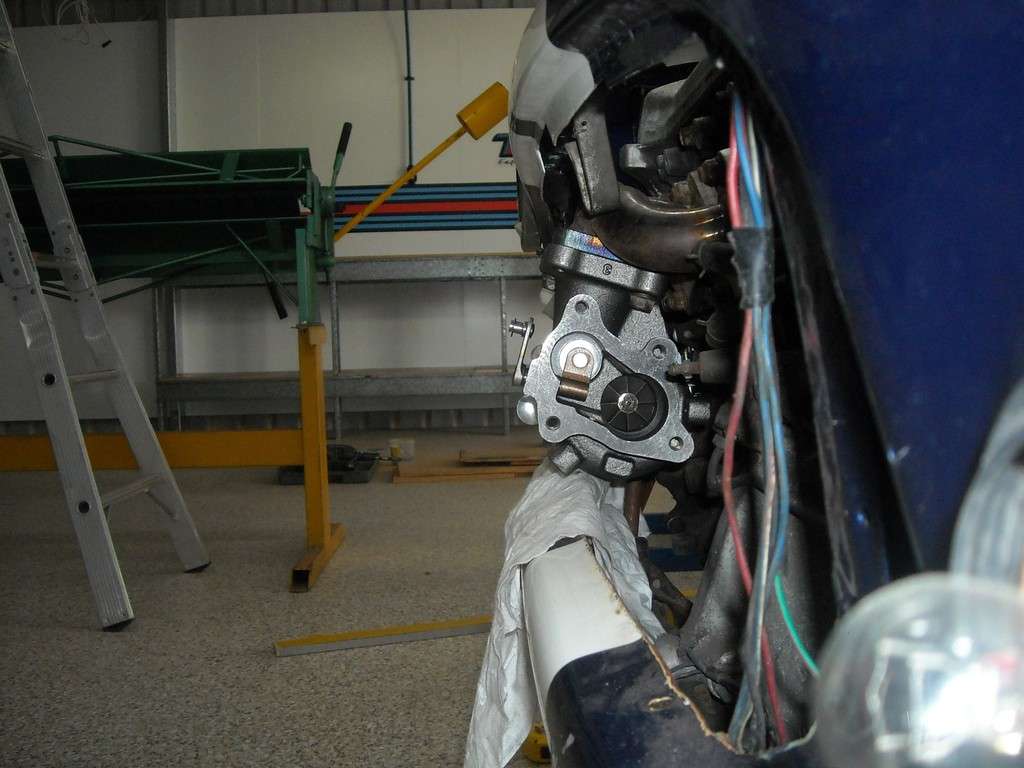
Through the week last week I decided to knock up an alternator bracket (the bit that bolts to the block). I was most of the way through it when I binned it and started over because I didn't like the 'on the fly design' I'd done.
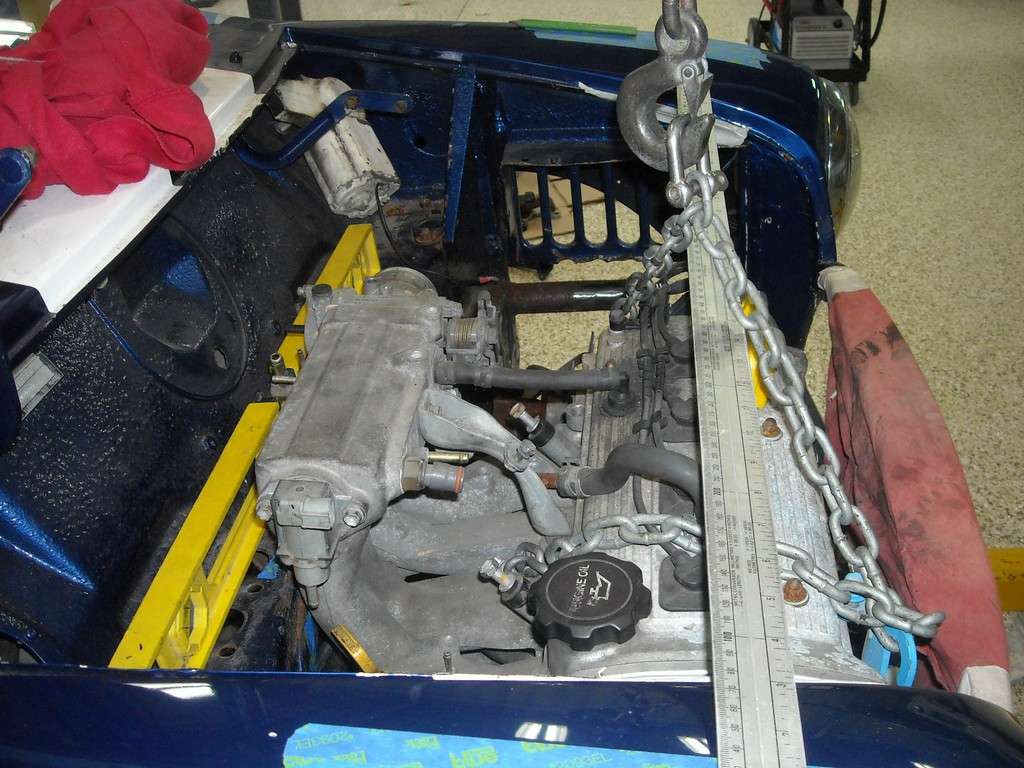
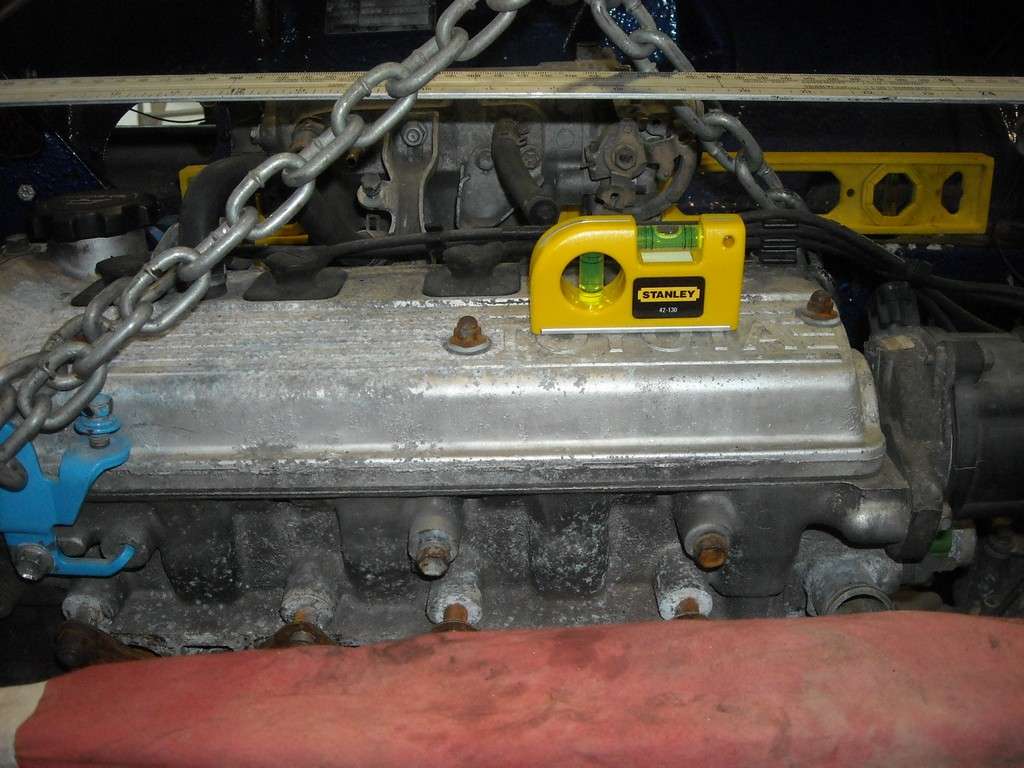
Yesterday I moved off onto this:
Got in AutoCAD and knocked up a swarve looking design to follow (I love AutoCAD). Printed the bracket out 1:1, had one done that I quickly dimensioned up (so I could use as a reference) and the other was blank so I could mill around it. This seems to be a slightly unconventional way of doing things but it seems to have worked well for something that isn't totally dimension critical.

Cut out to stick onto the piece of metal (the holes were reasonably well positioned over the holes in the engine block so that's a good sign):

Grabbed some 75mm wide, 6mm thick flat bar and squared off the end in the mill:

Cut a piece that was slightly too big, sprayed it with contact adhesive and stuck the printed out bit on there.

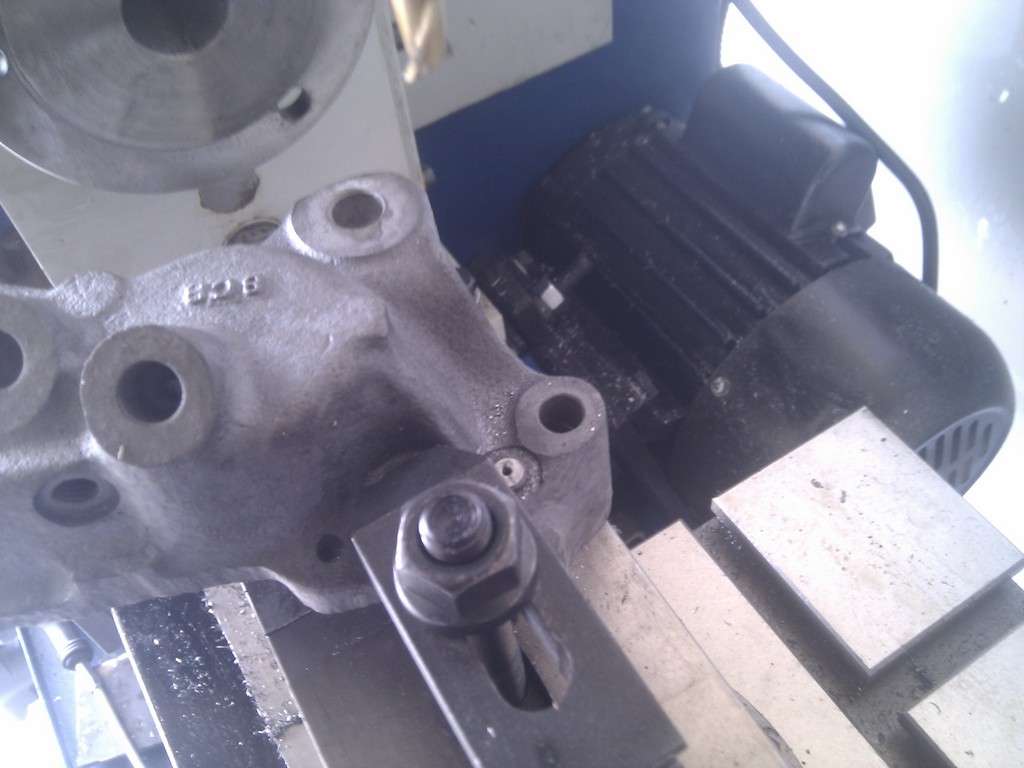
Bolt it down and start removing metal!


After all that was done it ended up fitting pretty well (I must've mis measured but I had to slot one of the mounting holes 2.5mm


Pretty good I think. Better than the first and turned out better than what I could chuck out with an angle grinder!


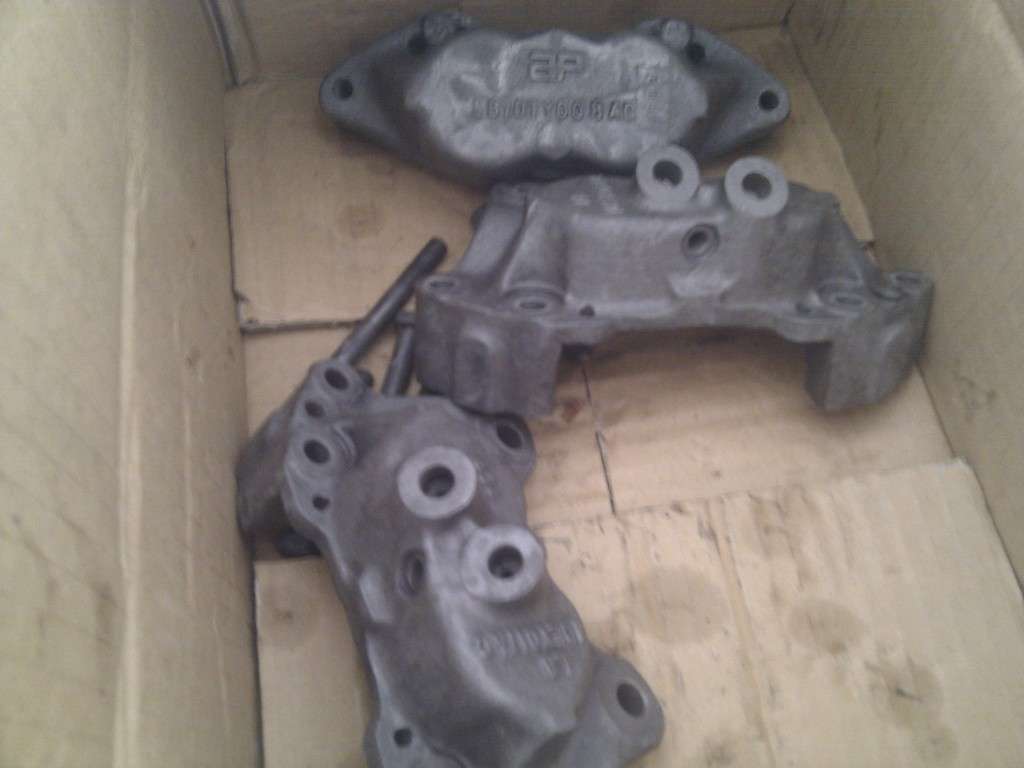
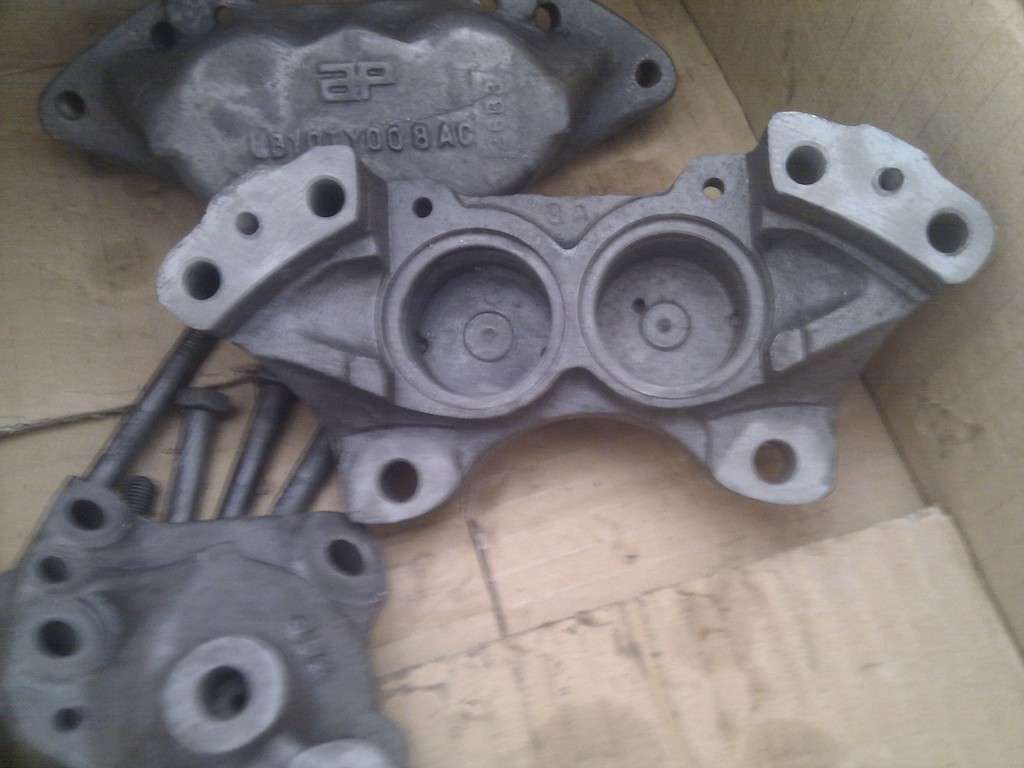
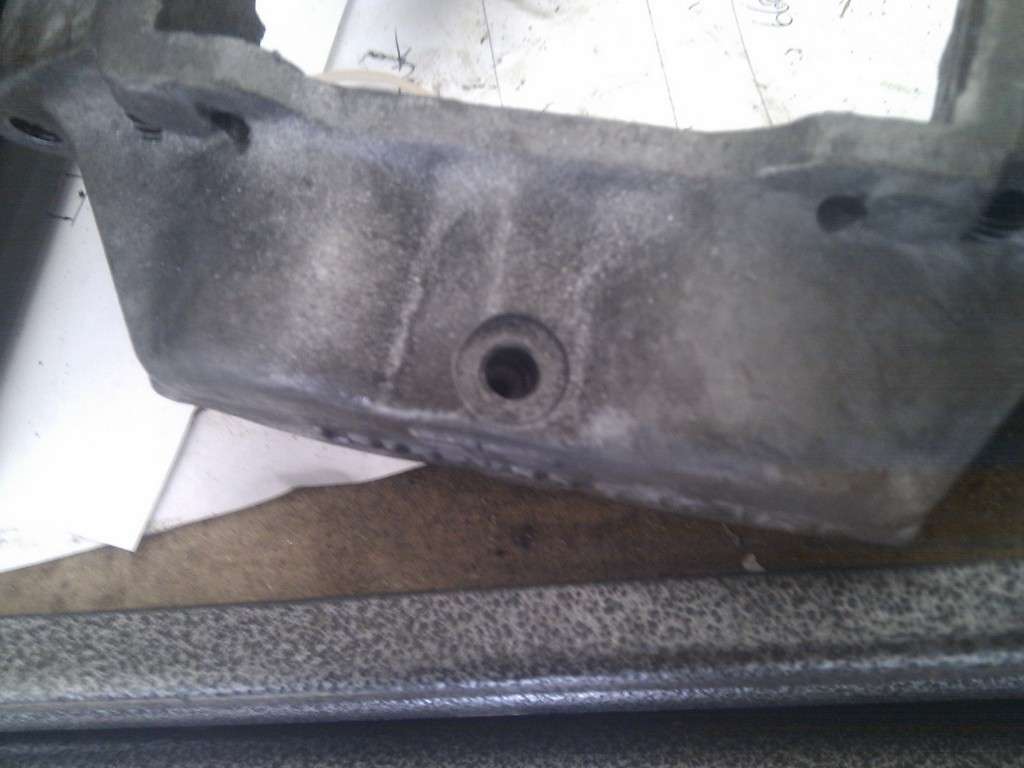
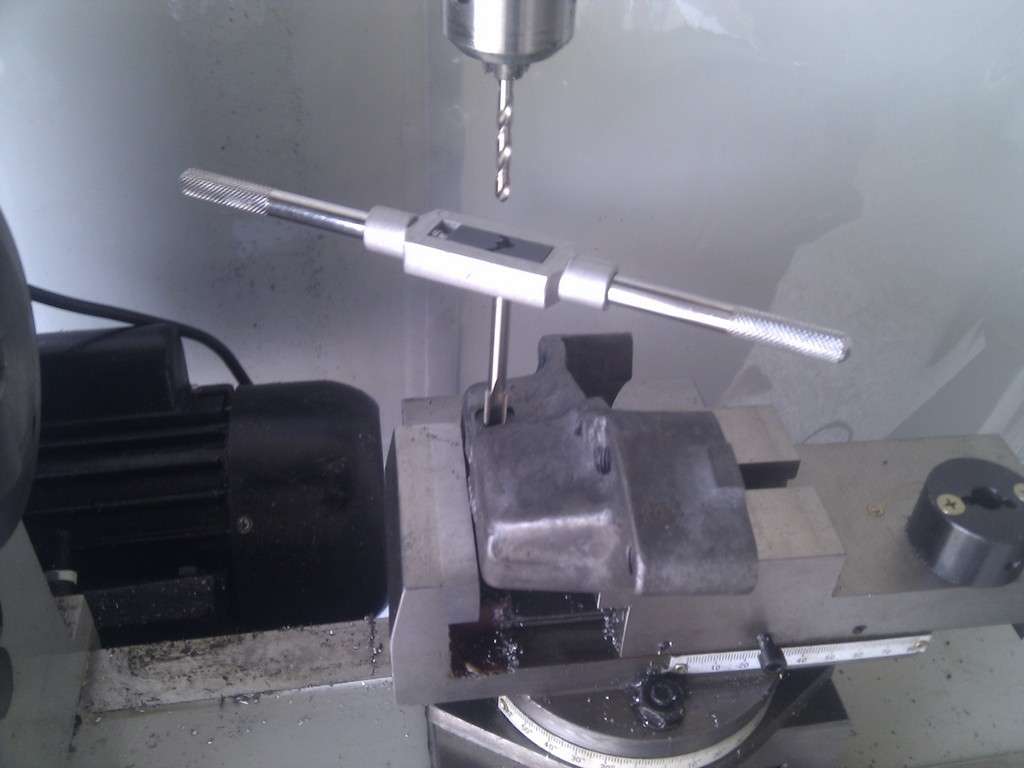
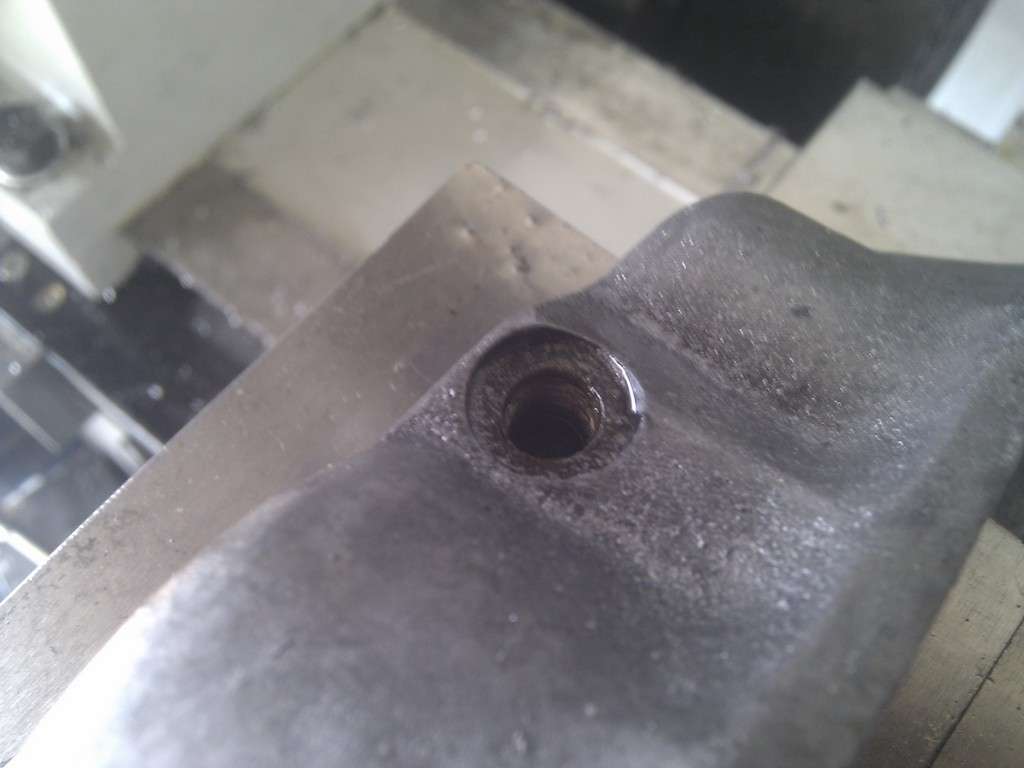
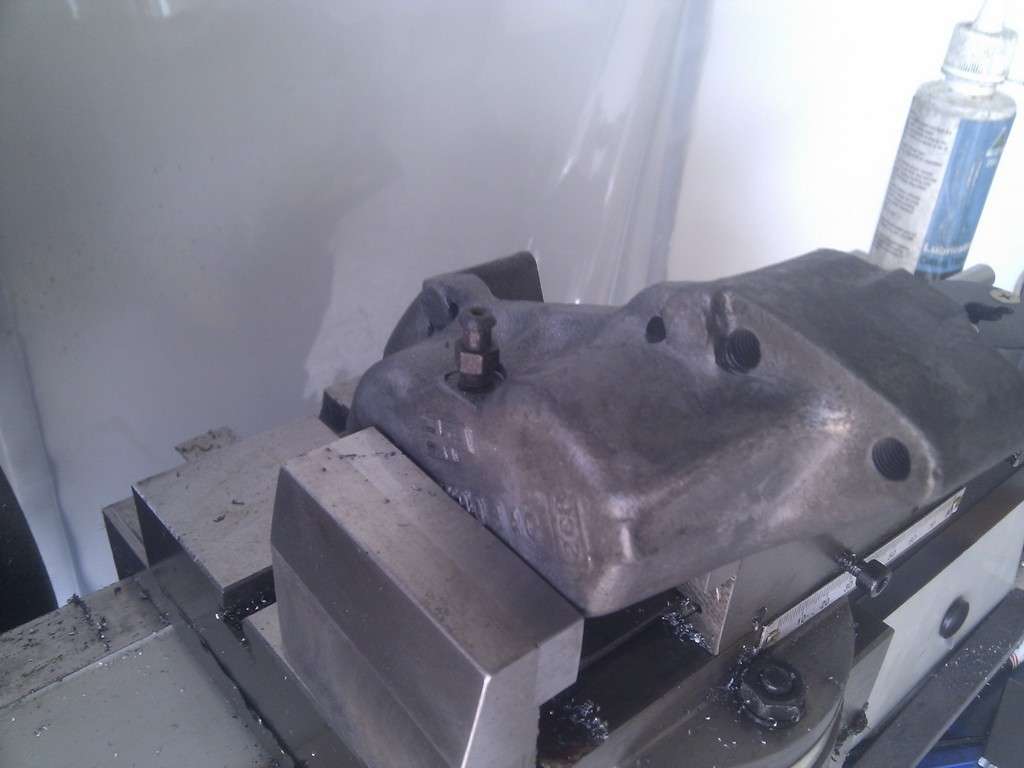
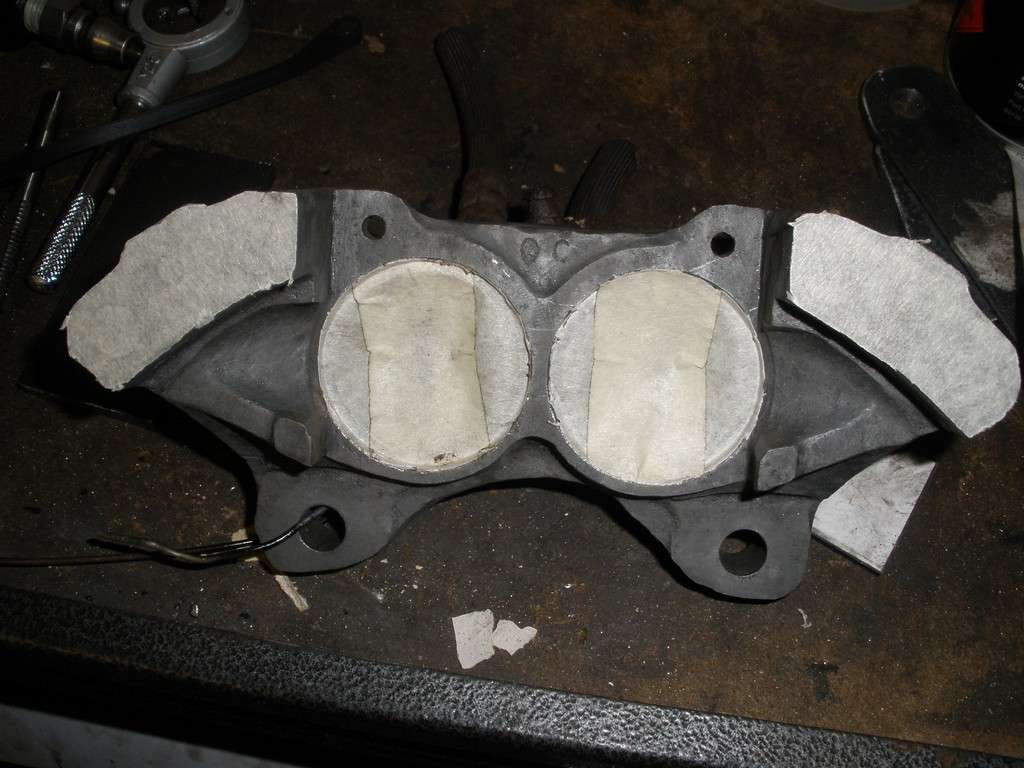
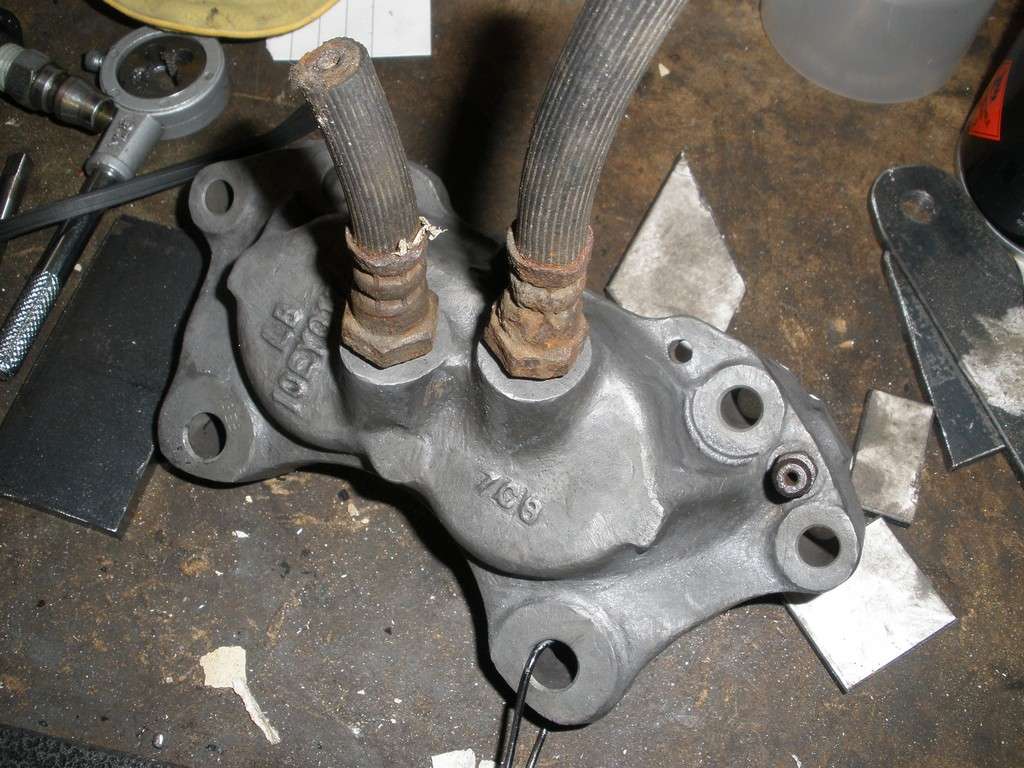
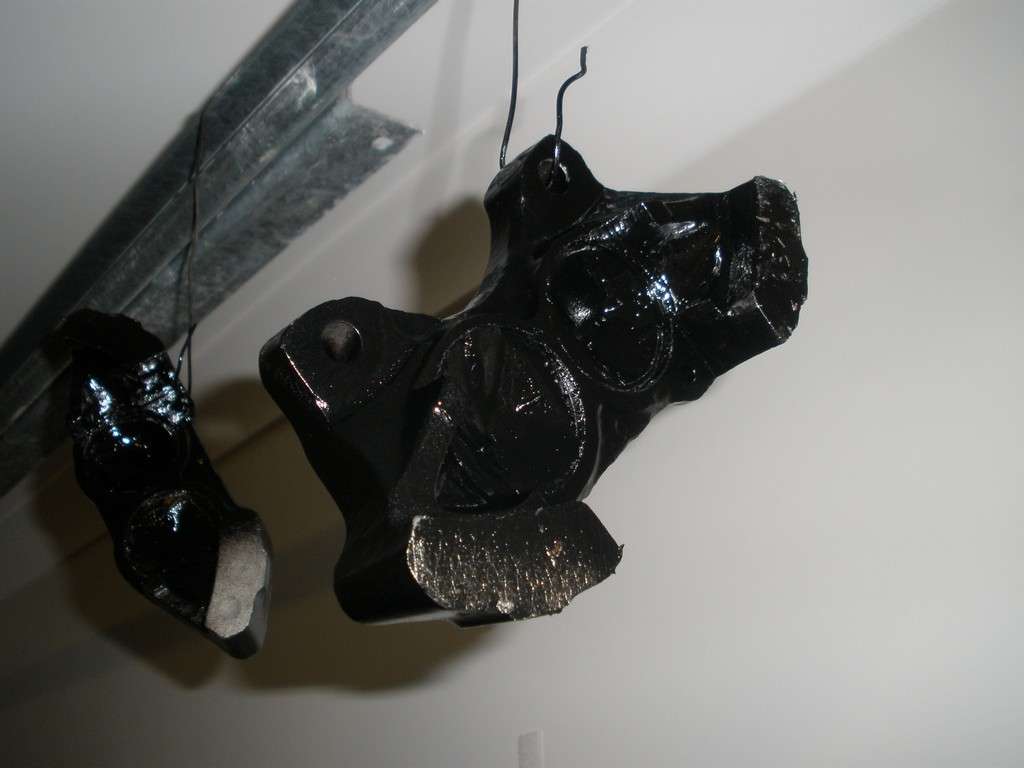
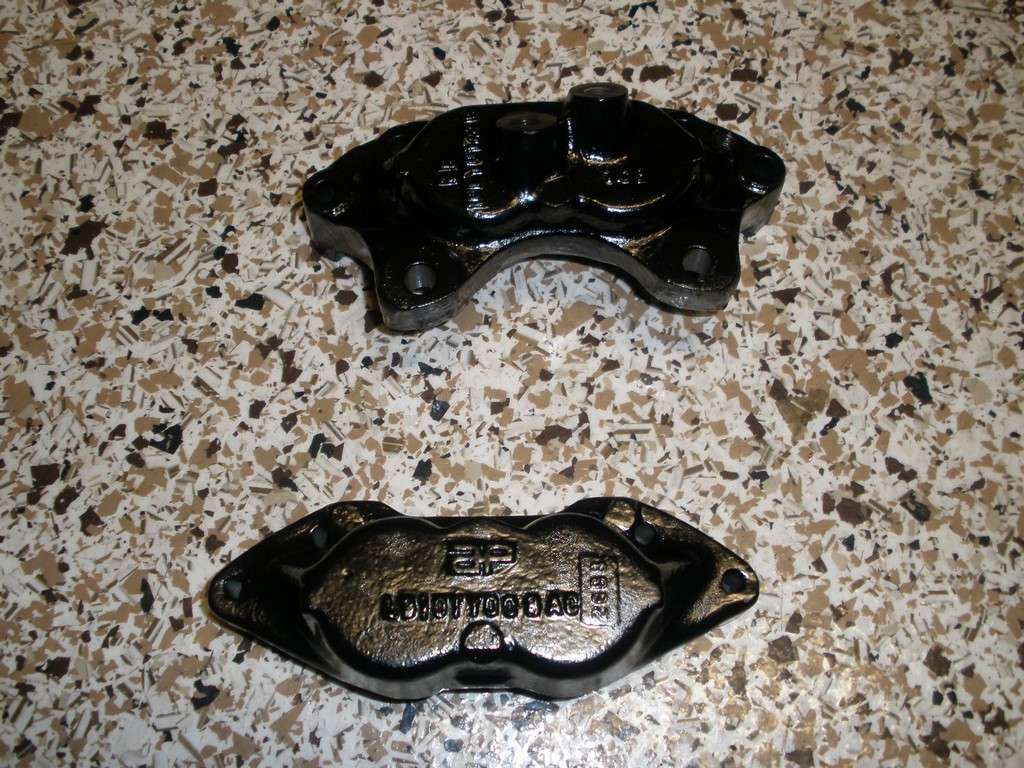
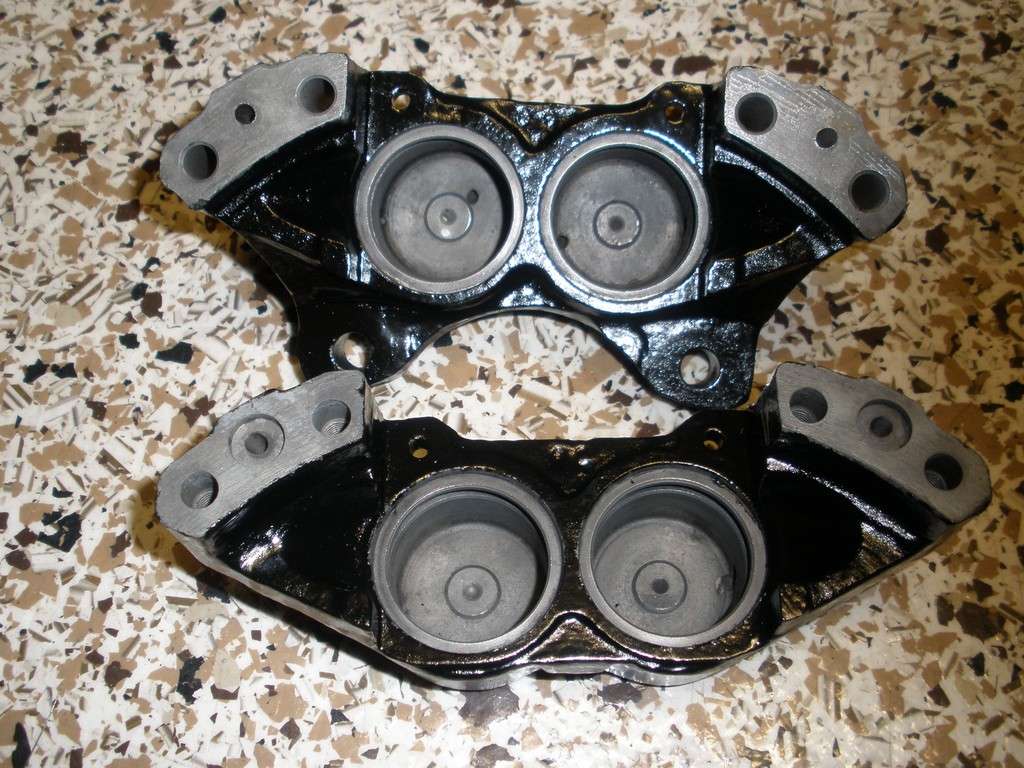
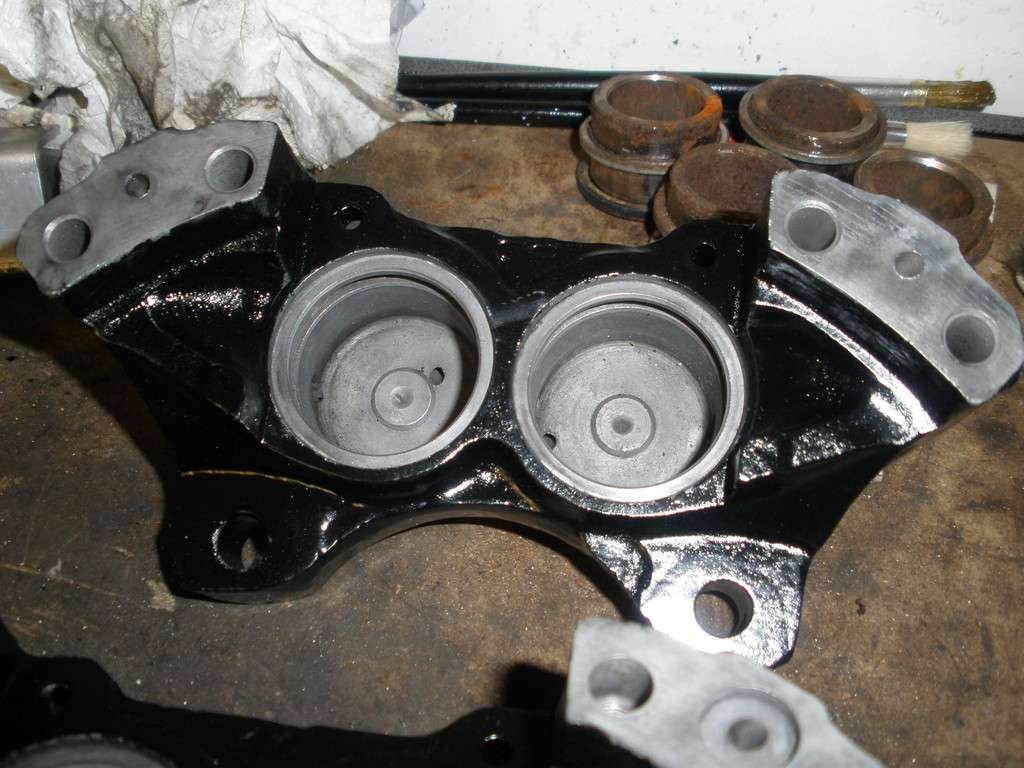
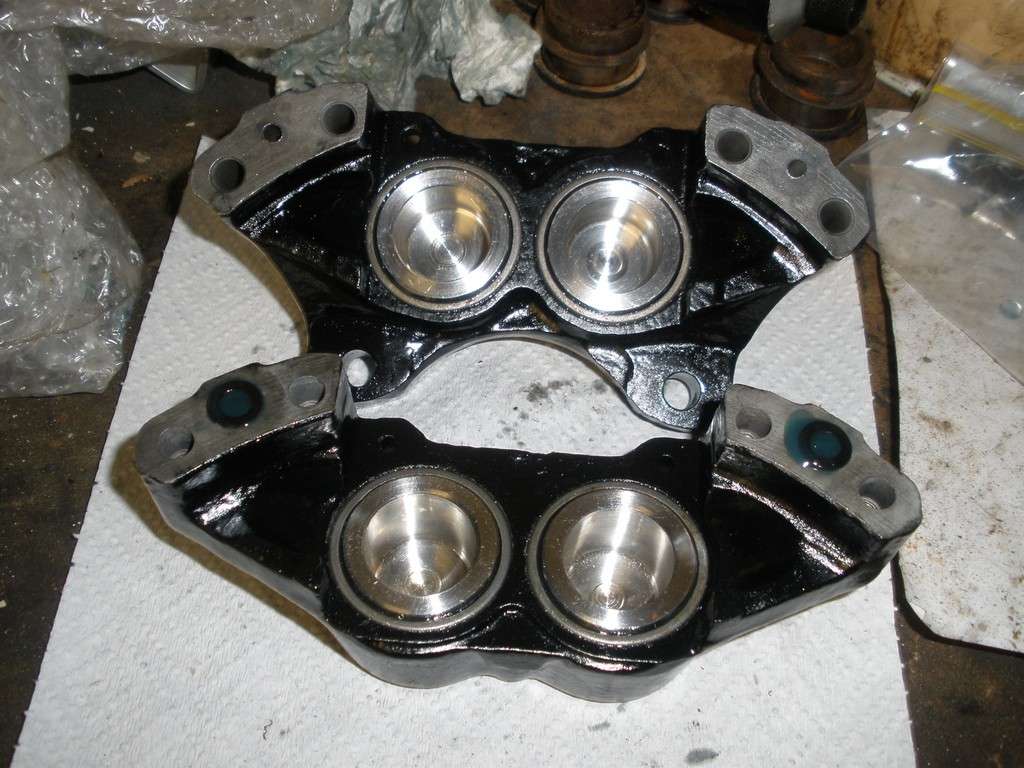
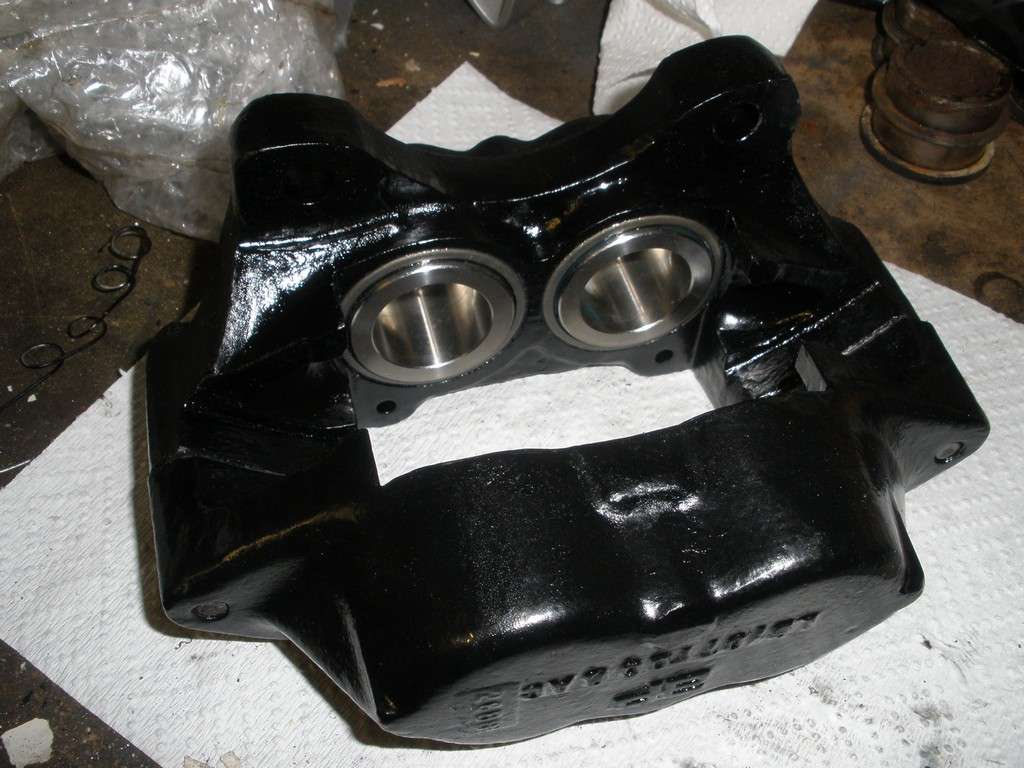
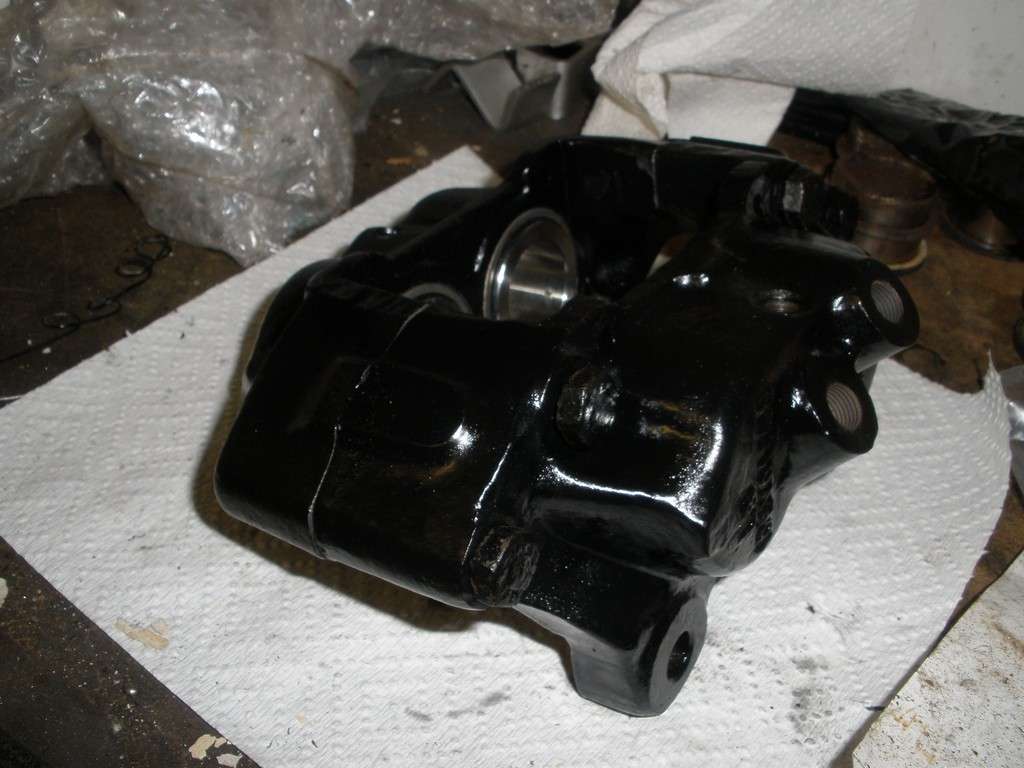
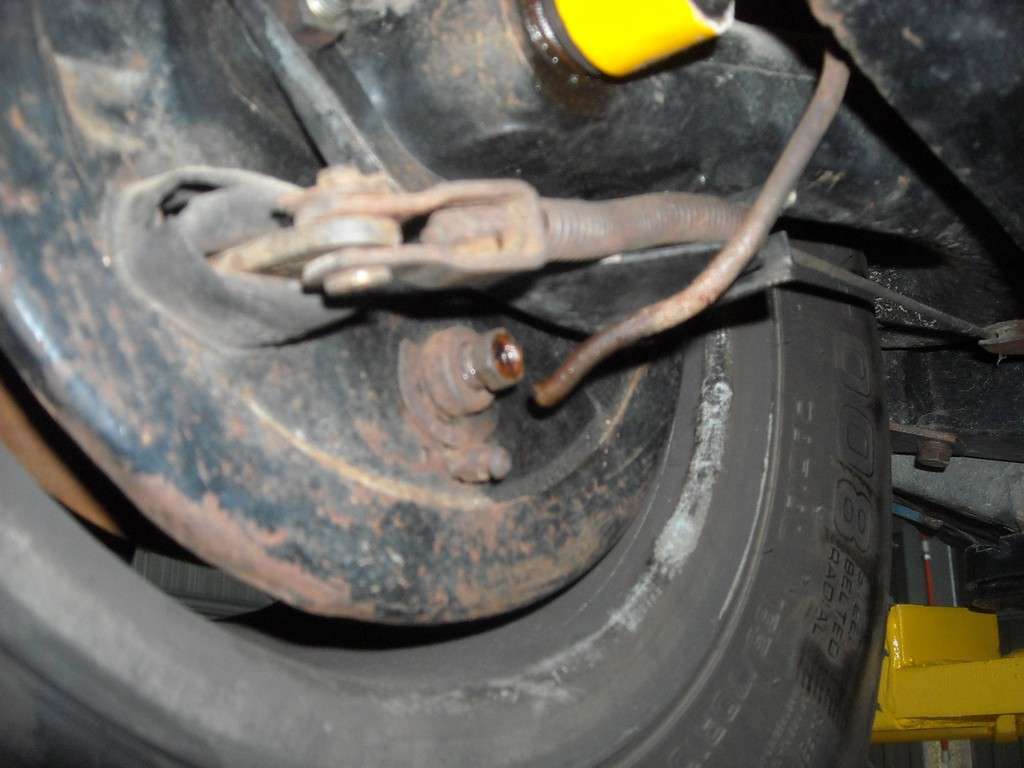
Recently I have also de-rusted the front calipers for it using electrolysis (currently off getting sandblasted for nix).
Once I get my camera working properly I'll post up some more piccies.
Comments / constructive criticism welcome. Also, comments periodically to keep me motivated would be awesome too